HOW TO
Edit or modify the editor tracking fields for hosted feature layers in ArcGIS Pro
Summary
In ArcGIS Online and ArcGIS Enterprise portal, there is the option to keep track of who created and last updated features to track editors' logins, and further control what editors can see and do with hosted feature layers.
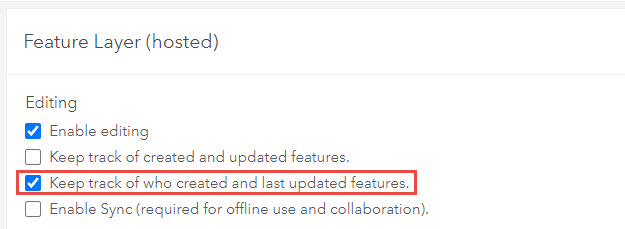
These fields can be viewed but cannot be edited as they are system-generated.
Circumstances may arise where it is necessary for an organization to modify the editor tracking information. Editing these fields manually however, can compromise the validity of the auditing information stored in these fields.
This article describes the steps to modify the editor tracking fields of a hosted feature layer in an Enterprise portal.
Procedure
- Make a copy of the hosted feature layer. Refer to ArcGIS Online: Copy and save layers for details on how to do this.
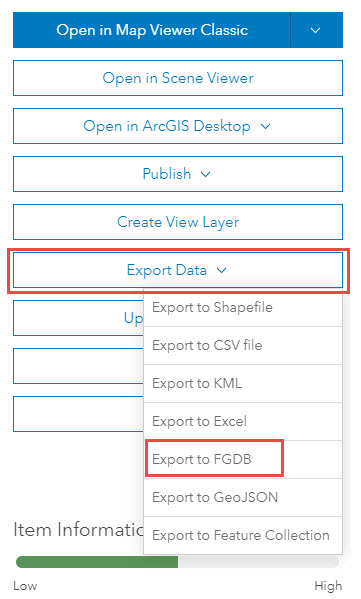
- In ArcGIS Online or an ArcGIS Enterprise portal, export the hosted feature layer from the portal to a geodatabase. Click Export Data > Export to FGDB, as shown in the following image.
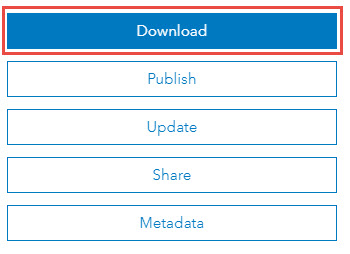
- From the item details page, click Download to download the geodatabase.
- Extract the .zip file to a convenient location.
Note:
ArcGIS Online now exports editor tracking fields with high-precision dates. ArcGIS Pro 3.1 or later is required to work with these fields.
- In ArcGIS Pro, connect to the folder that contains the file geodatabase downloaded in the previous step. Right-click Folders > Add Folder Connection.
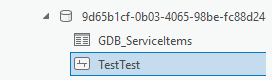
- Expand the geodatabase to view the feature class and GDB_ServiceItems table.
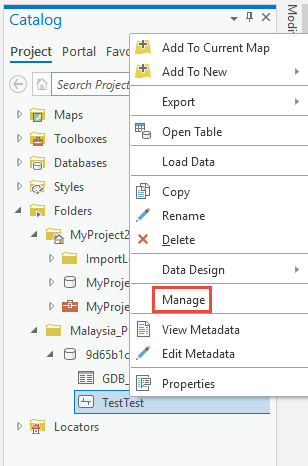
- Right-click the feature class, and click Manage.
- In the Feature Class Properties dialog box, in the Manage tab, uncheck the Editor tracking check box to disable editor tracking on the feature class.

- Add the feature class to a new or existing map in ArcGIS Pro. From the Contents pane in ArcGIS Pro, open the attribute table for the layer, where the editor tracking fields can be modified.

- Once done updating the editor tracking fields, save the edits.
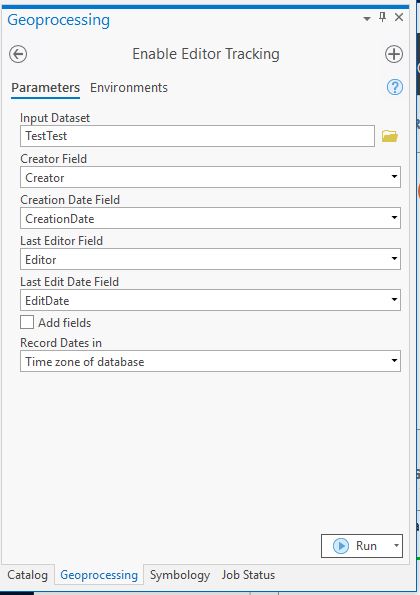
- Run the Enable Editor Tracking geoprocessing tool to enable editor tracking on the feature class again. Make sure to map the fields accordingly and set the Time zone, as shown in the image below.
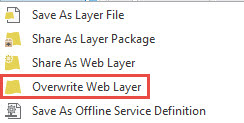
- From ArcGIS Pro, right-click the layer in the Contents pane and select Overwrite Web Layer.
Caution:
There are some considerations to be aware of when overwriting an existing hosted feature layer, refer to ArcGIS Pro: Considerations when overwriting web layers for more information.
- In the Overwrite Web Layer dialog box, select the web feature layer to overwrite.
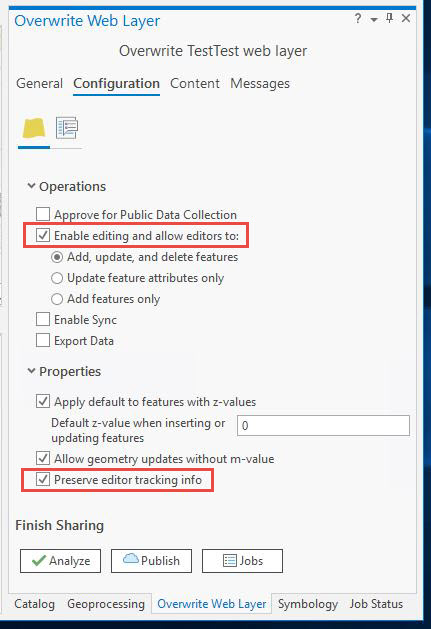
- In the Overwrite <layer name> web layer pane, on the Configuration tab, under Operations, ensure that the Enable editing and allow editors to option is checked, and under Properties, the Preserve editor tracking info option is checked.
- Under Date fields, set the Time zone information.
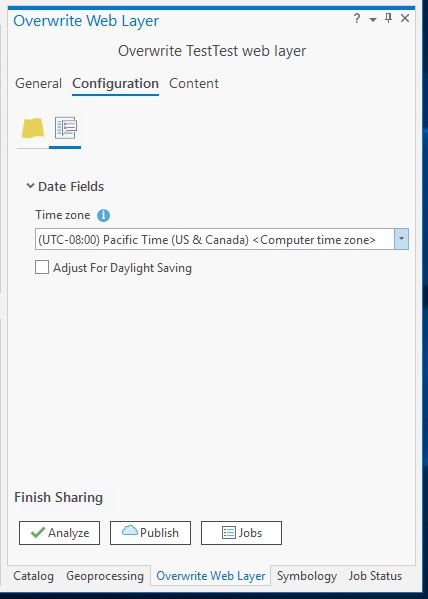
- In the Overwrite Web Layer pane, under the General tab, publish the layer.
- After the layer has successfully published, view the updated editor tracking information in the portal.
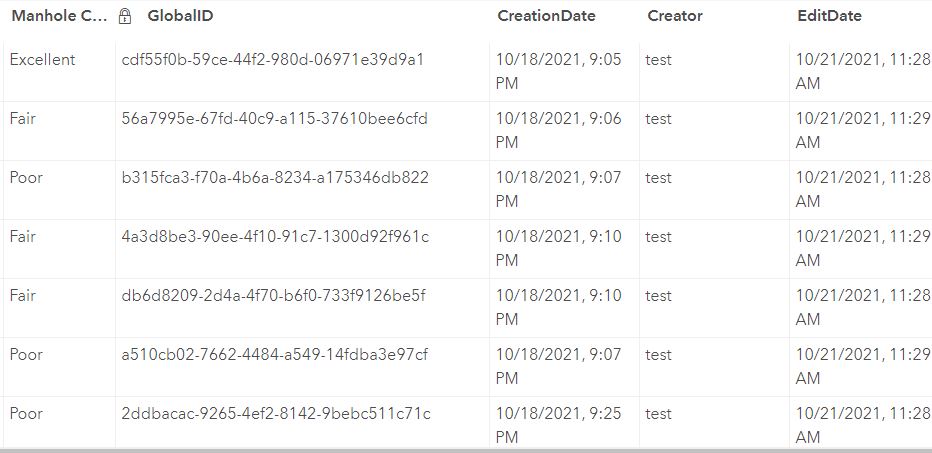
- Click the Data tab to view the updated editor tracking fields for the layer.
Article ID: 000025504
- ArcGIS Online
- ArcGIS Pro 2 8 x
- ArcGIS Pro 2 7 x
- ArcGIS Pro 2 x
Get support with AI
Resolve your issue quickly with the Esri Support AI Chatbot.


Related Information
Discover more on this topic
Search for related information
Find training related to this topic
Explore ideas and give feedback
Get help from ArcGIS experts
Start chatting now