Instrução
Reordenar permanentemente os campos em uma classe de feição usando a ferramenta Classe de Feição para Classe de Feição no ArcGIS Pro
Resumo
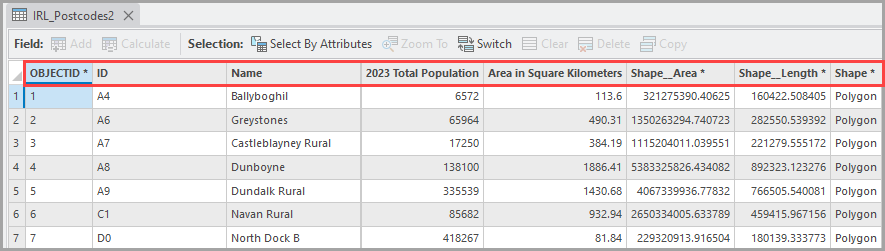
In ArcGIS Pro, the fields of a feature class can be reordered in a current map in the Fields view. However, the fields cannot be permanently reordered at the database level. The attribute table below shows the fields’ order of the ‘IRL_Postcodes2’ feature class.
In some instances, the fields must be permanently reordered. This article describes a workaround using the Export Features tool to write the features from the feature class to a new feature class and reorder the fields in the Field Map section.
Procedimento
Warning:
This workaround does not preserve existing relationship classes in the output feature class containing the reordered fields. Esri recommends copying the dataset to a new geodatabase and using the new geodatabase before reordering fields to ensure changes made are not applied to the original geodatabase.
Note:
It is not possible to reorder the OBJECTID, Shape, Shape_Length, and Shape_Area fields.
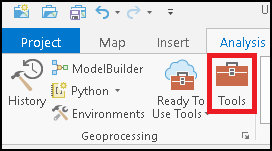
- In ArcGIS Pro, click the Analysis tab.
- Under the Geoprocessing group, click Tools.
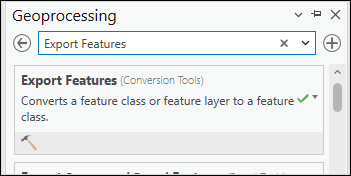
- In the Geoprocessing pane, in the Find Tools search box, search for and select the Export Features tool.
- Specify the parameters of the tool.
- Select the existing feature class under Input Features.
- Provide a name for Output Feature Class, click Browse
 , and specify the location of the new feature class.
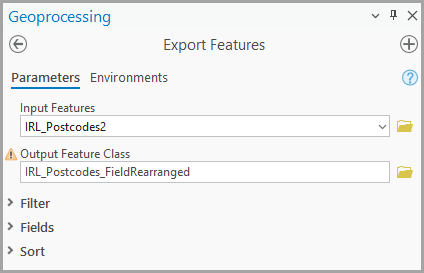
- Scroll down and click Fields to expand the list of the fields in the feature class.
- Under Field Map, hover over the desired field. An ellipsis icon displays beside the field.
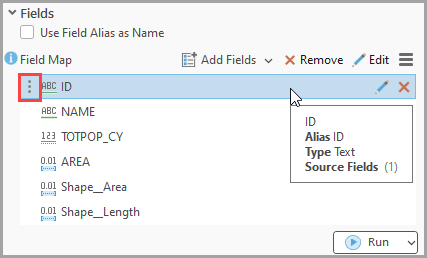
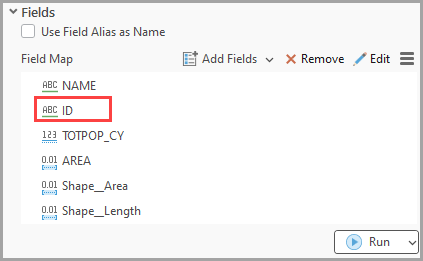
- Drag and drop the ellipsis icon of each desired field to rearrange the field. In this example, the ID field is positioned after the NAME field.
- Click Run.
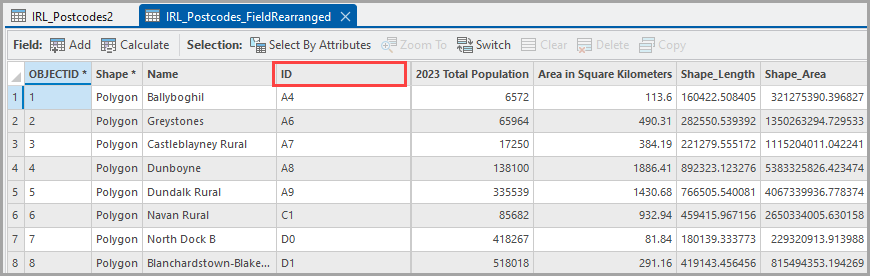
A new feature class is created and added to the map. The table below shows the rearranged field order in the new feature class, IRL_PostcodesFieldRearranged.
ID do Artigo: 000025984
Obtenha suporte com IA
Resolva seu problema rapidamente com o chatbot de IA de suporte da Esri.


Informações Relacionadas
Descubra mais sobre este tema
Search for related information
Find training related to this topic
Explore ideas and give feedback
Obtenha ajuda de especialistas do ArcGIS
Comece a conversar agora