HOW TO
Populate a related table from an ArcGIS Survey123 feature service for ArcGIS Collector
Summary
Feature services with related tables published from ArcMap or ArcGIS Pro are usually included in ArcGIS Survey123. These tables may contain data used for field inspections. In some situations, the related table populated from the ArcGIS Survey123 may be used in ArcGIS Collector to edit or update a map during data collection.
This article describes how to populate a related table from an ArcGIS Survey123 feature service for use in ArcGIS Collector.
Procedure
- In ArcMap or ArcGIS Pro, create a relationship class between the desired feature class and the related tables with the attachments based on the Global IDs. Refer to ArcMap: Create Relationship Class or ArcGIS Pro: Create Relationship Class (Data Management) for steps to do this.
- Run the Add Attribute Index tool to add an attribute index based on the GlobalID field of the feature class, and ensure the index is correct. Refer to ArcMap: Add Attribute Index or ArcGIS Pro: Add Attribute Index (Data Management) for steps to do this.
- Publish the map as a service to ArcGIS Online from ArcMap or ArcGIS Pro. Refer to ArcMap: Publish a map service from ArcMap or ArcGIS Pro: Publish a map service for steps to do this.
- Once the map is published to ArcGIS Online, ensure the Supports applyEdits with GlobalIDs property of the feature service is set to True.
- Sign in to ArcGIS Online, and navigate to Content > My Content. Select the published hosted feature layer.
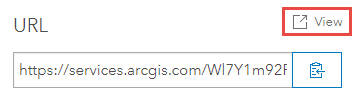
- Scroll to the URL section on the Overview tab, and click the View icon to open the map service. Ensure the property is set to True.
Note:
If the 'Supports applyEdits with GlobalIDs' property of the feature service is set to False, disable and re-enable the attachment in the table layer to set the property to True. Alternatively, return to the ArcGIS REST Services Directory page of the service, and scroll to the Supported Operations section. Click Apply Edits. Set Use GlobalIDs to True, and click Apply Edits.

- Sign in to ArcGIS Survey123 Connect, and create a survey from the feature service published in ArcGIS Online. Refer to ArcGIS Survey123: Create a survey from a feature layer for steps to do this.
- Open the survey .xls form:
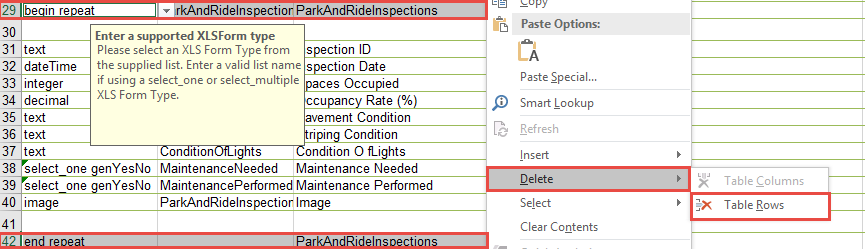
- Delete the questions related to the parent feature layer, the rows containing begin repeat, end repeat, and the questions unrelated to the survey to populate only the related table.
Note:
The repeat questions are deleted as they are not supported in the XLS form if the survey is opened in the ArcGIS Survey123 website.
- Navigate to the settings worksheet, and change the form_ID value to the name of the related table.

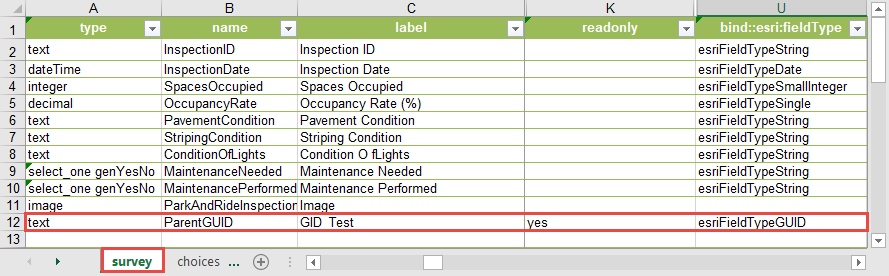
- On the survey tab, perform the following:
- Create a new text field for the GUID field, and type the name of the GUID field in the related table of the feature service in the name column.
- Set the label in the label column, and select yes from the readonly column drop-down.
- Select esriFieldTypeGUID from the bind::esri:fieldType column drop-down.
- Save and publish the survey. Ensure the survey is shared publicly.
Note:
If the GUID field is not visible in the related table, navigate to the REST URL of the feature service, click the related table, and search for the GUID field under Fields.
- Back in ArcGIS Online, open the feature service in a web map, and customize the pop-up configuration of the hosted feature layer to include the URL of the survey.
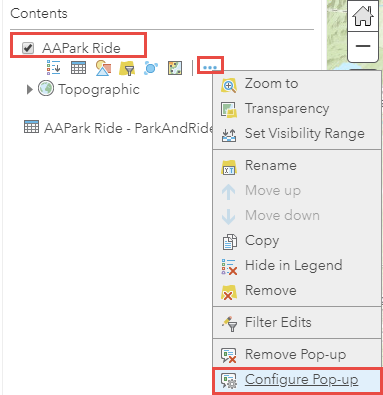
- Navigate to the hosted feature layer, click More Options, and select Configure Pop-up.
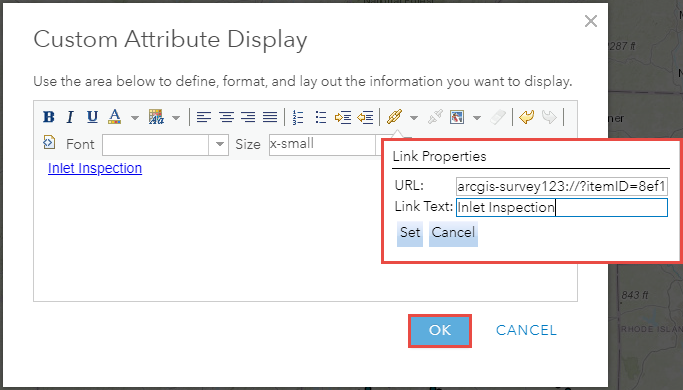
- In the Configure Pop-up pane, select A custom attribute display from the Display drop-down, and click CONFIGURE.
- Insert the URL link of the survey with the related table Global ID field in the Custom Attribute Display dialog box to launch the survey when the link is clicked. Refer to ArcGIS Survey123: Link to Survey123 from another app for steps to do this. The following code shows the link format:
arcgis-survey123://?itemID=<ItemID>&field:GUID={GlobalID}
- Click OK and save the web map.
- Use the web map created in Step 8 to collect the data, and answer the survey questions concurrently in ArcGIS Collector.
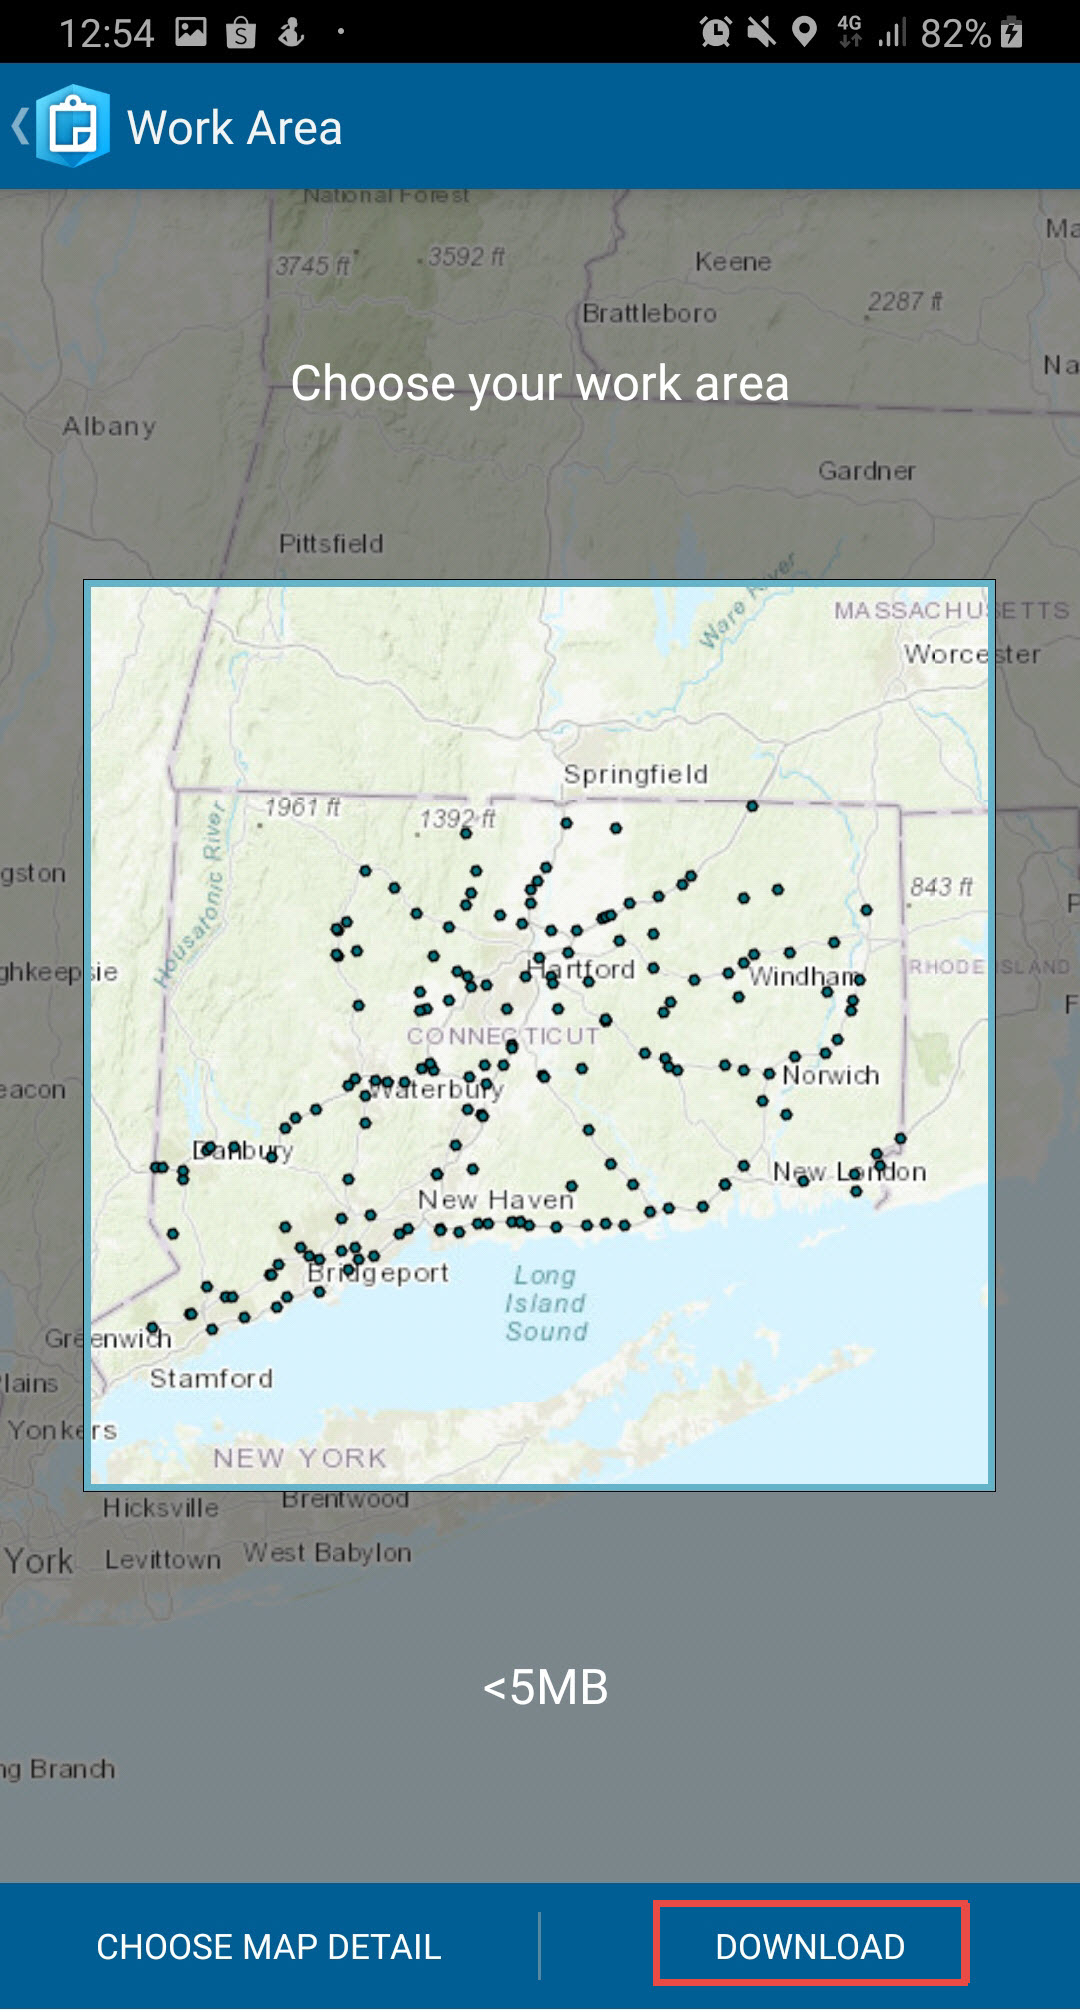
- Log in to the ArcGIS Collector on a mobile device, and download the web map.
- Zoom to the desired map extent, and click Download.
- Open the downloaded web map, select an existing feature or create a new feature, and click the feature's name at the bottom of the map.
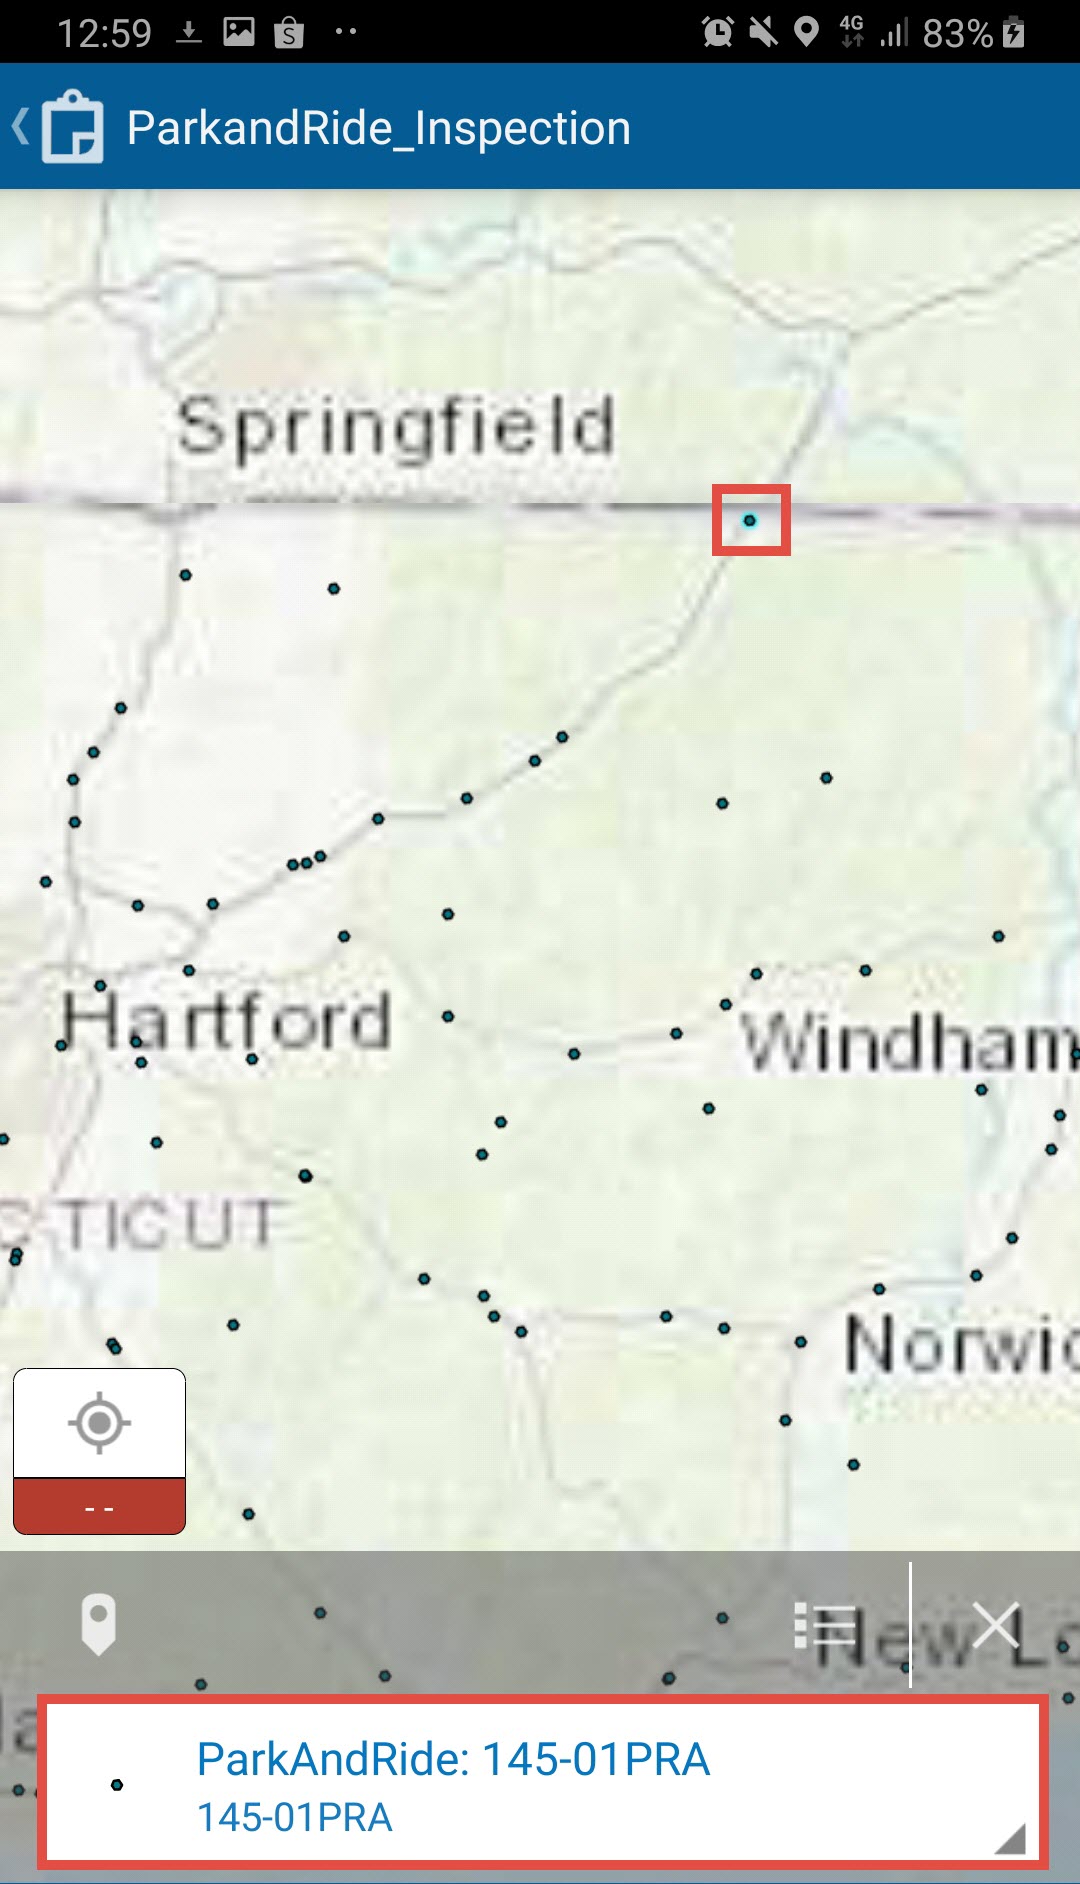
- Click the link, and answer the survey questions. In this example, the button is named Inlet Inspection.
- In ArcGIS Online, open the web map, click one of the features inspected in Step 9, and select Show Related Records to view the related values.

Article ID: 000021198
- ArcGIS Collector
- ArcGIS Online
- ArcGIS Survey123 Connect
Get support with AI
Resolve your issue quickly with the Esri Support AI Chatbot.


Related Information
Discover more on this topic
Search for related information
Find training related to this topic
Explore ideas and give feedback
Get help from ArcGIS experts
Start chatting now