HOW TO
Generate and calculate midpoint coordinates of polygon edges in ArcGIS Pro
Summary
Midpoints are supporting geometries used in linear features, often derived using manual measurement or digital processing. Real-world examples of accurate positioning using midpoint coordinates include identifying potential inspection or sensor points along pipelines in utility management and segmenting rivers for sampling site selection during environmental assessments.
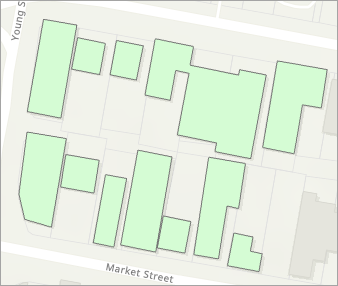
In ArcGIS Pro, midpoints of line features can be identified using geoprocessing tools. However, when midpoints are derived from polygons, some additional processing is necessary. This article provides the workflow to generate and calculate the midpoint coordinates of polygon edges. The following polygon features are used to demonstrate the workflow.
Procedure
- Open the ArcGIS Pro project.
- Split the polygon edges into individual lines using the Split Line At Vertices tool.
Note:
This tool requires an ArcGIS Pro Advanced license.
- On the ribbon, click the Analysis tab.
- On the Analysis tab, in the Geoprocessing group, click Tools.
- In the Geoprocessing pane, search for and click Split Line At Vertices (Data Management Tools).
- In the Split Line At Vertices pane, for Input Features, select the polygon feature layer.
- For Output Feature Class, specify a name. Click Browse and specify a location for the output feature class.
- Click Run.
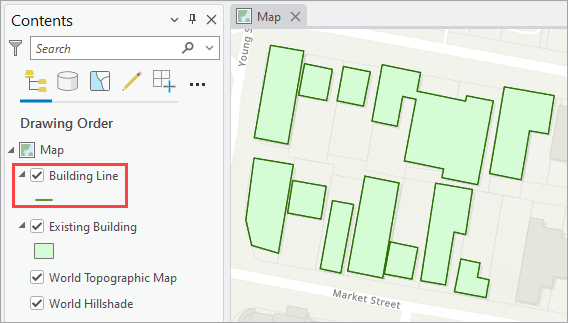
The line feature layer is added to the Contents pane and displayed on the map.
- Generate the line midpoint using the Feature Vertices To Points tool.
Note:
If calculating only certain polygon edges, use the Select Layer By Attribute tool to select the polygons. Ensure the Use the Selected records:<record count> option is toggled on when running the Feature Vertices To Points tool. Refer to ArcGIS Pro: Select features using attributes for instructions.
- In the Geoprocessing pane, click Back
 .
. - Search for and click Feature Vertices To Points (Data Management Tools).
- In the Feature Vertices To Points pane, for Input Features, select the output line feature layer from Step 2.
- For Output Feature Class, specify a name. Click Browse and specify a location for the output feature class.
- For Point Type, select Midpoint.
- Click Run.
The midpoint feature layer is added to the Contents pane and displayed on the map.

- Calculate the midpoint coordinates using the Calculate Geometry Attributes tool. Refer to How To: Calculate the XY coordinates of point features in ArcGIS Pro for instructions. In Step 5, for Coordinate System, select the preferred coordinate system.
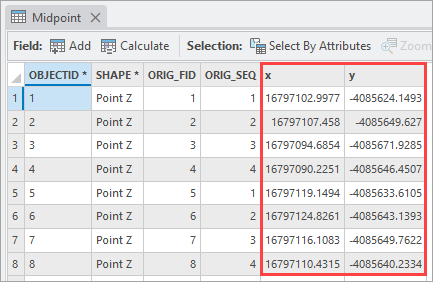
The coordinate fields with the calculated values are added to the midpoint feature layer.
Article ID: 000036287
- ArcGIS Pro
Get support with AI
Resolve your issue quickly with the Esri Support AI Chatbot.


Related Information
Discover more on this topic
Search for related information
Find training related to this topic
Explore ideas and give feedback
Get help from ArcGIS experts
Start chatting now