ERROR
Unable to submit. Geodatabase data type mismatch
Error Message
In ArcGIS Field Maps, submitting a form for a related table returns the following error message:
Error:
Unable to submit. Geodatabase data type mismatch.
ArcGIS Field Maps (Android)

ArcGIS Field Maps (iOS)

Cause
The data types of the Primary Key and Foreign Key fields do not match while creating the relationship class in ArcGIS Desktop.
Solution or Workaround
To resolve the issue, change the field data type of the feature layer to match the field data type of the stand-alone table.
- Open the ArcGIS Pro project.
- Delete the relationship class between the feature layer and the stand-alone table.
- In the Catalog pane, expand the Databases folder and expand the desired geodatabase.
- Right-click the relationship class, and click Delete.
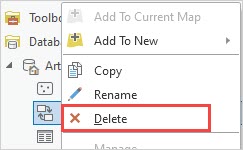
- In the Delete window, click Yes.
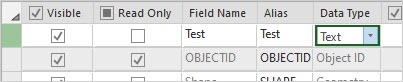
- Add a new field to the feature layer with the desired field type, and use the Calculate Field tool to populate the values of the new field with values from the original field. Refer to How To: Change the data type of an existing field in ArcGIS Pro for further instructions.
- Create a new relationship class and use the newly created field as the Primary Key or Foreign Key. Refer to How To: Set up related tables in ArcGIS Pro for further instructions for ArcGIS Field Maps.
- Overwrite the web feature layer. Refer to ArcGIS Pro: Overwrite a web feature layer for further instructions.
- In ArcGIS Online, enable editing on the updated feature layer.
- Log in to ArcGIS Online.
- Click Content > My Content.
- Browse to the hosted feature layer, click More Options
 , and click View item details.
 - Click the Settings tab.
- Under the Feature layer (hosted) section, check the Enable editing check box.
- Click Save.
- Add the hosted feature layer to the web map on ArcGIS Online.
- On the Content page, browse to the web map, click More Options
 , and select Open in Map Viewer.
 - Remove the old version of the hosted feature layer in the web map. Refer to ArcGIS Online: Organize layers (Map Viewer) for further information.
- Add the updated feature layer to the web map. Refer to ArcGIS Online: Browse layers for further instructions.
- Save the web map. Refer to ArcGIS Online: Save maps (Map Viewer) for further instructions.
- On the Content page, browse to the web map, click More Options
- Open ArcGIS Field Maps web app and log in using the same credentials used in ArcGIS Online.
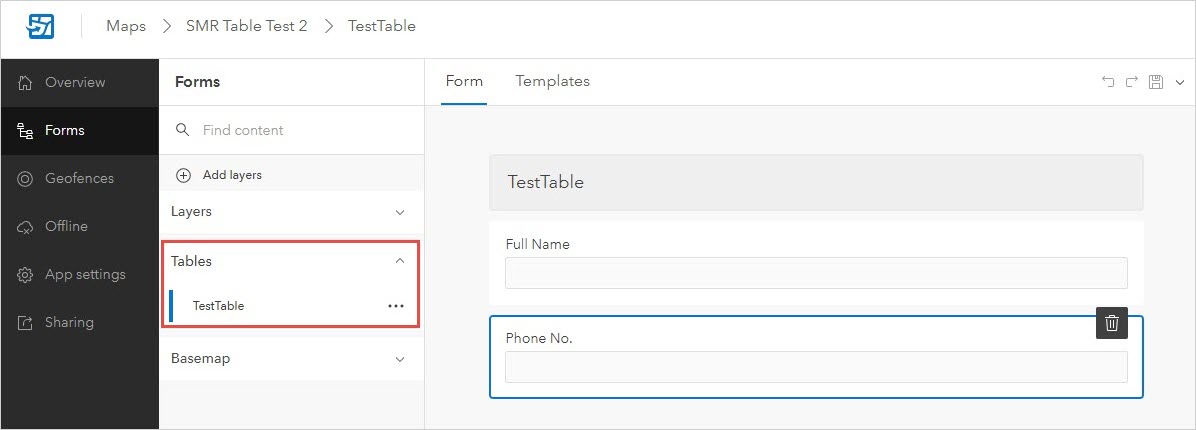
- Configure the form for the recently saved web map. Refer to ArcGIS Field Maps: Configure the form for further instructions.
Note:
Configure the form under Tables, not Layers.
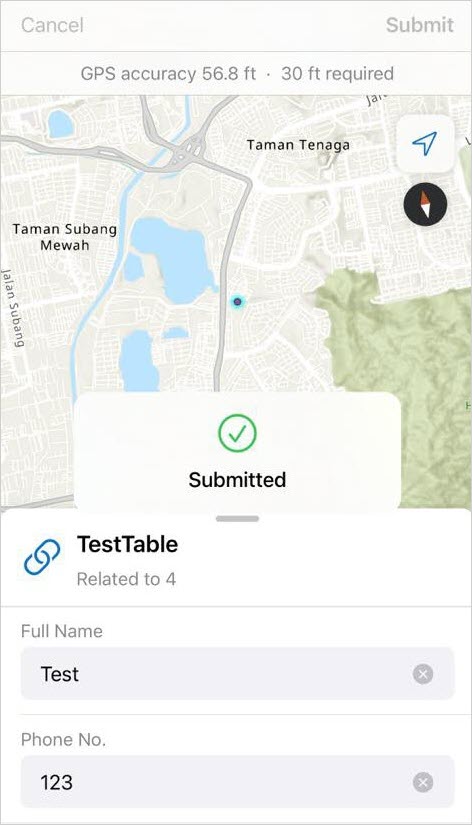
The images below show the forms successfully submitted in ArcGIS Field Maps.
ArcGIS Field Maps (Android)
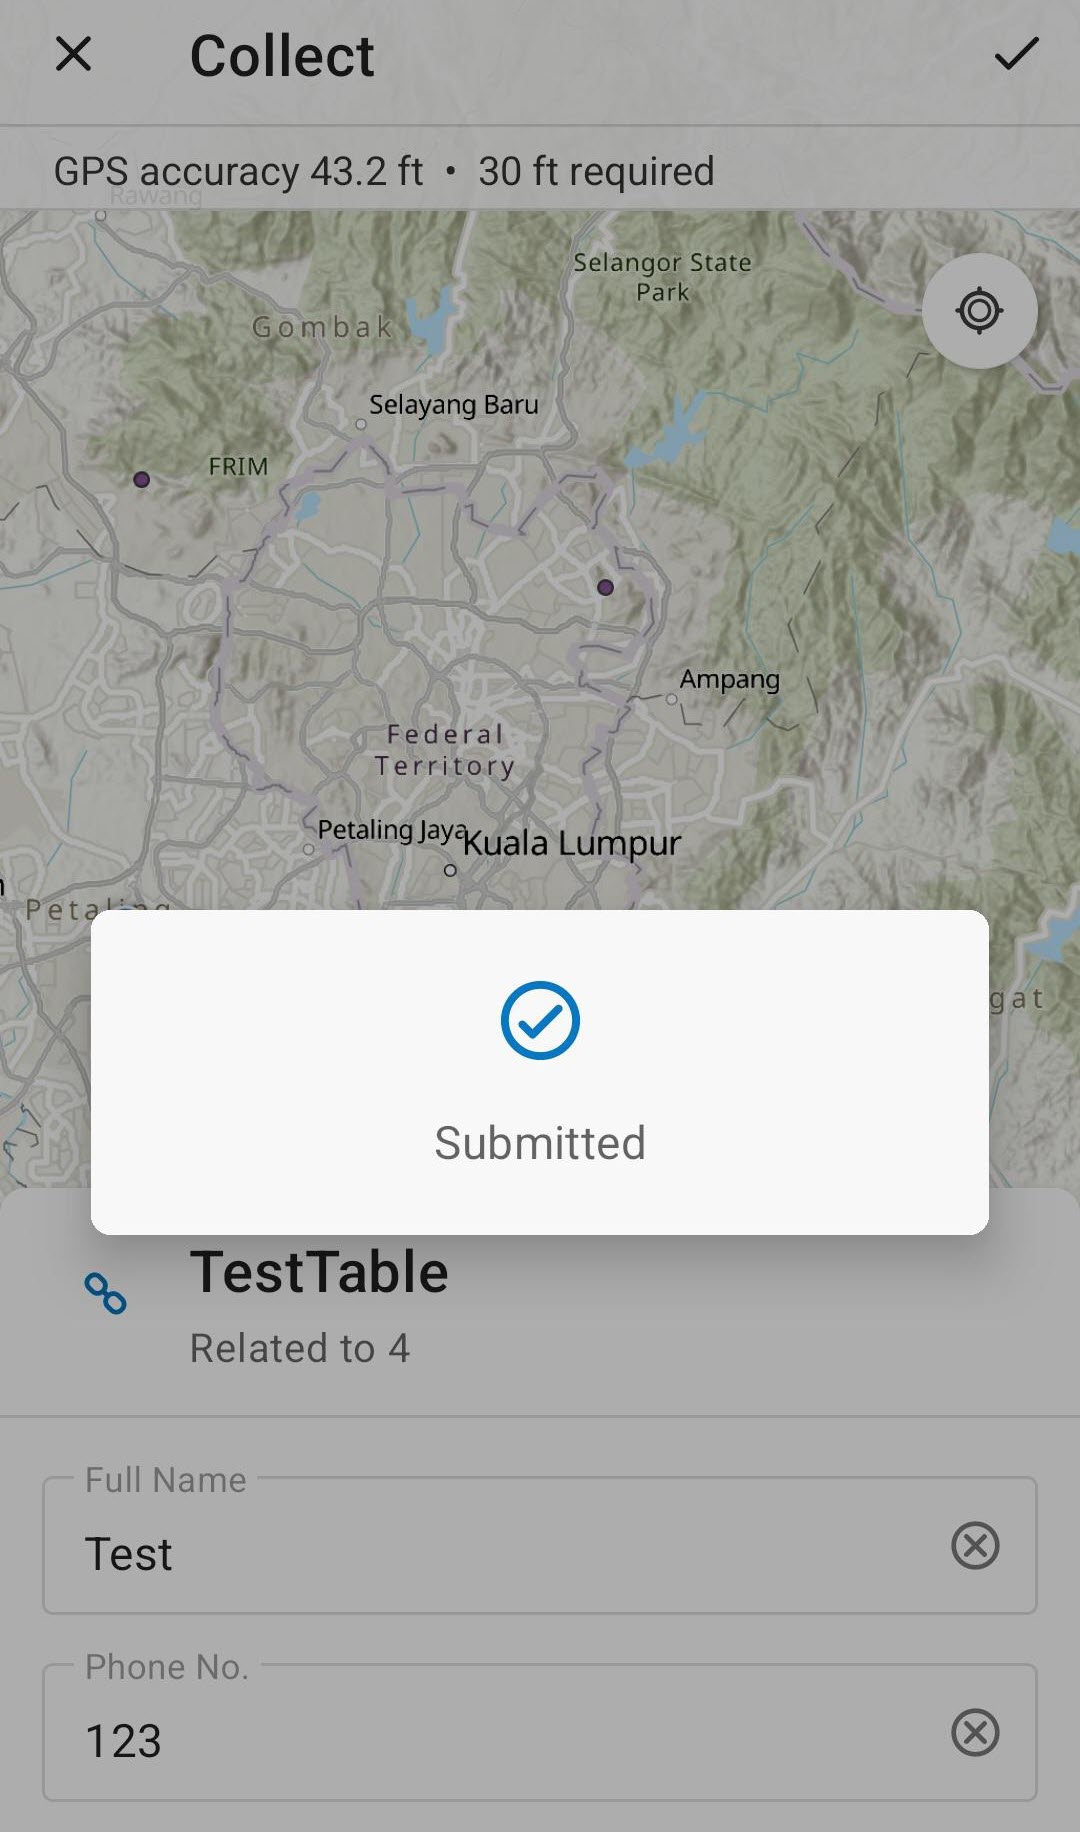
ArcGIS Field Maps (iOS)
Article ID: 000028998
- ArcGIS Online
- ArcGIS Pro 3 0
- ArcGIS Pro 2 8 x
- ArcGIS Field Maps Android
- ArcGIS Field Maps iOS
- ArcGIS Pro 2 x
Get support with AI
Resolve your issue quickly with the Esri Support AI Chatbot.


Related Information
Discover more on this topic
Search for related information
Find training related to this topic
Explore ideas and give feedback
Get help from ArcGIS experts
Start chatting now