HOW TO
Batch export attachments from a feature class in ArcMap
Summary
Note:
ArcMap is in Mature support and will be retired March 1, 2026. There are no plans for future releases of ArcMap, and it is recommended that you migrate to ArcGIS Pro. See Migrate from ArcMap to ArcGIS Pro for more information.
There are no geoprocessing tools that allow users to export and save all attachments locally. The instructions provided below describe how to execute a possible solution by creating a script tool to accomplish the task.
Procedure
To batch export attachments from a feature class, create a script tool from a Python script using the workflow provided below, and run the created script tool.
Note:
This script requires that the input table be the standard attachment table created when attachments are enabled on a feature class. This is because the script relies on the DATA, ATT_NAME and ATTACHMENTID fields stored in this table. The typical naming convention should append _ATTACH to the end of the table name.
- Copy and paste the following script into Notepad, and save it as ExportAttachments.py.
import arcpy from arcpy import da import os inTable = arcpy.GetParameterAsText(0) fileLocation = arcpy.GetParameterAsText(1) with da.SearchCursor(inTable, ['DATA', 'ATT_NAME', 'ATTACHMENTID']) as cursor: for item in cursor: attachment = item[0] filenum = "ATT" + str(item[2]) + "_" filename = filenum + str(item[1]) open(fileLocation + os.sep + filename, 'wb').write(attachment.tobytes()) del item del filenum del filename del attachmentNote: This script iterates through the entire attachment table of a single feature class and copies all of the attachments (saved as BLOBs, or binary large objects) to a file.
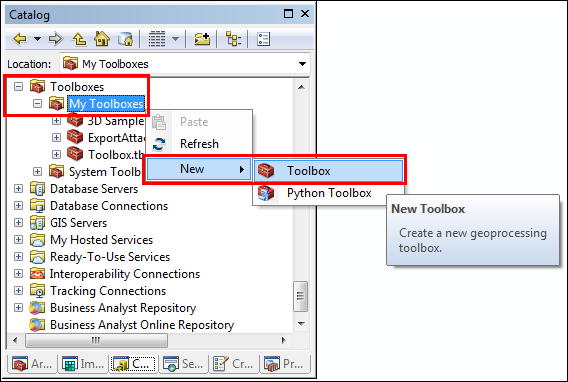
- In the Catalog window, navigate to Toolboxes, and right-click My Toolboxes > New > Toolbox.
- Add a script tool in the new toolbox. Refer to Adding a script tool for steps to do this.
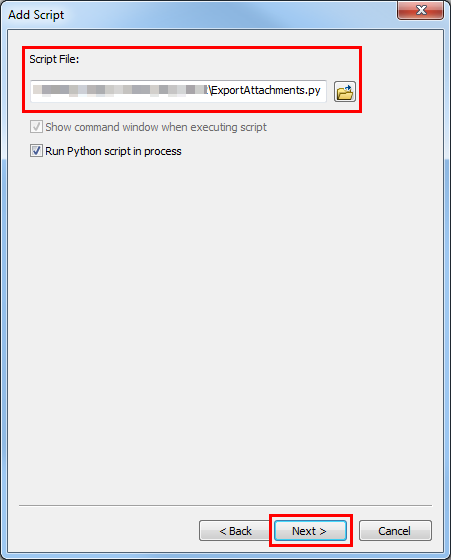
- For the Script File, navigate to the location where the ExportAttachments.py script is saved. Select the script, click OK, and click Next.
- Type Attachments Table in the first row of the Display Name column, and set the Data Type as Table.
- Add a second parameter and type Output Location for the Display Name, and set the Data Type as Folder.

- Click Finish. A new script tool is added to the toolbox.
- Double-click the created script tool to open the tool.
- In the dialog box, select the attachments table containing the attachments to be extracted in the Attachments Table parameter.
- Under Output Location, select a folder in which to save the exported attachments, and click OK.
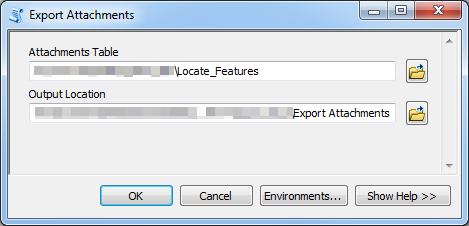
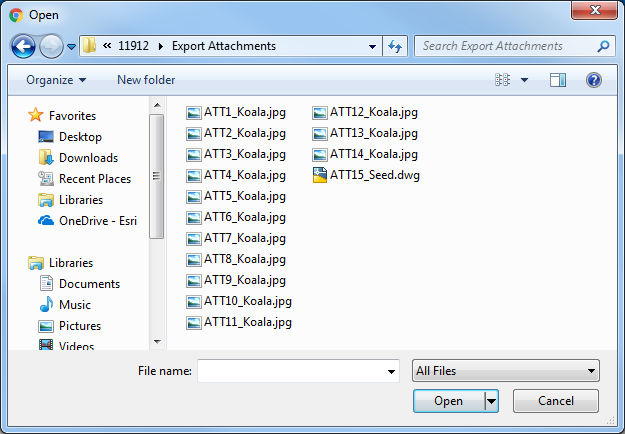
- Click OK to run the tool. The attachments are successfully exported in batch to the local folder defined in the Output Location parameter.
Article ID: 000011912
- ArcMap
Get support with AI
Resolve your issue quickly with the Esri Support AI Chatbot.


Related Information
Discover more on this topic
Search for related information
Find training related to this topic
Explore ideas and give feedback
Get help from ArcGIS experts
Start chatting now