PROBLEM
Unable to publish a survey referencing an unidentifiable table from ArcGIS Survey123 Connect
Description
In ArcGIS Survey123 Connect, attempting to publish a survey referencing an existing feature service fails when ArcGIS Survey123 Connect cannot identify the feature service table or layer for the survey to submit survey responses. The following error message is returned.
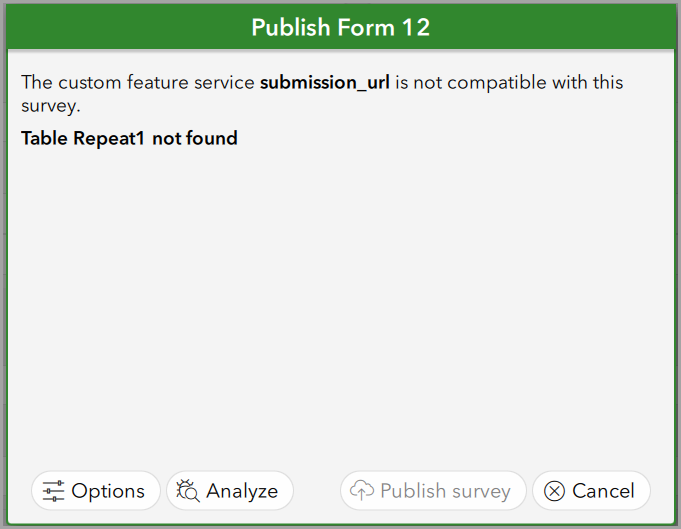
Error:
The custom feature service submission_url is not compatible with this survey.
Table <feature_service_layer_name> not found
Cause
- The form_id property is not specified or misspelled.
- There is a repeat question added to a survey. A repeat question submits survey responses to a related table in a feature service. If a feature service does not have a related table, the survey cannot identify the designated destination, thus causing the issue when publishing.
Solution or Workaround
Depending on the cause, the workarounds described below are applicable.
Specify the form_id property in the XLSForm
When authoring a new survey to match an existing feature service, the form_id property must be specified with the existing feature service layer name. If the existing feature service contains a parent and related layers, the form_id refers to the parent layer. Refer to ArcGIS Survey123: Create a survey from a feature layer for more information.
Create a related record in ArcGIS Pro for use in ArcGIS Online
- Open ArcGIS Online and sign in using the organization account.
- Export data from the referenced hosted feature layer as a file geodatabase.
- In ArcGIS Pro, create a project from the default template and connect the project to an existing folder.
- Add the feature class in the connected database to the current map.
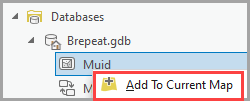
- In the Catalog pane, expand Databases and the added geodatabase.
- Right-click the feature class in the geodatabase and click Add To Current Map.
- On the Analysis ribbon tab, in the Geoprocessing group, click Tools.
- In the Geoprocessing pane, search for and select Add Global IDs (Data Management Tools).
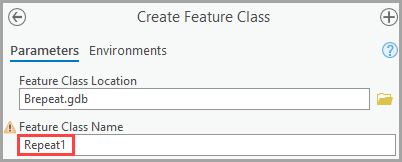
- Search for and select Create Feature Class (Data Management Tools).
- In the Create Feature Class pane, for Feature Class Name, specify the name of the related table to be created with the missing table name in the returned error message. In this example, Repeat1 is used.
- For Geometry Type, select Point. If the questions in ArcGIS Survey123 Connect have a geoshape or geotrace question type in the repeat group, select Polygon or Polyline accordingly.
- For Coordinate System, select Current Map [Map].
- Click Run.
- Add a new field named ParentGlobalID to the new feature class.
- In the Contents pane, right-click the new feature class and click Data Design > Fields.
- In the fields view, click Click here to add a new field.
- For Field Name and Alias, type ParentGlobalID.
- For Data Type, double-click the cell and select GUID.
- On the Fields ribbon tab, in the Manage Edits group, click Save.
Note:
Corresponding fields in the feature class attribute table must be created for all repeat questions in ArcGIS Survey123 Connect. The Field Name must match the question name in the XLSForm, and the Data Type must match the question type in the XLSForm.
- Search for and select Create Relationship Class (Data Management Tools).
- In the Create Relationship Class pane, for Origin Table, select the existing feature class.
- For Destination Table, select the new feature class.
- For Output Relationship Class, click the Browse button, specify the name and location in the Output Relationship Class window, and click Save.
- For Relationship Type, select Composite.
- For Message Direction, select Forward (origin to destination).
- For Cardinality, select One to many (1:M).
- For Origin Primary Key, select GlobalID.
- For Origin Foreign Key, select ParentGlobalID. Click Run.
- Save the project and overwrite the web feature layer before republishing the survey in ArcGIS Survey123 Connect.
Article ID: 000032912
- ArcGIS Online
- ArcGIS Pro 3 1
- ArcGIS Pro 3 3
- ArcGIS Survey123 Connect
- ArcGIS Pro 3 2
Get support with AI
Resolve your issue quickly with the Esri Support AI Chatbot.


Related Information
Discover more on this topic
Search for related information
Find training related to this topic
Explore ideas and give feedback
Get help from ArcGIS experts
Start chatting now