HOW TO
Create a 3D map from a polygon feature layer in ArcGIS Pro
Summary
Creating a 3D map with a polygon feature layer in ArcGIS Pro involves converting the polygon layer into a raster dataset. This process is essential for integrating elevation and spatial details required for effective 3D visualization. 3D maps provide several benefits, including improved terrain analysis, enhanced urban planning support, and more informed decision-making through realistic and interactive visualizations. This article outlines the workflow to create a 3D map from a polygon feature layer in ArcGIS Pro.
Procedure
- Open the ArcGIS Pro project with the polygon feature layer.
- Convert the 2D map to a 3D scene. Refer to ArcGIS Pro: Create a scene from the map for instructions. In this example, the map is converted to a local scene.
Note:
If multiple polygon feature layers are present, use the Merge tool to combine them layers into a single layer.
- Convert the polygon feature layer to point features using the Feature To Point tool.
- Convert the point features to a raster dataset using the Feature to Raster tool.
- Create a new elevation surface layer from the raster dataset.
- In the Contents pane, under 2D Layers, right-click the raster layer and click Elevation > Create Surface Layers From Sources.
- In the Contents pane, under Elevation Surfaces, click and drag the new elevation surface layer above the Ground elevation surface layer, if required.
- Change the elevation properties for the raster layer. Refer to ArcGIS Pro: Elevation types for instructions and configure the following settings.
- On the Elevation tab, for Features are, ensure the On a Custom surface option is selected.
- For Custom Surface, ensure the new elevation surface layer is selected.
- Click Apply > OK.
- Increase the vertical exaggeration for the new elevation surface layer. Refer to ArcGIS Pro: Change the appearance of elevation surface layers for instructions.
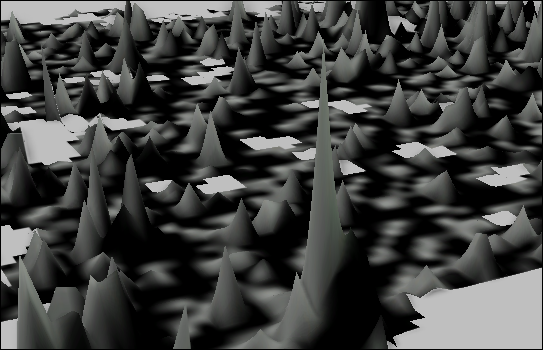
The image below shows the 3D map created from the polygon feature layer.
Article ID: 000034691
- ArcGIS Pro 3 3
- ArcGIS Pro 3 2
- ArcGIS Pro 3 4
Get support with AI
Resolve your issue quickly with the Esri Support AI Chatbot.


Related Information
Discover more on this topic
Search for related information
Find training related to this topic
Explore ideas and give feedback
Get help from ArcGIS experts
Start chatting now