Frequently asked question
Is there a way to add an image file as a georeferenced image to an ArcGIS Online web map?
Image files contain no geographic data as to how the areas correspond to locations on the Earth’s surface. The image below shows an image file with no geographic data in an ArcGIS Online web map.
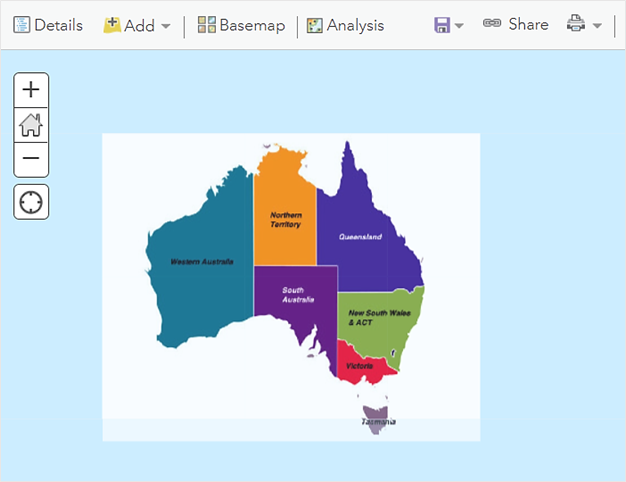
Note that the image is not projected to its exact location on the Earth’s surface because images containing no geographic data are projected on-the-fly. Refer to ArcGIS Blog: Projection on the fly and geographic transformations for more information.
By georeferencing, the image file is overlaid with real-world vector data wherein areas on the map correspond to locations on the Earth’s surface, thus providing valuable information for analysis.
To add an image file as a georeferenced image to an ArcGIS Online web map, the image must be georeferenced in ArcGIS Pro, and published as a hosted tile layer in ArcGIS Online. To do so, follow the steps below.
- Launch ArcGIS Pro, and log in to ArcGIS Online with privileges to create content, and publish hosted tile layers.
- In the Catalog pane, on the Project tab, click Folders to add a folder connection to the folder wherein the image and reference layer are stored. Refer to ArcGIS Pro: Connect to a folder for steps to do this.
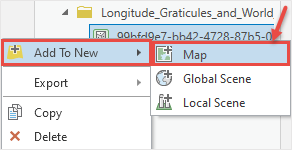
- Right-click the reference layer in the folder, and click Add To New > Map.
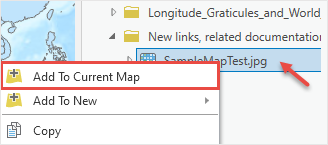
- Right-click the image to georeference, and click Add To Current Map.
Note:
The Unknown Coordinate System pop-up is displayed at the top-right corner after adding the image to the map as the image contains no geographic data.

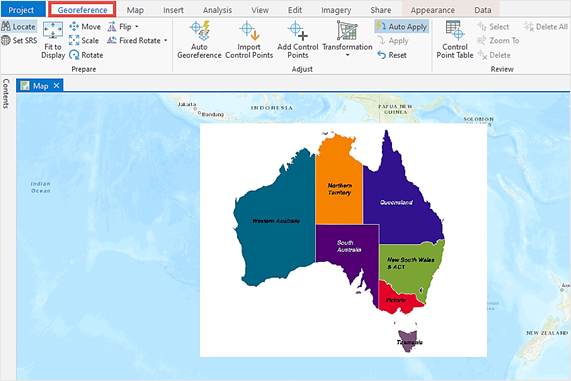
- Georeference the image file based on the reference layer. Refer to ArcGIS Pro: Georeference a raster to a referenced layer for steps to do this.
The image below shows the image file georeferenced in ArcGIS Pro.
- Publish the image as a hosted tile layer to ArcGIS Online. Refer to ArcGIS Pro: Share a web tile layer for steps to do this.
- Log in to ArcGIS Online. Click Content > My Content.
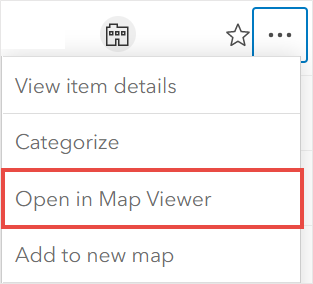
- Navigate to the published hosted tile layer, click More Options
 , and click Open in Map Viewer.
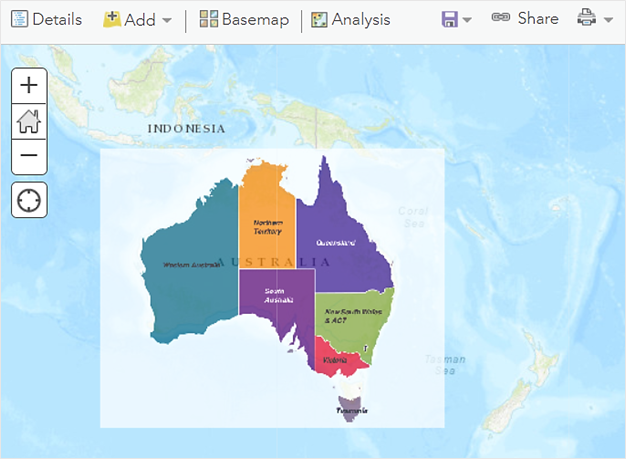
The image below shows the georeferenced image projected in an ArcGIS Online web map as a hosted tile layer.
Article ID: 000024598
- ArcGIS Online
- ArcGIS Pro 2 x
Get support with AI
Resolve your issue quickly with the Esri Support AI Chatbot.


Related Information
Discover more on this topic
Search for related information
Find training related to this topic
Explore ideas and give feedback
Get help from ArcGIS experts
Start chatting now