操作方法
操作方法:将照片上传到 Site Scan Manager for ArcGIS
摘要
After flying a survey with the Site Scan Flight for ArcGIS mobile app, photos can be uploaded either directly from the app or from a computer using Site Scan Manager for ArcGIS. Refer to How To: Transfer drone images to an iPad and manage them in Site Scan for ArcGIS for more information.
过程
Use the Site Scan Flight for ArcGIS app
- In Site Scan Manager, tap on Projects. Navigate to the project selected before performing the flight.
- Inside the project is a flight list. If the newest flight is not listed, connect the iPad's Wi-fi and open the Site Scan Flight app to sync the new data.
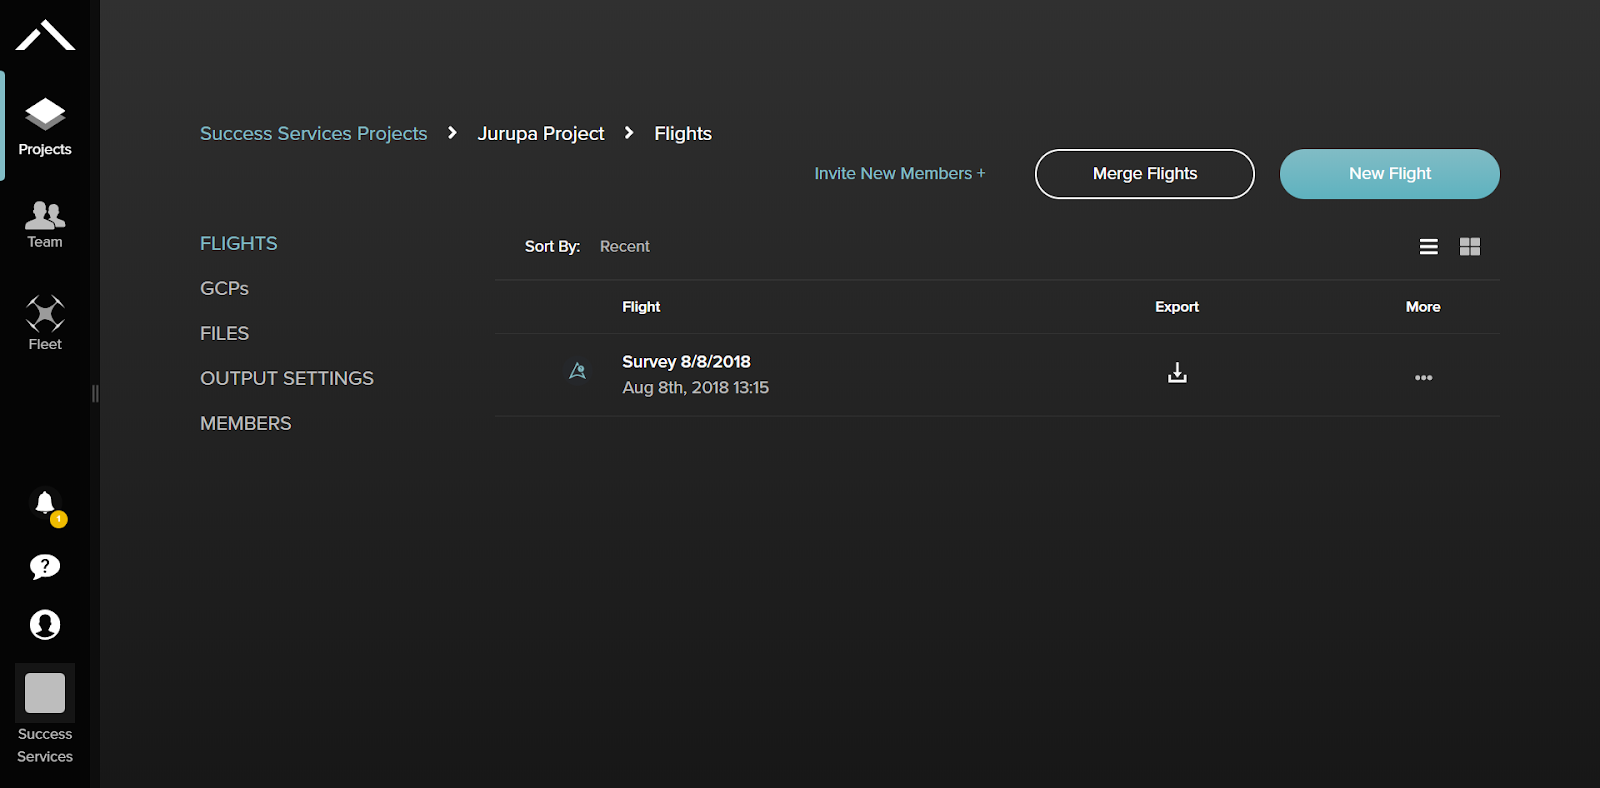
- After selecting the corresponding flight performed, the screen changes to the map view. Note that the flight does not contain data and the user interface tabs are inactive.
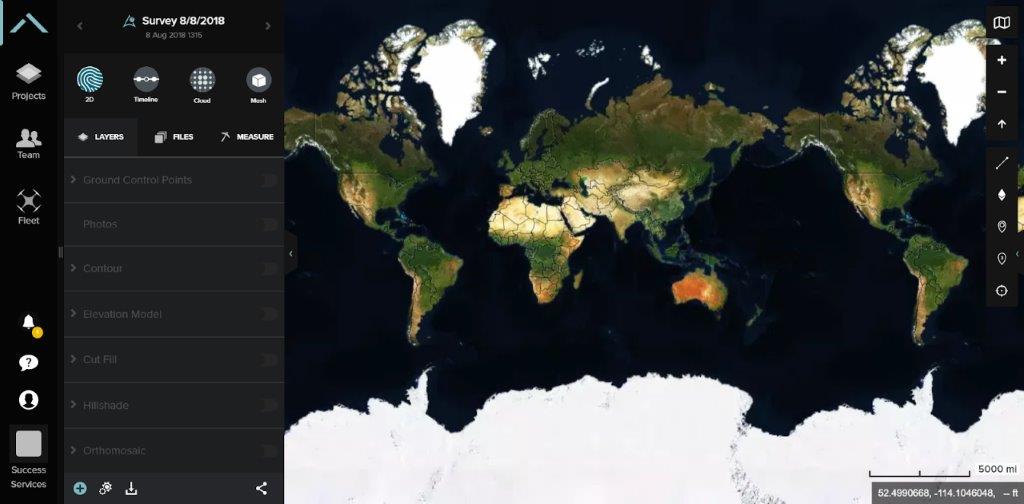
- Upload the photos to the empty flight using the plus (+) button at the bottom-left corner of the screen.
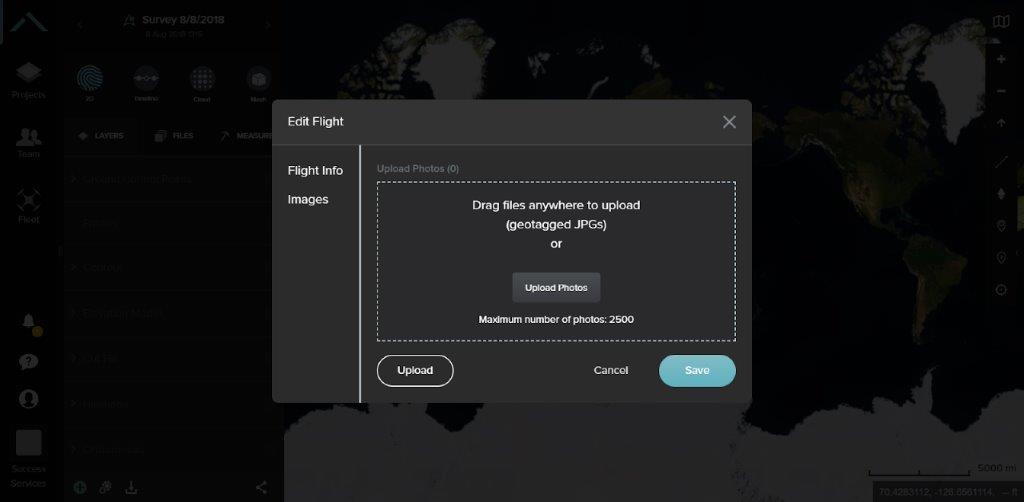
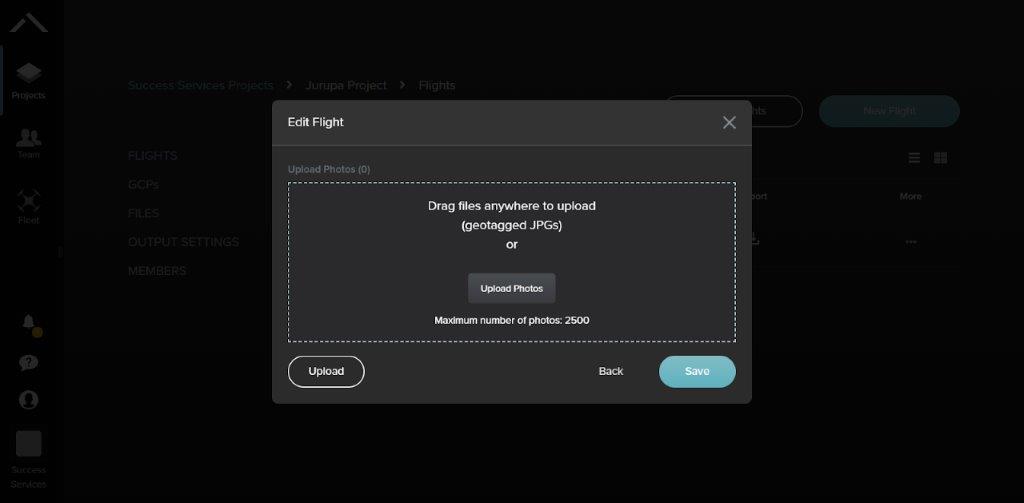
- Tap Photos from the menu, and the Edit Flight window opens.

- In the Edit Flight window, drag and drop the images to upload, or browse for a location on the computer using the Upload Photos button.
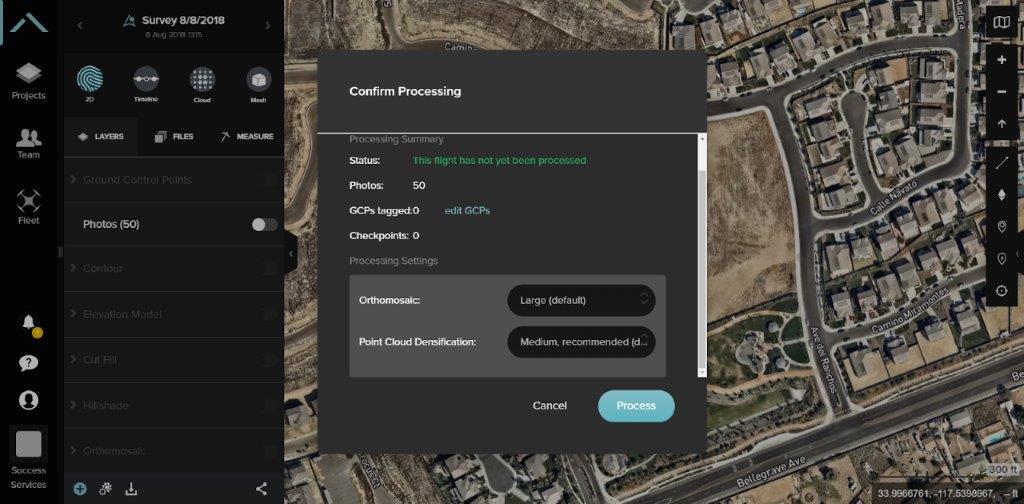
- After uploading and saving the images, start processing the flight by clicking the gear icon, next to the plus sign button at the bottom-left of the screen.
- In the Confirm Processing window, click Process.

Uploading images to Site Scan for ArcGIS Manager without using the Site Scan for ArcGIS Flight Planning app
- From the Projects menu, select the project to upload the photos to.
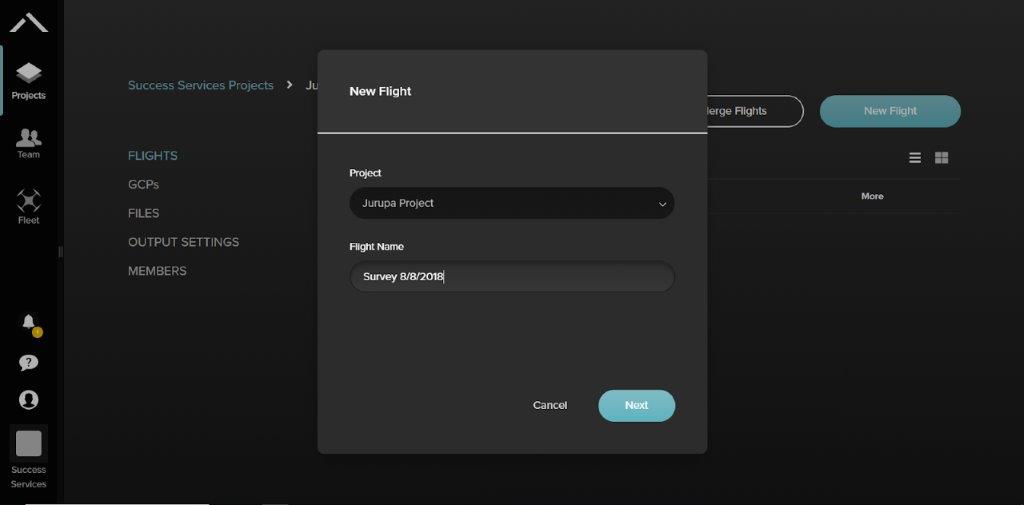
- Click the New Flight button to open a New Flight window.

- Enter a Flight Name and click Save.
- In the Edit Flight window, drag and drop the photos to the window, or click the Upload Photos to browse for them on the computer.
- After uploading and saving the photos, start processing the flight by clicking the gear icon on the bottom-left corner.
- In the Confirm Processing window, click Process.
文章 ID: 000023028
获得人工智能支持
使用 Esri Support AI Chatbot 快速解决您的问题。


相关信息
发现关于本主题的更多内容
Search for related information
Find training related to this topic
Explore ideas and give feedback
获取来自 ArcGIS 专家的帮助
立即开始聊天