HOW TO
Include ArcGIS Survey123 photo attachments in an automated email notification using Microsoft Power Automate
Summary
When survey responses with photo attachments are submitted in ArcGIS Survey123, it is useful to include the photo attachments in an automated email notification instead of viewing the photo attachments on the Data tab of the ArcGIS Survey123 website. This article demonstrates how to configure a Microsoft Power Automate webhook to include ArcGIS Survey123 photo attachments in an automated email notification.
Note:
This method can create multiple emails, one for each attachment in the response. In this situation, a better method may be that described in the Esri Community blog: Survey123 Tricks of the Trade: Working with attachments in Microsoft Power Automate
Before performing this workflow, ensure the following requirements are met:
- A Microsoft Power Automate account with the capabilities to use premium actions is created.
- The survey is published in ArcGIS Survey123 version 3.10 or higher.
- Survey responses are collected from the ArcGIS Survey123 field app version 3.10 or higher.
- The survey’s photo question is set as required to ensure the automation workflow runs successfully each time a survey response is submitted.
- For public surveys, ensure the ‘Editors can see all features’ option is enabled for the SurveyName_form (formerly known as SurveyName_fieldworker) hosted feature layer view in ArcGIS Online.
Note:
Microsoft Power Automate is a third-party service. Esri is not liable for positioning inaccuracies, subsequent updates, errors, or omissions of data.
In this article, a survey response with a photo attachment is submitted in ArcGIS Survey123, and the photo attachment is included in an automated Office 365 Outlook email notification via Microsoft Power Automate.
Procedure
- In Microsoft Power Automate, navigate to My flows > New flow > Automated cloud flow.
- In the Build an automated cloud flow window, specify the Flow name.
- Under Choose your flow’s trigger, search for ‘Survey123’, and select When a survey response is submitted. Click Create.
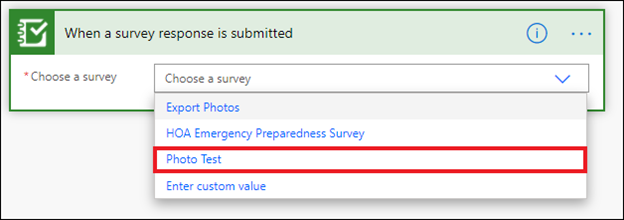
- Under When a survey response is submitted, click the Choose a survey drop-down menu, and select the desired survey. In this example, a survey titled Photo Test is selected.
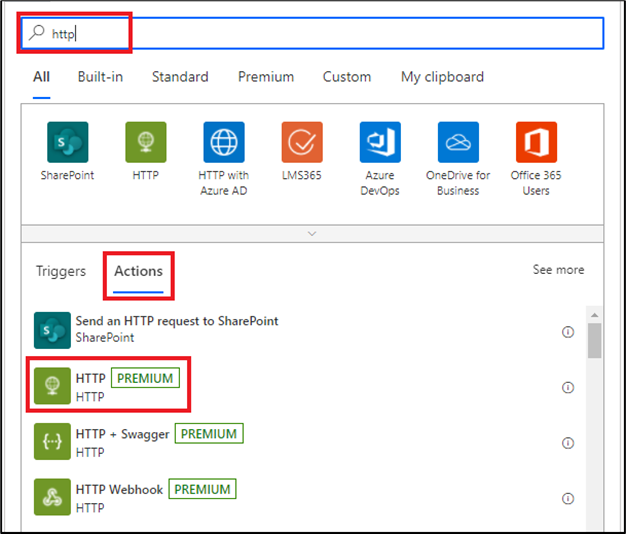
- Click New Step, and add the HTTP action.
- In the Choose an operation window, search for and select HTTP on the Actions tab.
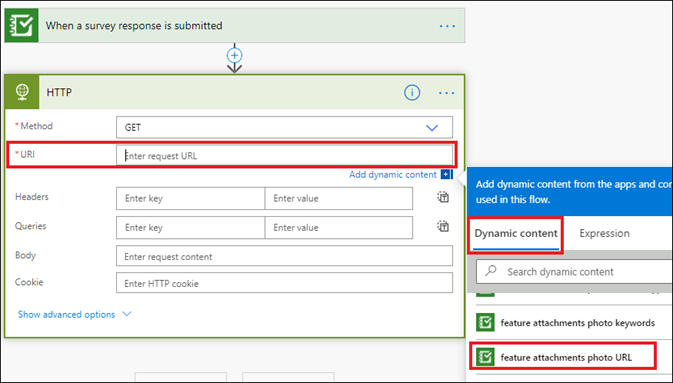
- Under HTTP, click the drop-down arrow of the Method field, and select GET.
- For the URI field, click the Enter request URL bar, and on the Dynamic content tab, select feature attachments <field_name> URL.
Note:
Steps 6 and 9 are not required for public surveys.
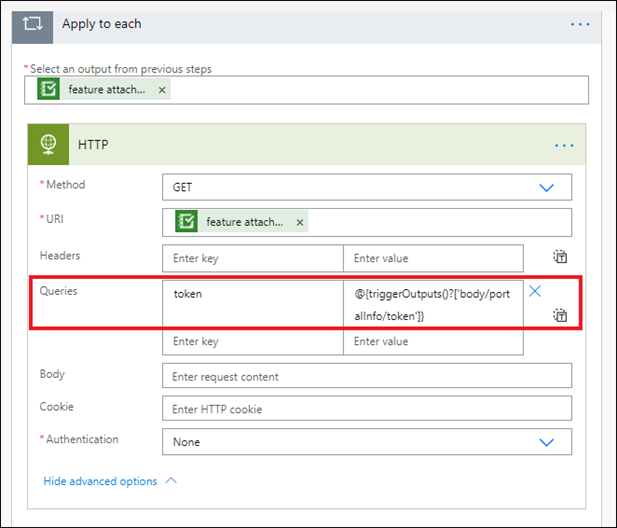
- For a secured survey, add a token query to the HTTP action.
- In the Apply to each window, click HTTP.
- In the Queries section, type token for the Enter key field, and type @{triggerOutputs()?['body/portalInfo/token']} for the Enter value field.
- In the Apply to each window, add the Send an email action.
- Click Add an action. In the Choose an operation window, search for ‘Send an email’.
- On the Actions tab, select the mailing connector. In this example, Office 365 Outlook is selected as the connector to send an automated email notification when a survey response is submitted.
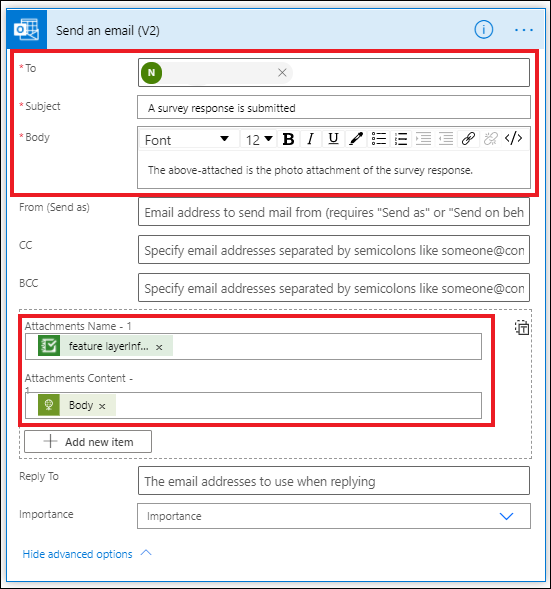
- In the Send an email window, specify the email address of the recipient, the subject, and the content of the email.
- Click Show advanced options. Click the Attachments Name – 1 field, and select feature attachments <field_name> name to populate the name of the survey’s photo attachment.
- Click the Attachments Content - field, and select Body (the output of the HTTP action) to attach the survey’s photo attachment to the email.
- Click Save to save the flow.
- On the ArcGIS Survey123 website, enable portal info in the payload for the survey.
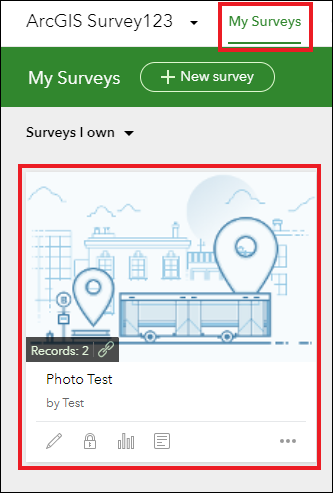
- Log in to the ArcGIS Survey123 website, click My Surveys, and click the survey with the Microsoft Power Automate webhook to view it.
- On the survey page, on the Settings tab, click Webhooks, and click Edit
 to edit the webhook.

- On the Edit webhook page, in the Event data section, check the Portal info check box, and click Save.

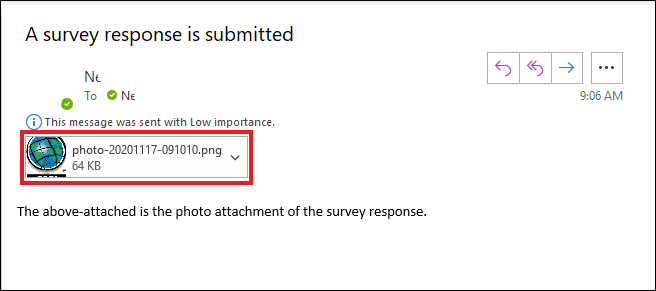
The image below shows the survey’s photo attachment included in the automated email notification when the survey response is submitted in ArcGIS Survey123.
Article ID: 000024579
- ArcGIS Online
- Third Party Product
- ArcGIS Survey123 Field App iOS
- ArcGIS Survey123 Website
Get support with AI
Resolve your issue quickly with the Esri Support AI Chatbot.


Related Information
Discover more on this topic
Search for related information
Find training related to this topic
Explore ideas and give feedback
Get help from ArcGIS experts
Start chatting now