HOW TO
Export each time slice from a netCDF layer as a single raster (*.tif) in ArcGIS Pro
Summary
When analyzing netCDF data, the option to have separate raster layers for each time slice is useful for monitoring minute differences between the data for a more precise analysis. This article provides the workflow to export each time slice from a netCDF layer as a single raster (*.tif) in ArcGIS Pro.
Procedure
- Download the toolbox and sample data from the following link: NetCDF_time_slice_to_Raster.zip
- Launch ArcGIS Pro, and create a new project.
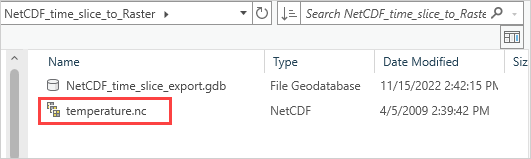
- In the Catalog pane, connect to the folder containing the NetCDF_time_slice_to_Raster file. Refer to ArcGIS Pro: Connect to an existing folder for instructions.
- In the Geoprocessing pane, search for and click the Make NetCDF Raster Layer tool. Refer to ArcGIS Pro: Run a geoprocessing tool for instructions.
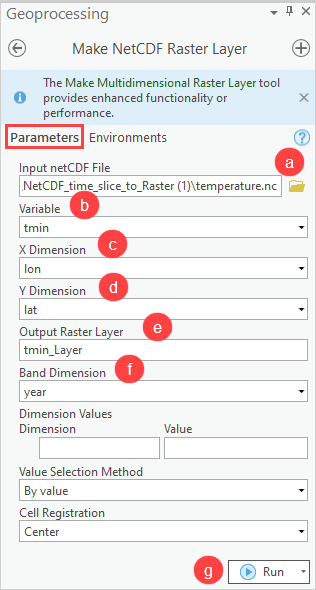
- In the Make NetCDF Raster Layer pane, configure the Parameters tab.
- For Input netCDF File, click Browse
 and select the temperature.nc file.
- For Variable, select ‘tmin’ from the drop-down list.
- For X Dimension, select ‘lon’ from the drop-down list.
- For Y Dimension, select ‘lat’ from the drop-down list.
- Provide a name the layer for Output Raster Layer.
- For Band Dimension, select ‘year’ from the drop-down list.
- Click Run. The netCDF layer is automatically added to the Contents pane after the tool successfully runs.
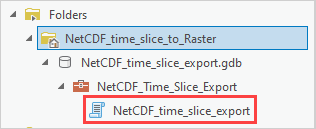
- In the Catalog pane, navigate to Folders, browse to and click the geodatabase. Click NetCDF_Time_Slice_Export > NetCDF_time_slice_export. Open the script tool.
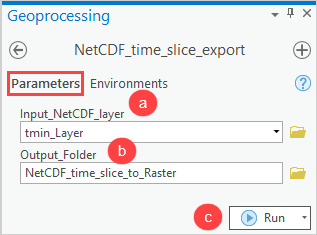
- In the NetCDF_time_slice_export pane, configure the Parameters tab.
- Select the netCDF layer from the Input_NetCDF_layer drop-down list.
- In Output_Folder, click Browse
 to specify the location for the folder.
 - Click Run.
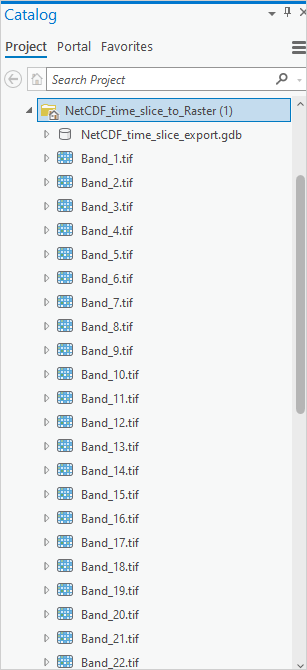
- In the Catalog pane, right-click the NetCDF_time_slice_to_Raster folder and click Refresh.
The image below shows each time slice from the netCDF layer as single raster layers (*.tif).
Article ID: 000028795
- ArcGIS Pro 3 0
- ArcGIS Pro 2 8 x
- ArcGIS Pro 2 x
Get support with AI
Resolve your issue quickly with the Esri Support AI Chatbot.


Related Information
Discover more on this topic
Search for related information
Find training related to this topic
Explore ideas and give feedback
Get help from ArcGIS experts
Start chatting now