HOW TO
Create a polygon from the map frame extent in ArcGIS Pro
Summary
In ArcGIS Pro, a map frame displays a specific extent of the open map view on a layout. Interactions in the map view, including zooming and panning, do not affect the map frame because the two extents operate independently. In large-area projects with multiple map frames, converting the extents into polygon features provides a reliable method to verify full spatial coverage of the area of interest. For example, in pipeline projects, polygons showing the map frame extent can be used to track which corridor sections have been mapped and reveal any remaining gaps requiring further attention.
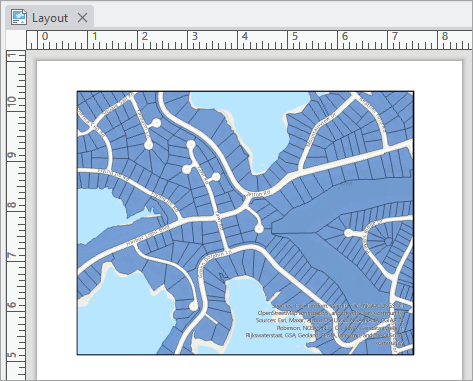
This article provides the workflow to create a polygon from the map frame extent in ArcGIS Pro. The following map frame is used to illustrate the process.
Procedure
- Open the ArcGIS Pro project.
- Copy the map frame extent.
- On the layout view, right-click the map frame and click Properties.
- On the Element pane, click the Display Options
 tab.
tab. - Under Location Settings, click Extent….
- In the Map Frame Extent dialog box, for Display Units, click the drop-down arrow and select an appropriate unit from the drop-down list. Ensure the selected unit matches the coordinate system of the map frame. In this example, the map frame uses the WGS 1984 Web Mercator Auxiliary Sphere coordinate system, which operates in meters, so Spatial Reference (Meters) is selected as the display unit.
- Under Selected extent, click Copy all extent values
 .
. - Click OK.
- Paste the copied values on a word editor.
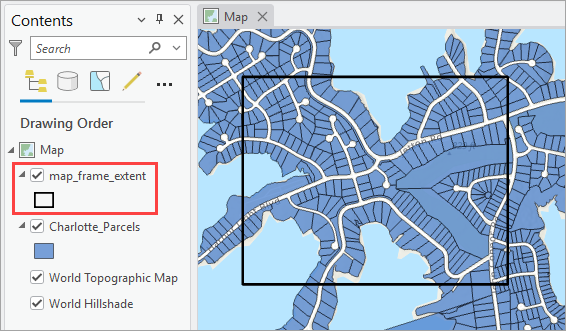
- Create the polygon using the Create Fishnet tool. This tool generates a feature class containing a net of rectangular cells, with a defined spatial extent set to match the desired map frame.
- On the layout view, click the Analysis tab on the ribbon.
- In the Geoprocessing group, click Tools.
- In the Geoprocessing pane, search and click for Create Fishnet (Data Management Tools).
- In the Create Fishnet pane, for Output Feature Class, specify a name. Click Browse and specify a location for the output feature class.
- For Template Extent, expand X and Y Extent, copy the values from the word editor and paste into the Top, Left, Right and Bottom parameters accordingly.
- For Number of Rows and Number of Columns, to create a single extent polygon, specify 1 for each of these parameters.
- Optionally, uncheck the Create Label Points check box. Refer to ArcGIS Pro: Parameters for more information. In this example, this option is unchecked since the label point feature layer located at the center of the output polygon is not required.
- For Geometry Type, click the drop-down arrow and select Polygon.
- Click Run.
The output polygon with a matching extent is added to the Contents pane and displayed on the map view.
Article ID: 000036692
- ArcGIS Pro
Get support with AI
Resolve your issue quickly with the Esri Support AI Chatbot.


Related Information
Discover more on this topic
Search for related information
Find training related to this topic
Explore ideas and give feedback
Get help from ArcGIS experts
Start chatting now