HOW TO
Exportieren einer Attributtabelle von ArcMap nach Microsoft Excel
Zusammenfassung
The instructions provided describe a few methods to export an attribute table from ArcMap to Microsoft Excel.
Note:
Before the release of Office 2007, Microsoft Excel was limited to 65,536 rows and 256 columns. This was increased to 1,048,576 rows and 16,384 columns as of Office 2007.
However, the .xls file output for the Table to Excel tool has a limitation of 65,535 rows and 256 columns.
Vorgehensweise
Use the Table to Excel tool in ArcMap
- Open the .mxd project in ArcMap.
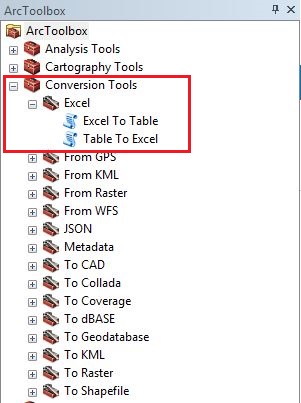
- Open the Table To Excel tool by navigating to ArcToolbox > Conversion Tools > Excel > Table To Excel.
- In the Table To Excel window, specify the Input Table from the drop-down list, or drag and drop the feature class from the Layers pane into the Input Table section.
- For Output Excel File, specify the folder location and name of the output table.
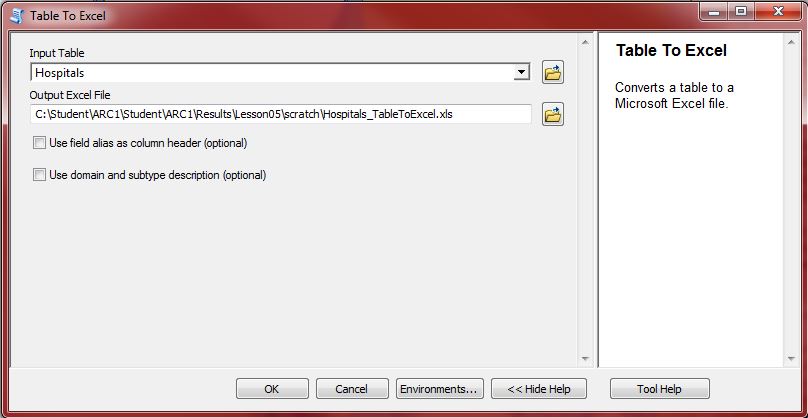
- Click OK. The Excel file is created in the designated output location.
Copy and paste all records in the attribute table into the Excel file
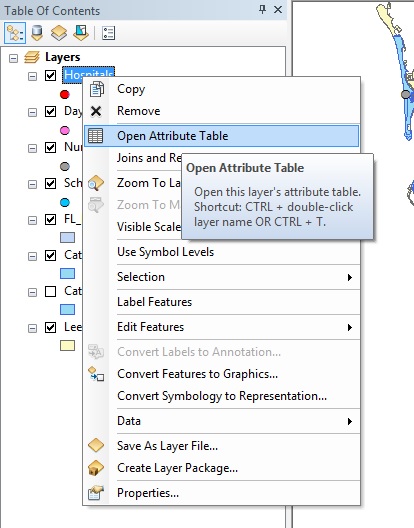
- Open the .mxd project in ArcMap.
- Open the layer's attribute table by right-clicking the feature class, and click Open Attribute Table.
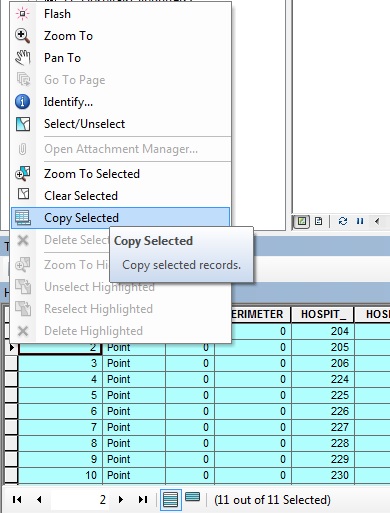
- In the attribute table, click the Table Options icon > Select All.
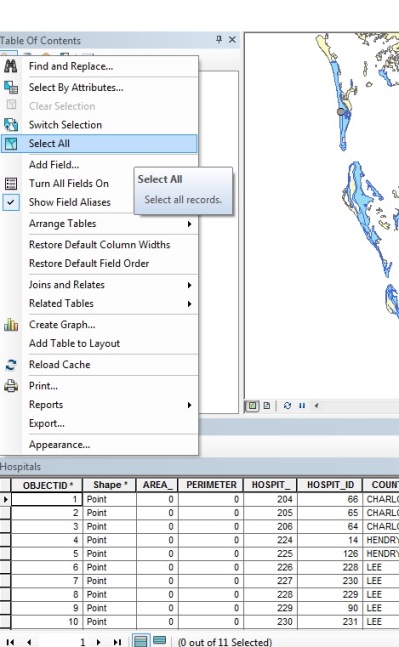
- Right-click the left-most column of the attribute table, and select Copy Selected.
- Open Microsoft Excel.
- Right-click cell A1 of the Excel file, and select Paste.
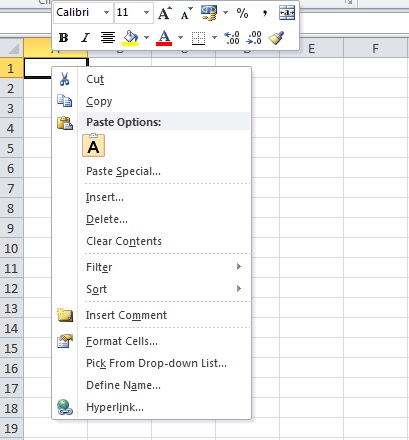
- Save the file.
Export the attribute table to a CSV file
- Open the .mxd project in ArcMap.
- Open the layer's attribute table by right-clicking the feature class, and click Open Attribute Table.
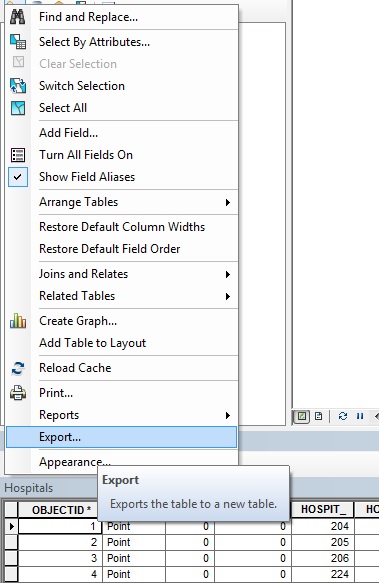
- Click the Table Options icon > Export.
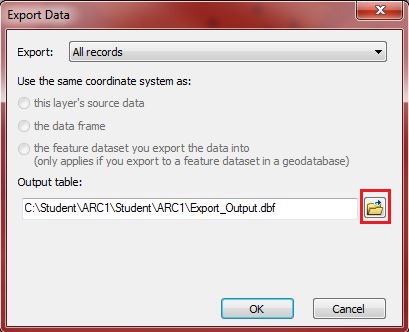
- In the Export Data window, under Output table, click the browse button and navigate to a location to save the exported attribute table.
- In the Saving Data window, for the Save as type section, click the drop-down list, and select Text File.
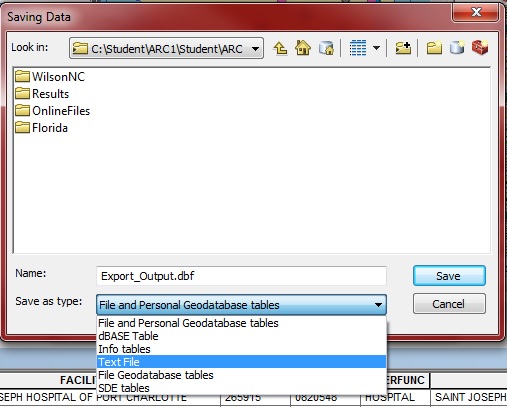
- For the Name section, specify the desired name and change the file extension from .txt to .csv in the name.
- Click Save.
- Navigate to the folder location through Windows Explorer to view the .csv file in Microsoft Excel.
Artikel-ID: 000012471
Holen Sie sich Unterstützung mit KI
Lösen Sie Ihr Problem schnell mit dem Esri Support AI Chatbot.


Zugehörige Informationen
Weitere Informationen zu diesem Thema erkunden
Search for related information
Find training related to this topic
Explore ideas and give feedback
Unterstützung durch ArcGIS-Experten anfordern
Beginnen Sie jetzt mit dem Chatten