操作方法
操作方法:使用 Site Scan Flight for ArcGIS 执行交叉影线测量
摘要
Compelling and precise point clouds and meshes of buildings can be generated by adjusting the gimbal angle from within the Site Scan Flight for ArcGIS app. Oblique images can be used stand-alone, or incorporated into the photogrammetry process to include the orthomosaic, mesh or model generated. This is because nadir imagery is generally not sufficient to build an accurate point cloud of a site containing vertical surfaces.
过程
To perform a Crosshatch Survey:
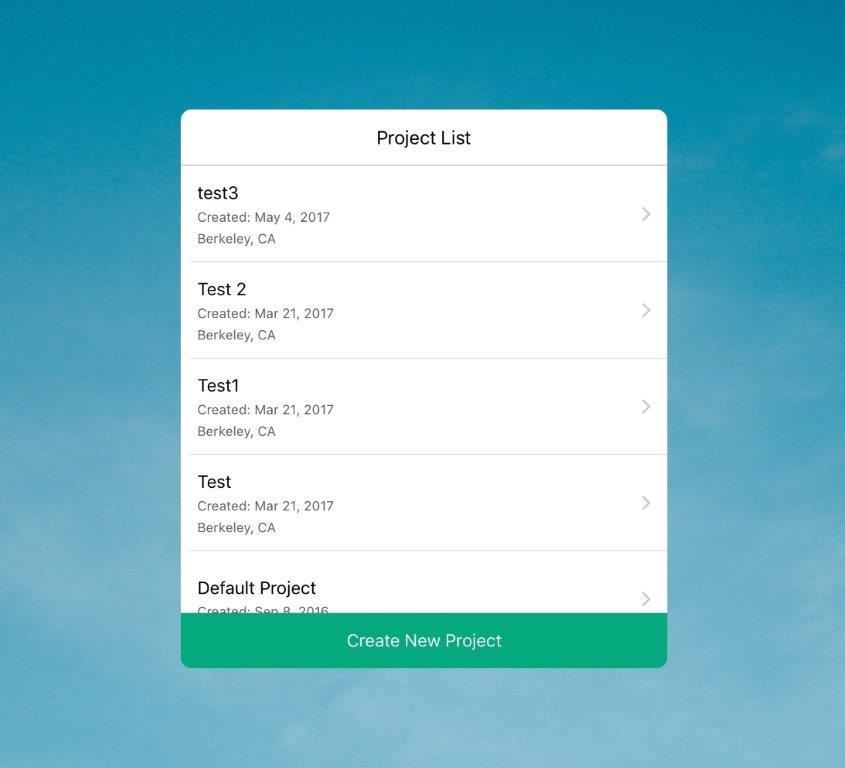
- Open the ArcGIS Flight app, and select the desired project for this job to go into, or tap Create New Project.
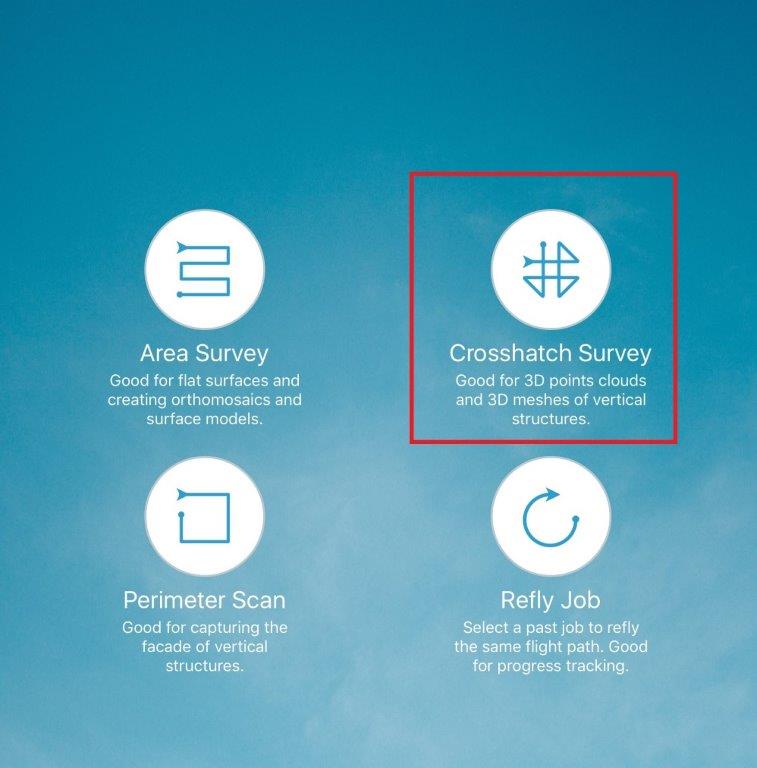
- Select Crosshatch Survey from the Flight Modes screen.
- Once on the map screen, make the necessary changes to the survey's Altitude and Gimbal Angle directly from the Flight Settings menu by moving the sliders. When changing the gimbal angle, the closer it is to nadir, the more the camera points directly to the ground. At zero degrees, the camera is facing directly downward (nadir).
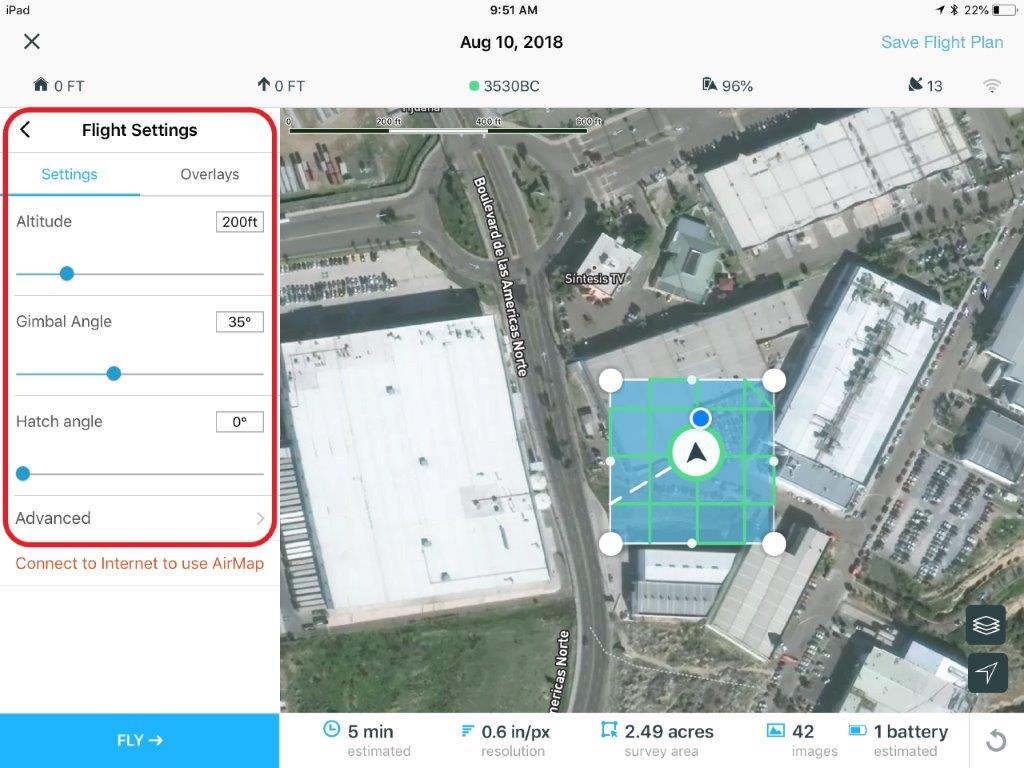
Set the angle and altitude of the survey appropriately, based on the structure of interest. In this example, a Crosshatch Survey was done in an industrial park with factories, so a 200-foot altitude with a 25-degree angle on the gimbal was used. For oblique image acquisition, Esri recommends having the gimbal angle set between 25 and 35 degrees.
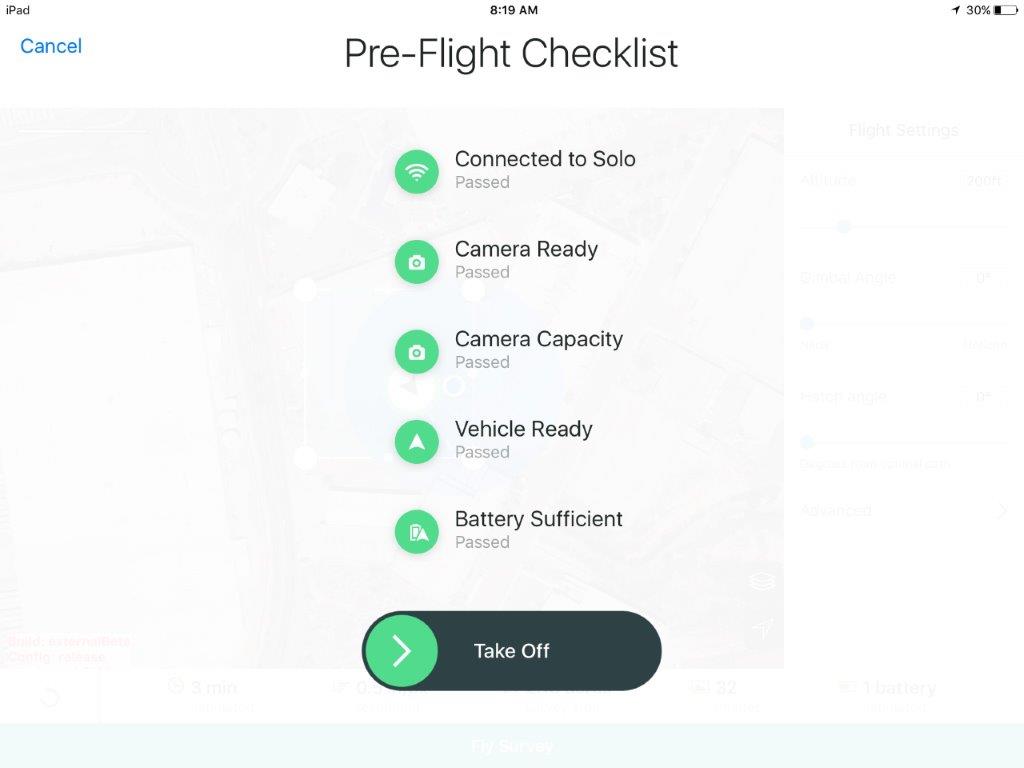
- Once finished planning the Crosshatch Survey, tap the Fly button on the bottom of the screen. After checking the Pre-Flight Checklist, slide the Take Off button to the right to start the flight.
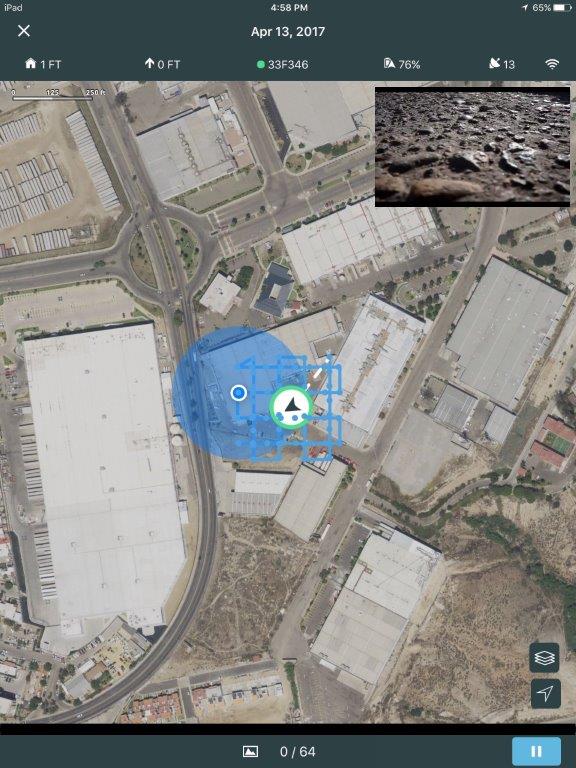
- A progress bar on the bottom of the screen indicates the progress of the mission.
- The numbers at the bottom show the number of photos taken versus the number of photos required for the mission.
- During the flight, the mission can be paused by tapping the Pause button on the bottom-right of the screen.
- After the survey is complete, the aircraft returns home.
- Upon landing, the app retrieves the flight data from the aircraft. This may take a few seconds to complete.

Jobs page
- After the flight data are retrieved, tap the X on the upper-left of the screen to go back to the Flight Modes menu. There is a notification on the upper-left, click on this button to open the Jobs page.

- Rename the job if necessary by clicking the ellipsis (…) on the top right. To wirelessly retrieve the images from the camera, tap the Get Images button at the bottom.
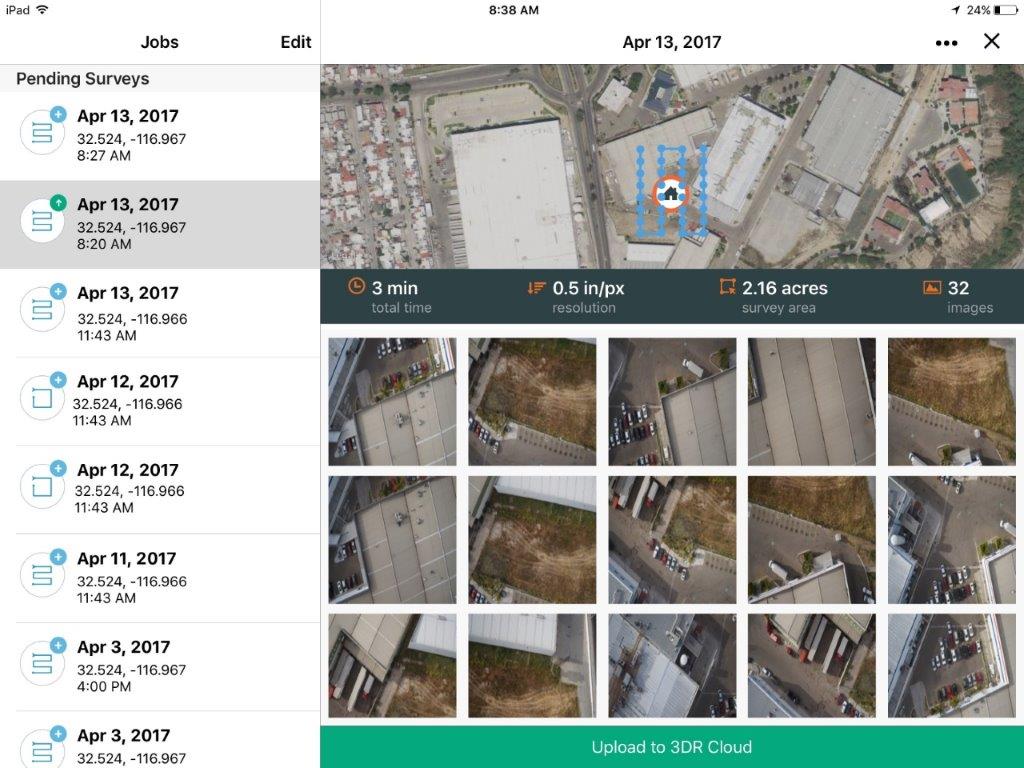
- When the download is complete, the Get Images button changes to an Upload to 3DR Cloud button. Connect to the internet to upload the images. After the upload to 3DR is complete, white check-marks display on all the uploaded images.
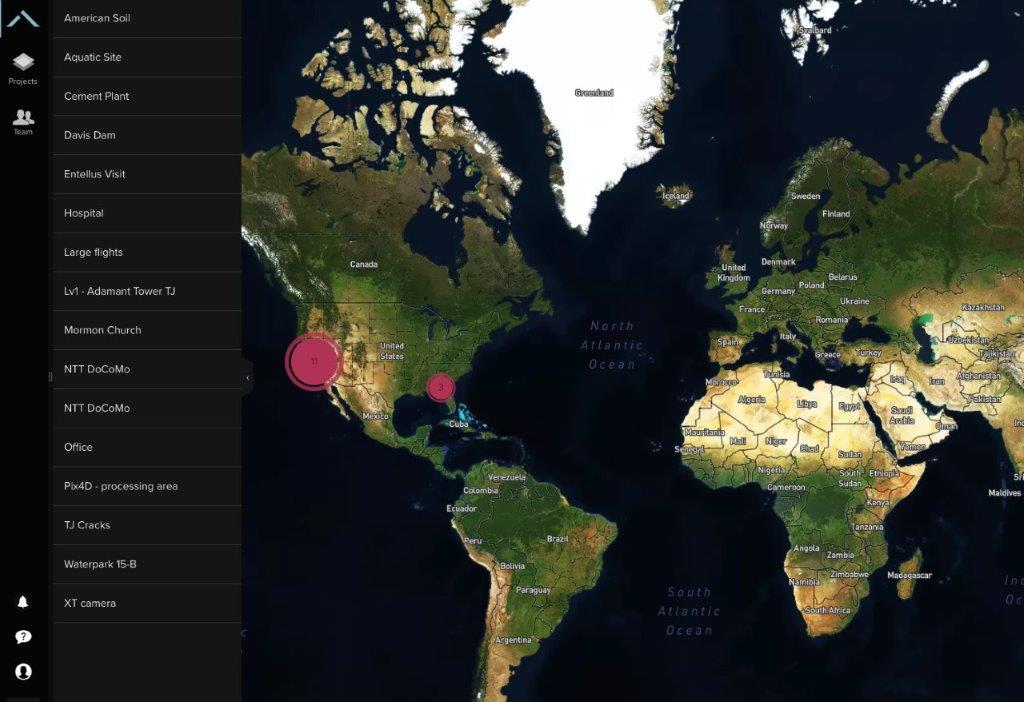
Process Flight
Whenever a flight is uploaded to Site Scan Manager for ArcGIS, processing starts automatically. To create a new flight directly from Site Scan Manager, follow the instructions below.- Log in to Site Scan Manager for ArcGIS using Site Scan credentials.
- Select the project on the left sidebar containing the flight to process.
- Alternatively, click the Projects button to select it from the Projects list.
- Click the flight name at the top-left to display a drop-down menu showing the different flights available in the project. It is also possible to use the arrows pointing left and right to scroll between the flights, ordered by date.

- Select the desired flight, and click the Process button on the bottom-left corner.
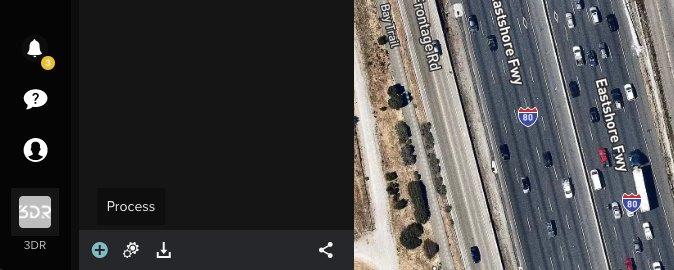
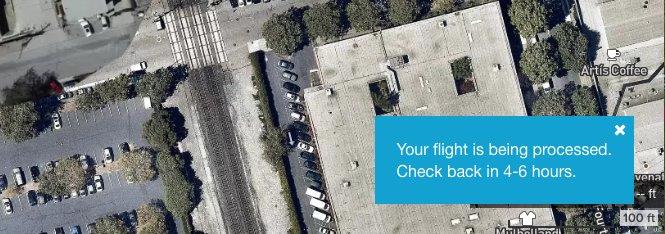
At this point, the processing phase starts. The flight processing progress is shown by the icon displayed next to the Orthomosaic section under Layers. There is also a pop-up notification with an estimated processing time on the bottom-right corner as shown in the image below.
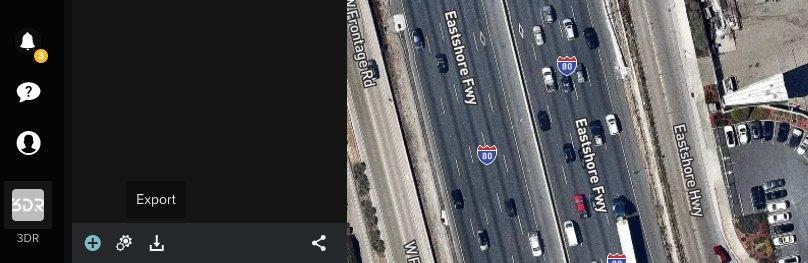
- After processing is complete, click the Export icon on the bottom left corner of the screen to open a window with all the resulting files. Click on any one to initiate the file download.
文章 ID: 000023056
获得人工智能支持
使用 Esri Support AI Chatbot 快速解决您的问题。


发现关于本主题的更多内容
Search for related information
Find training related to this topic
Explore ideas and give feedback
获取来自 ArcGIS 专家的帮助
立即开始聊天