PROCÉDURE
exporter un shapefile avec sa symbologie dans ArcGIS Pro
Résumé
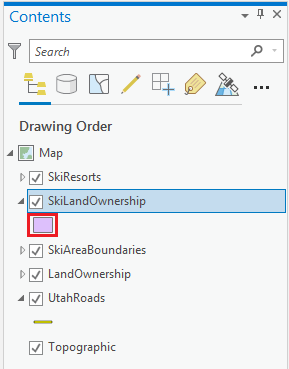
It is sometimes necessary to export a shapefile with its symbology in ArcGIS Pro to share its geographic and attribute information. However, this is a known limitation, as shapefiles do not store attribute data such as annotation, attribute relationships, and attribute domains. An exported shapefile does not retain its symbology, as shown in the image below. Refer to ArcGIS Pro: Geoprocessing considerations for shapefile output for more information.
This article describes how to add symbology to an exported shapefile by importing the symbology as a layer file.
Procédure
Export the shapefile as a new shapefile
- In the Contents pane, right-click the desired shapefile and navigate to Data > Export Features. In this example, it is LandOwnership.
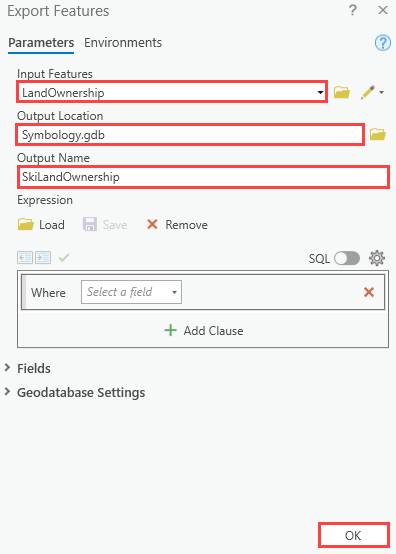
- Configure the Export Features window as follows:
- For Input Features, the feature layer is automatically selected.
- For Output Location, select the location of the output feature layer. In this example, it is Symbology.gdb.
- For Output Name, specify a name for the exported shapefile. In this example, it is SkiLandOwnership.
- Click OK.
Export the shapefile symbology as a layer file
- In the Contents pane, right-click the desired feature layer and navigate to Sharing > Save As Layer File.
- Specify a name for the layer file. In this example, the name of the saved layer file is LandOwnership.
- Click Save.
Apply the layer file to the newly created shapefile
- In the Contents pane, right-click the newly created shapefile, and click Symbology. In this example, it is SkiLandOwnership.
- In the Symbology pane, click the Menu icon
 , and click Import Symbology....
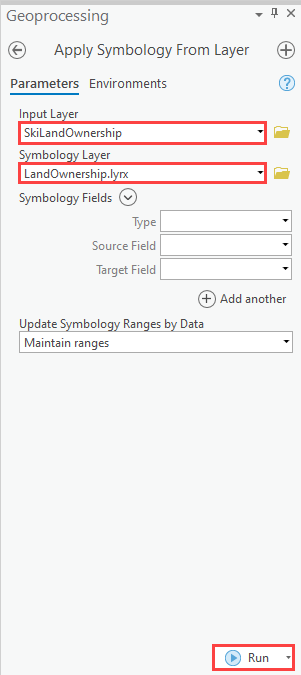
 - Configure the Apply Symbology From Layer pane as follows:
- For Input Layer, the new shapefile is automatically selected.
- For Symbology Layer, select the layer file to apply to the input layer. In this example, it is LandOwnership.lyrx.
- Click Run.
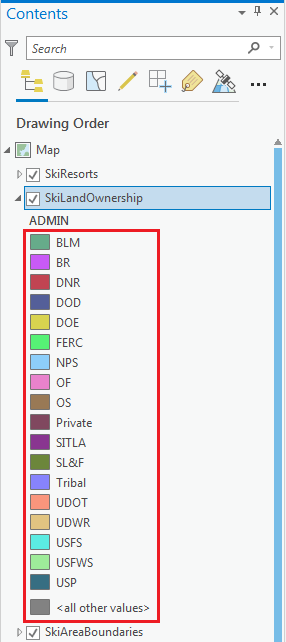
The symbology from the input shapefile is applied to the exported shapefile as shown in the image below.
ID d’article:000022735
Obtenir de l’aide auprès des experts ArcGIS
Télécharger l’application Esri Support
Informations associées
En savoir plus sur ce sujet
Search for related information
Find training related to this topic
Explore ideas and give feedback