HOW TO
Fly the Freefly Astro in ArcGIS Flight
Summary
With the September 2022 release of ArcGIS Flight, the app has added support for the Freefly Astro drone. The ArcGIS Flight-Astro integration offers a cloud-based end-to-end solution for flying, processing, and analyzing drone imagery with a US-manufactured drone.
Current limitations with Astro
- Video and Geospatial Video Logs are not yet supported.
- Firmware version, battery serial number, payload model and remote controller firmware are not yet recorded in fleet management.
- Do not background the app during flight, doing so may result in inaccurate photo count and waypoint completion progress being displayed.
- RTK is not yet supported.
Procedure
Getting started with Astro
- Review Astro documentation.
- Confirm firmware installed on your Astro is supported by ArcGIS Flight. To update firmware, refer to this Astro documentation.
Connect Site Scan Flight to Herelink controller
For the ArcGIS Flight app to communicate with the controller and drone, you must enable the controller’s hotspot and connect your iPad to the controller’s Wi-Fi network:
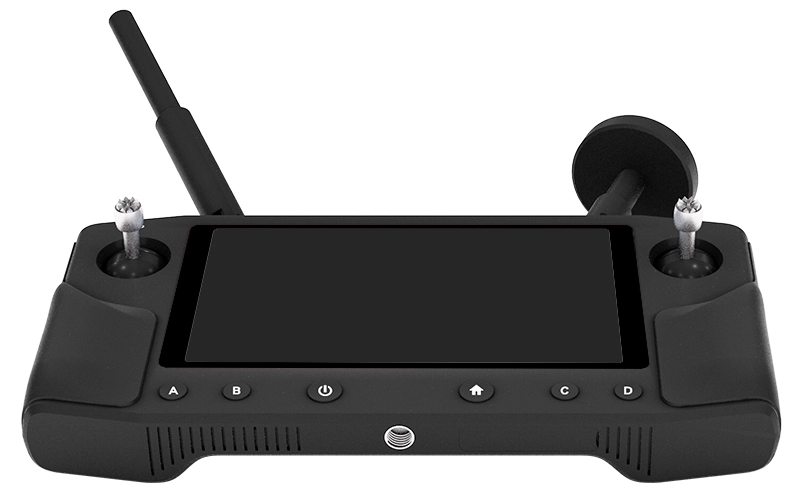
- Press and hold the power button on your controller until the screen turns on. The power button is located between the B (Altitude) and Home/Return button.
- Once the screen is on, unlock the screen by pressing the bottom middle of the screen and swiping up.
- Swipe down from the top of the screen, then tap the settings button located on the top right corner of the screen, as shown in the next image.
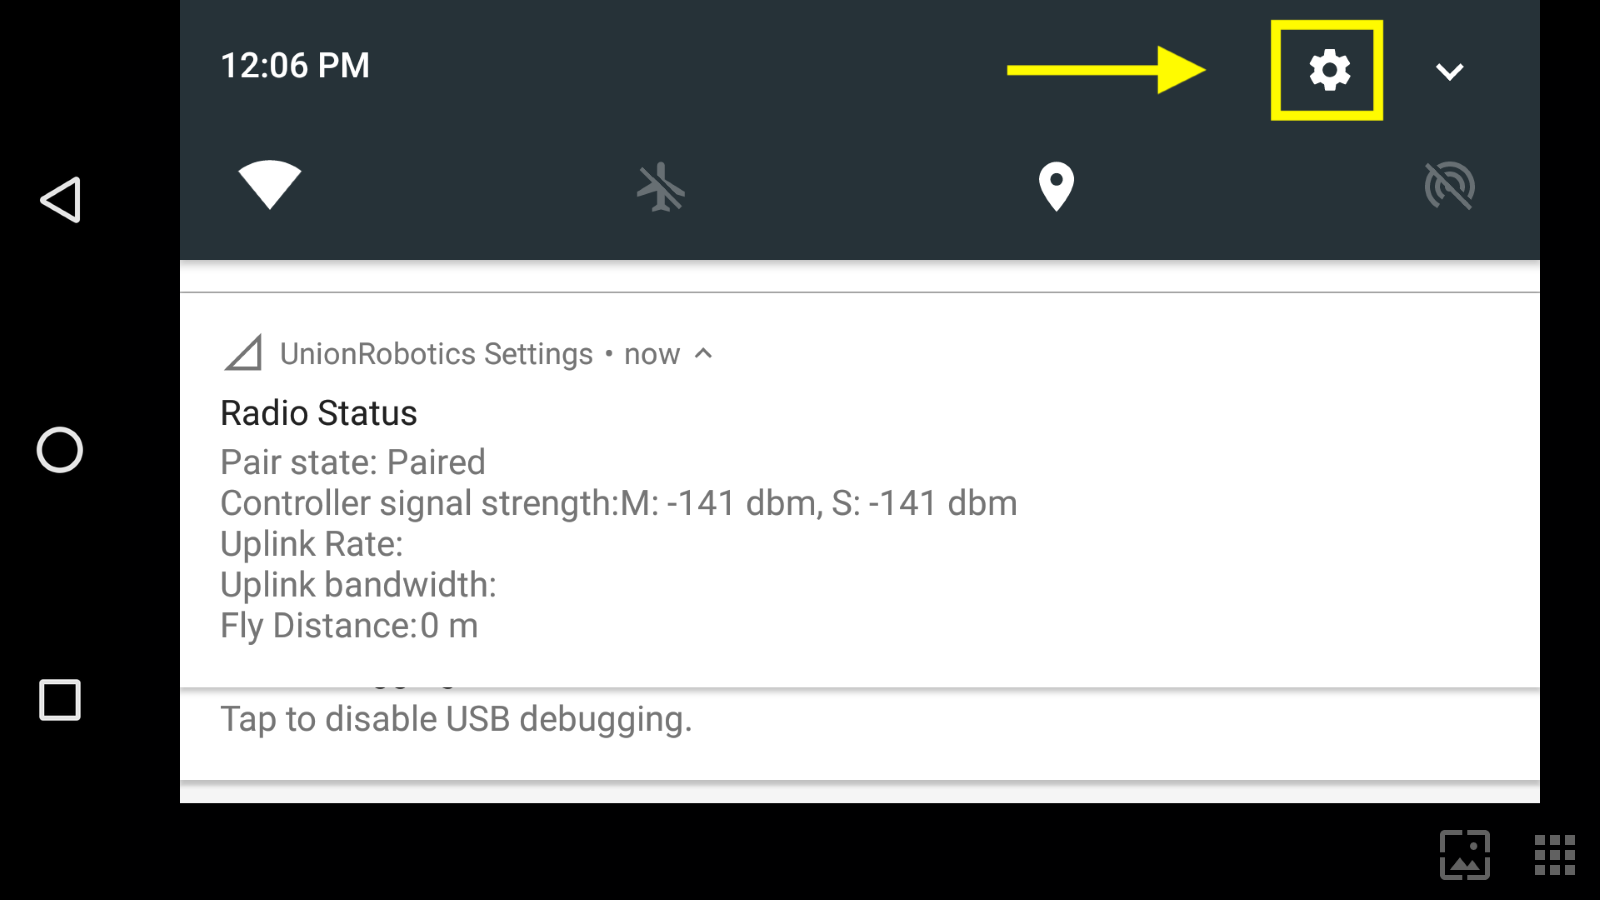
- Under “Wireless & networks”, tap the “More” option and then select "Tethering & portable hotspot".
- Enable the Portable Wi-Fi hotspot switch to bring up the hotspot settings.
- Enter the Setup Wi-Fi hotspot settings. Define a name and password for the controller network.
Note:
Make the network name easy to identify, especially if you have more than one drone flying at a time. Also, make sure to write down the network name and password since these are going to be used later during the setup.
- Go to your iPad’s settings and enable Wi-Fi.
- Connect to the Herelink controller’s network created in step 6.
- Open the flight app and navigate to the main menu.
- Select Astro from the drone list in the upper right corner.
Note:
Make sure the drone is connected. You should see telemetry data from your drone on the status bar of the ArcGIS Flight app.
The setup is now complete. Select your preferred mission type or select a flight plan and proceed with your mission.
Article ID: 000028336
- Mobile Applications
Get support with AI
Resolve your issue quickly with the Esri Support AI Chatbot.


Discover more on this topic
Search for related information
Find training related to this topic
Explore ideas and give feedback
Get help from ArcGIS experts
Start chatting now