PROBLEM
Unable to publish layers added from ArcGIS Living Atlas to ArcGIS Online in ArcGIS Pro
Description
ArcGIS Living Atlas of the World is an evolving collection of ready-to-use global geographic information. It includes imagery, basemaps, apps, and layers that are accessible in ArcGIS Online. However, when using an ArcGIS Living Atlas layer in ArcGIS Pro, publishing the layer as a hosted feature layer to ArcGIS Online fails, and the following error and warning messages are returned:
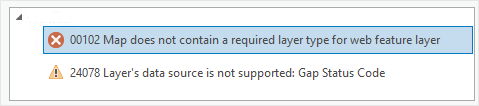
Error:
00102: Map does not contain a required layer type for web feature layer
Warning:
24078: Layer’s data source is not supported: <value>
Cause
This issue occurs when the ArcGIS Living Atlas layers are not stored as geodatabase feature classes in ArcGIS Pro. Sharing of non-geodatabase data is not supported in ArcGIS Pro.
Solution or Workaround
In ArcGIS Pro, convert the ArcGIS Living Atlas layer as a geodatabase feature class, and publish it as a web layer to ArcGIS Online.
- Open the ArcGIS Pro project.
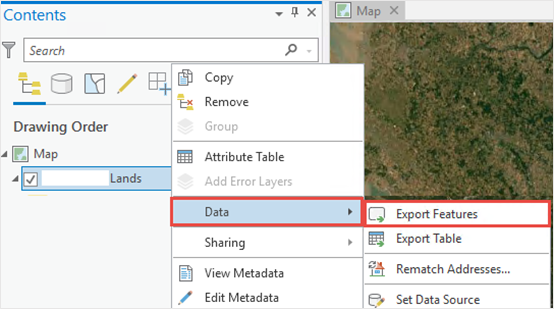
- In the Contents pane, right-click the layer added from ArcGIS Living Atlas, click Data, and Export Features.
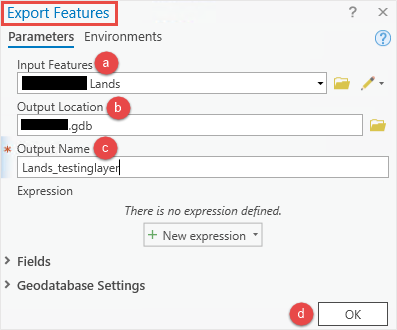
- Configure the Export Features parameters as follows:
- Select the feature layer from the Input Features drop-down list. In this example, Lands is selected.
- For Output Location, click Browse….
 to specify the location of the output feature class.
 - Specify Output Name.
- Click OK. The output layer is automatically added to the map.
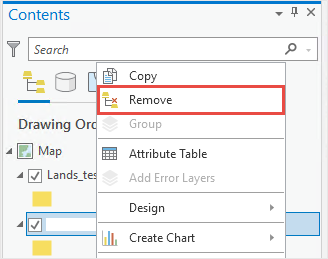
- In the Contents pane, right-click the layer added from ArcGIS Living Atlas, and select Remove to remove it.
- Publish the layer to ArcGIS Online. Refer to ArcGIS Online: Share a web feature layer for steps to do this.
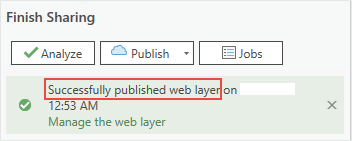
The image below shows the layer published successfully to ArcGIS Online as a web layer in ArcGIS Pro.
Article ID:000026249
- ArcGIS Pro 2 8 x
- ArcGIS Pro 2 7 x
- ArcGIS Pro 2 x
Receive notifications and find solutions for new or common issues
Get summarized answers and video solutions from our new AI chatbot.


Related Information
Discover more on this topic
Search for related information
Find training related to this topic
Explore ideas and give feedback
Get help from ArcGIS experts
Download the Esri Support App