HOW TO
Transfer a survey and the associated hosted feature layer data from one organization to another in ArcGIS Online
Summary
In some instances, it is required to transfer a published survey and the associated hosted feature layer data from one organization to another. However, this cannot be achieved directly within ArcGIS Online. This article provides a workaround on how to transfer a survey and the associated hosted feature layer data created in ArcGIS Survey123 Connect from one ArcGIS Online organization to another by exporting the survey from the first organization, and republishing it in the second organization.
Note:
Only the survey's owner can perform the workflow.
Procedure
Note:
The Survey123 Connect versions used by both organizations must be the same.
- Download the survey from the Survey123 Connect desktop app.
- Open the Survey123 Connect desktop app, and sign in using the ArcGIS Online organizational account containing the survey.
- Click the ellipsis icon
 of the survey, and click Download.
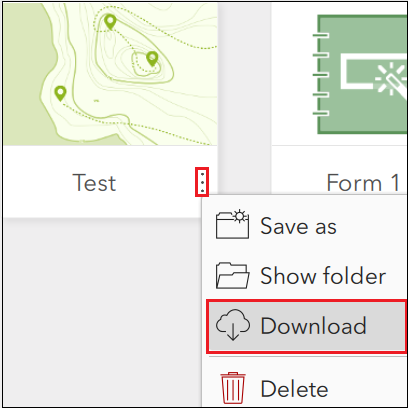
- Save the survey to a desired folder on the machine.
- Sign out of the ArcGIS Online organizational account from Survey123 Connect.
- Publish the downloaded survey to a new ArcGIS Online organization. Refer to ArcGIS Survey123: New surveys for the steps to perform this.
- Export the survey's hosted feature layer data from the first ArcGIS Online organization.
- Navigate to ArcGIS Online and sign in to the ArcGIS Online organization account containing the survey's hosted feature layer data.
- Navigate to Content > My Content, and select the hosted feature layer of the survey.
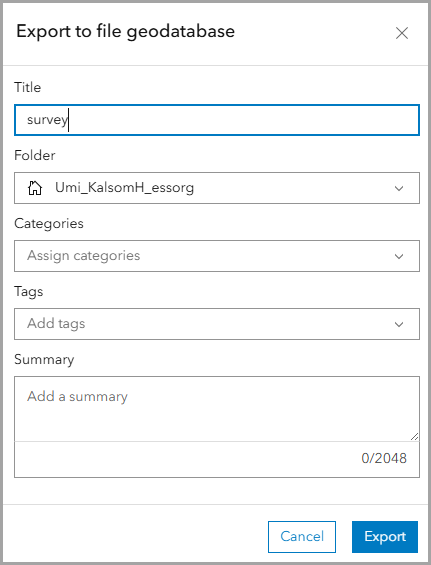
- Click Export data > Export to file geodatabase.
- In the Export to file geodatabase window, fill in the required details, and click Export.
- In the item details page of the exported file geodatabase, click Download.
- Sign out of ArcGIS Online.
- Append the downloaded hosted feature layer data to the new hosted feature layer of the survey in the second ArcGIS Online organization.
- Sign in to the new ArcGIS Online organization account.
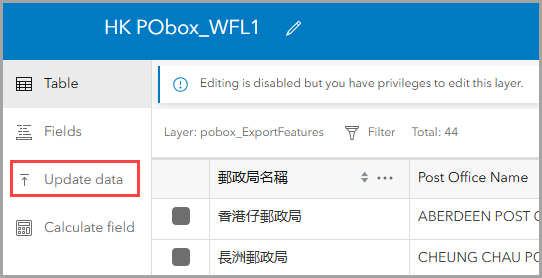
- Navigate to Content > My Content, and select the new hosted feature layer associated with the new survey.
- On the Data tab, click Update data.
- In the Update data window, select Add features, and click Next.
- Drag the downloaded file geodatabase from File Explorer onto the Update data window, and click Next.
- Select File geodatabase and click Next.
Note:
Skip to Step 4(f) if the hosted feature layer does not have attachments.
- For Select the time zone, select the time zone accordingly.
- For Attachment options, toggle Include attachments on and click Next.
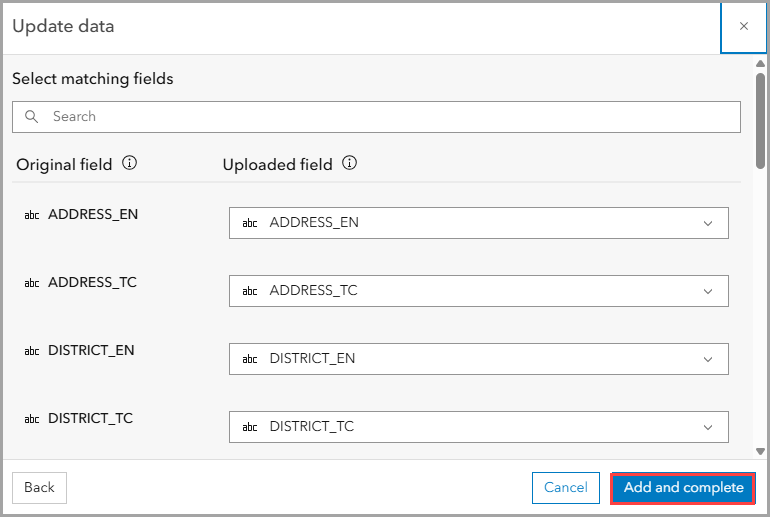
- Under Select matching fields, for Uploaded field, select the field matching the Original field from the drop-down menu.
- Click Add and complete.
The Data tab indicates the data has been appended to the new survey's hosted feature layer.
Article ID: 000023277
- ArcGIS Online
- ArcGIS Survey123 Field App iOS
Get support with AI
Resolve your issue quickly with the Esri Support AI Chatbot.


Related Information
Discover more on this topic
Search for related information
Find training related to this topic
Explore ideas and give feedback
Get help from ArcGIS experts
Start chatting now