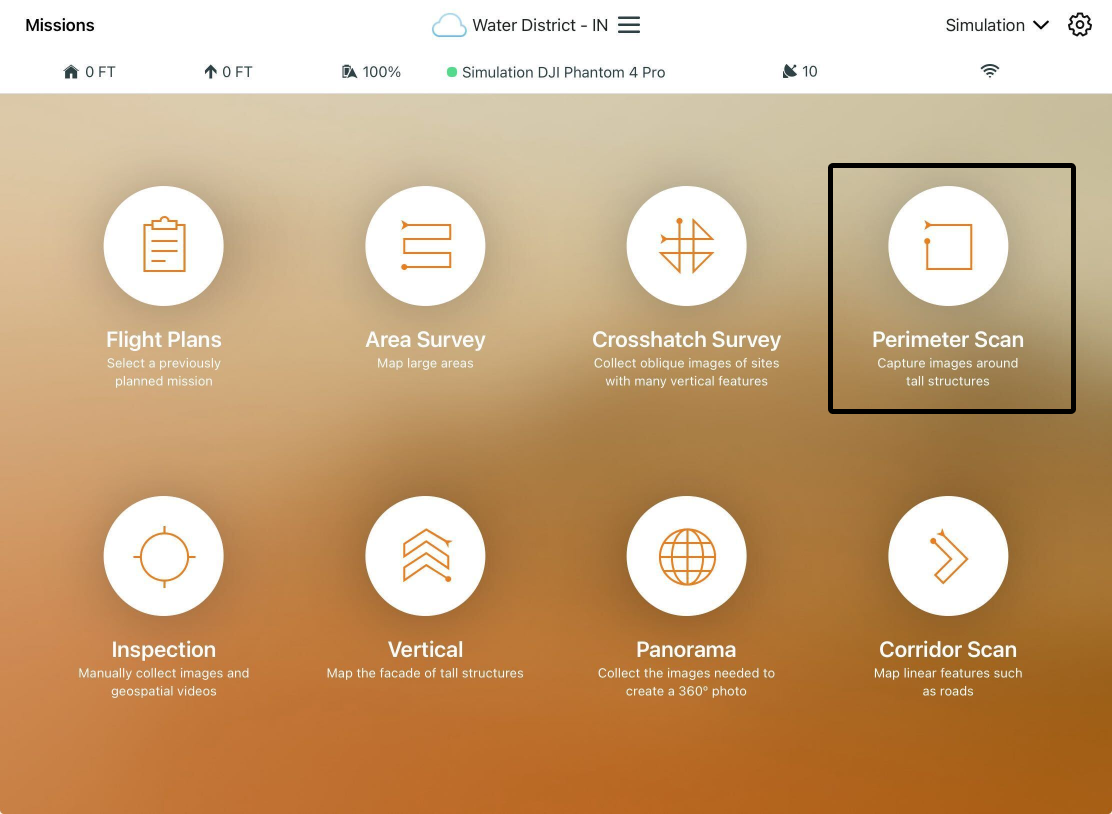
Frequently asked question
What are the considerations when flying a Perimeter Scan with ArcGIS Flight?
With ArcGIS Flight, it is possible to create high-quality point clouds and 3D meshes of a structure using the Perimeter Scan flight mode. With this flight mode, the drone captures optimal imagery to generate these products by performing orbits at multiple altitudes around the structure.
Warning:
Perimeter Scan is an advanced flight mode. Before flying Perimeter Scan,
carefully read the safety guidelines and instructions.
Note:
Important safety precautions are advised:
- Always maintain line-of-sight when the vehicle is in air.
- Use additional visual observers as needed to maintain line-of-sight.
- Identify obstacles to safe flight such as power lines, towers, trees before takeoff.
- Ensure the path between the takeoff point and mission area is clear of obstructions.
- Flying at altitudes below the height of the structure of interest adds additional risk.
Evaluate the flight area
Open the ArcGIS Flight app, and select the desired project or tap Create New Project.
Select Perimeter Scan from the Flight Modes screen.
Enter Mission Data
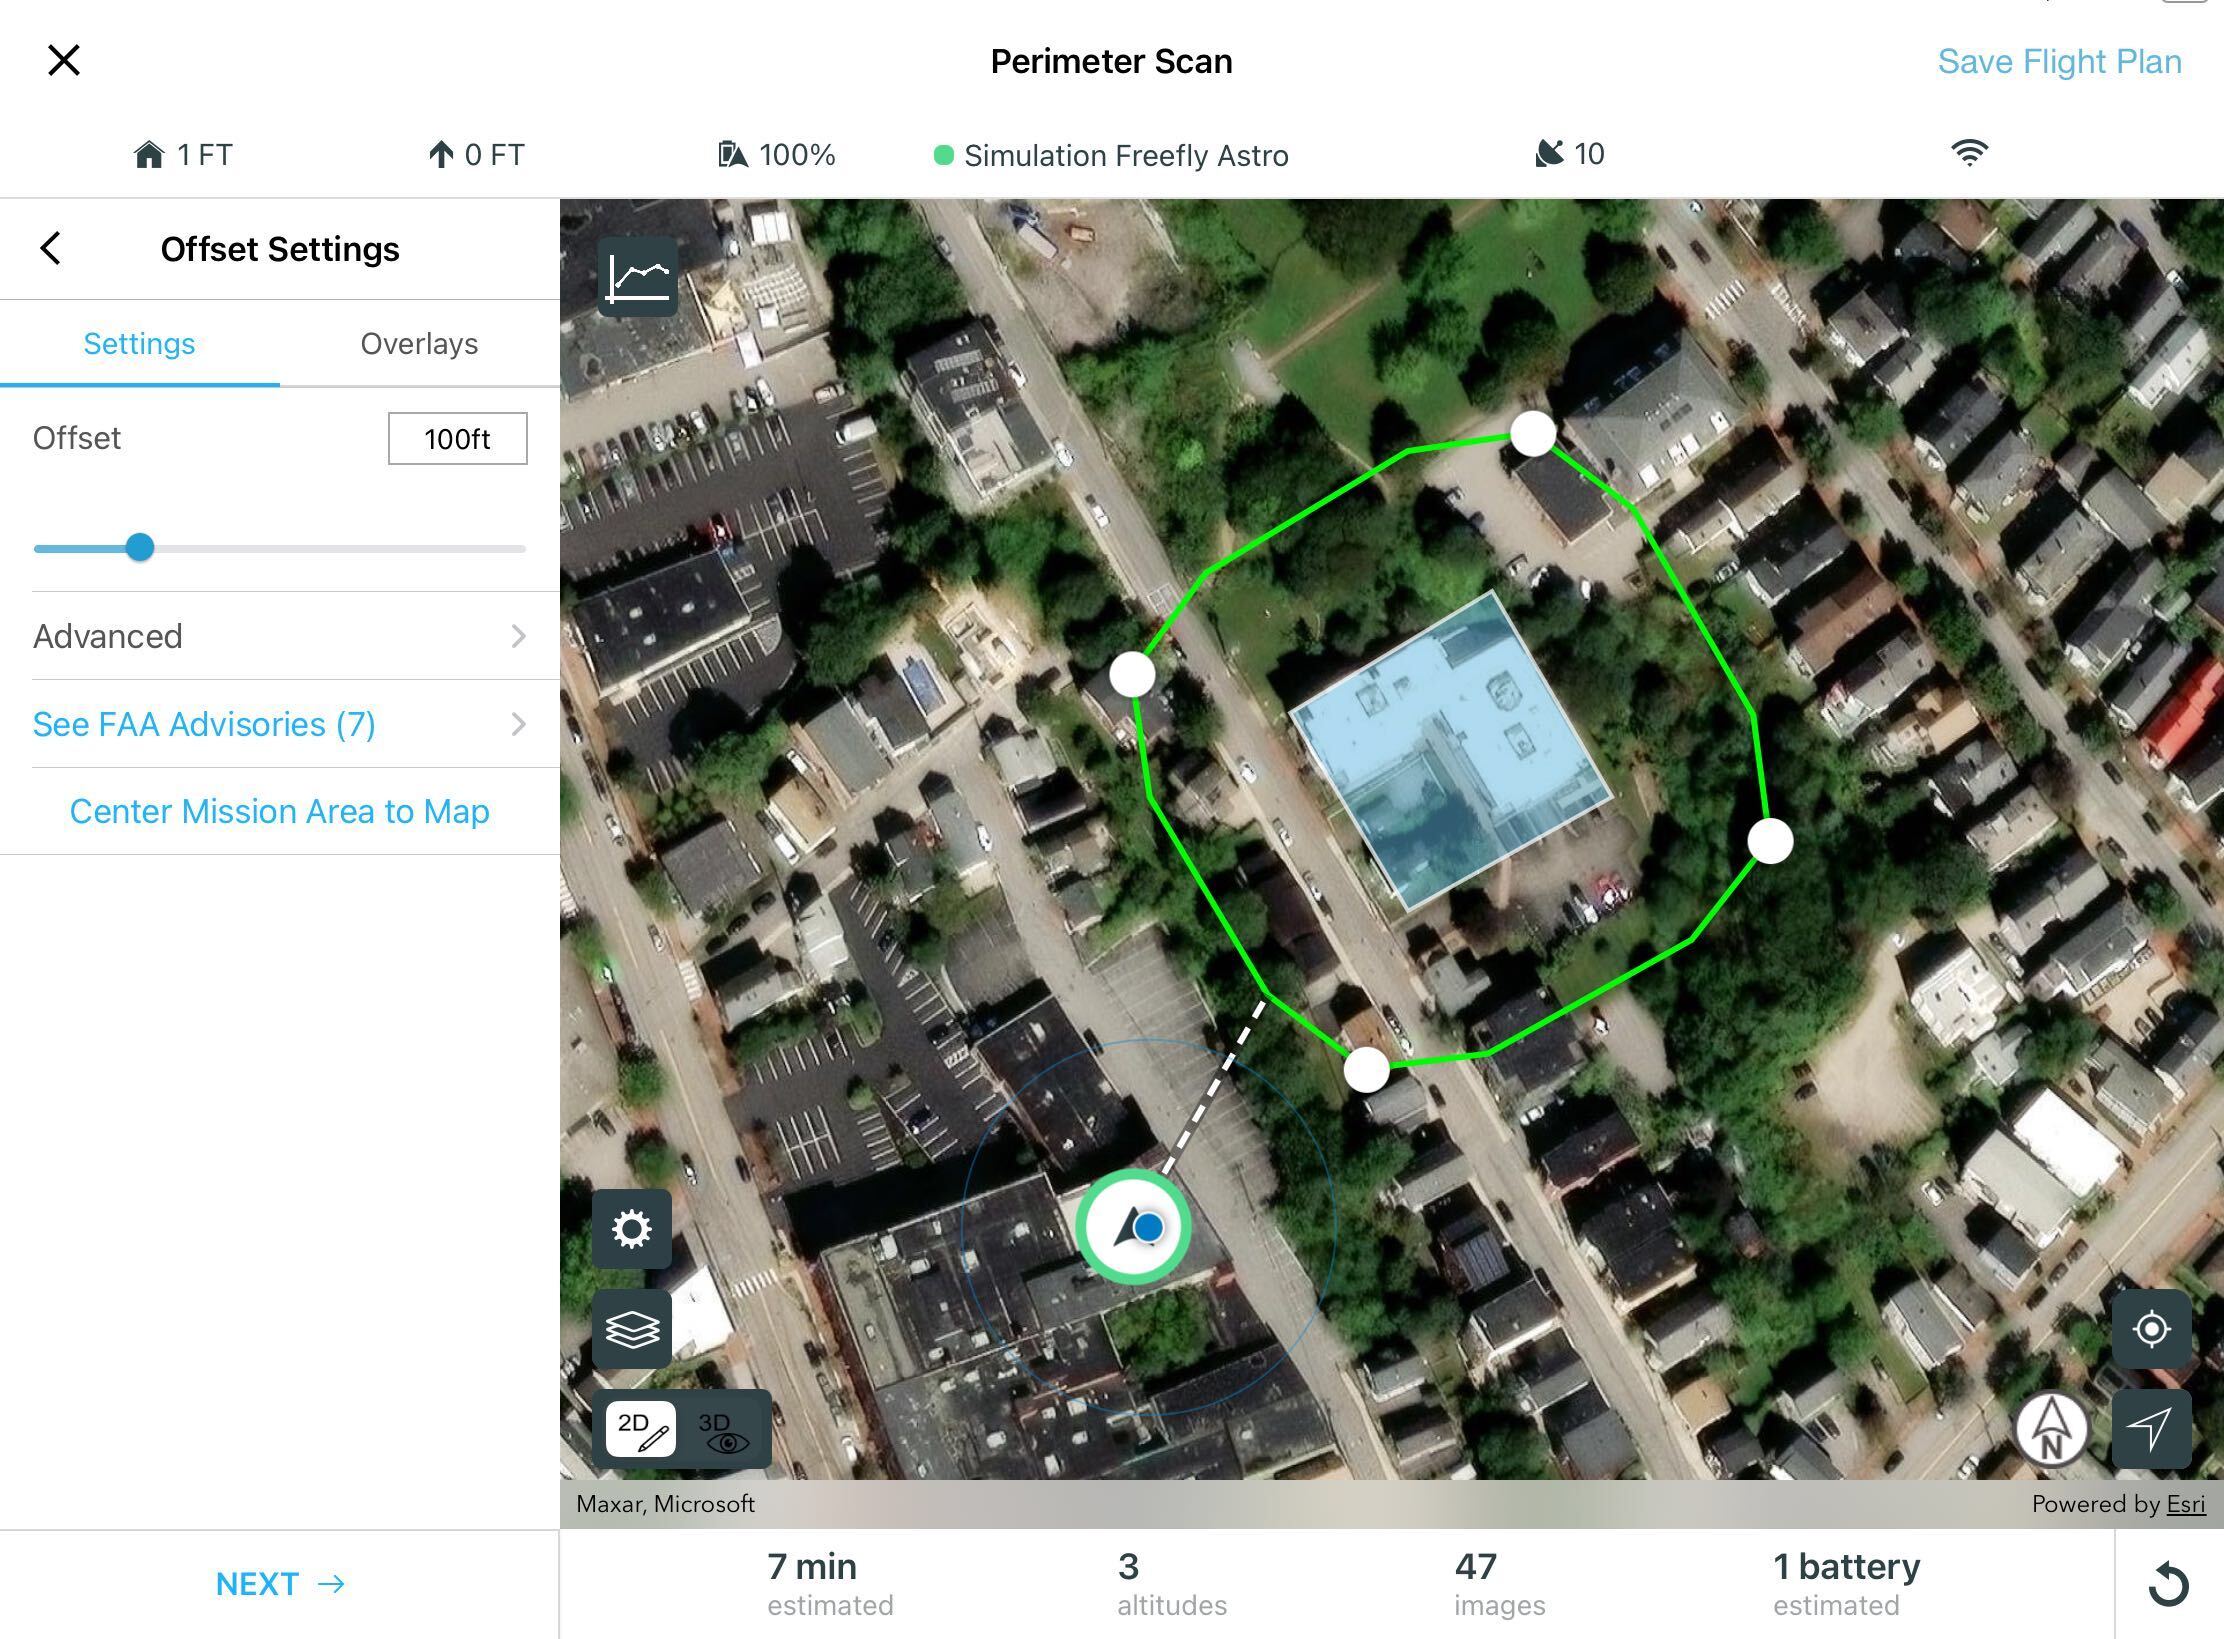
Provide a name for your mission. Use the map viewer and drag the white vertices to outline your structure of interest.
Define Offset
The Offset setting determines the horizontal distance between your drone and the structure being scanned. The flight path is generated with an default offset of 100 feet, with a minimum of 50 feet. This default offset reduces the risk of colliding into vertical structures.
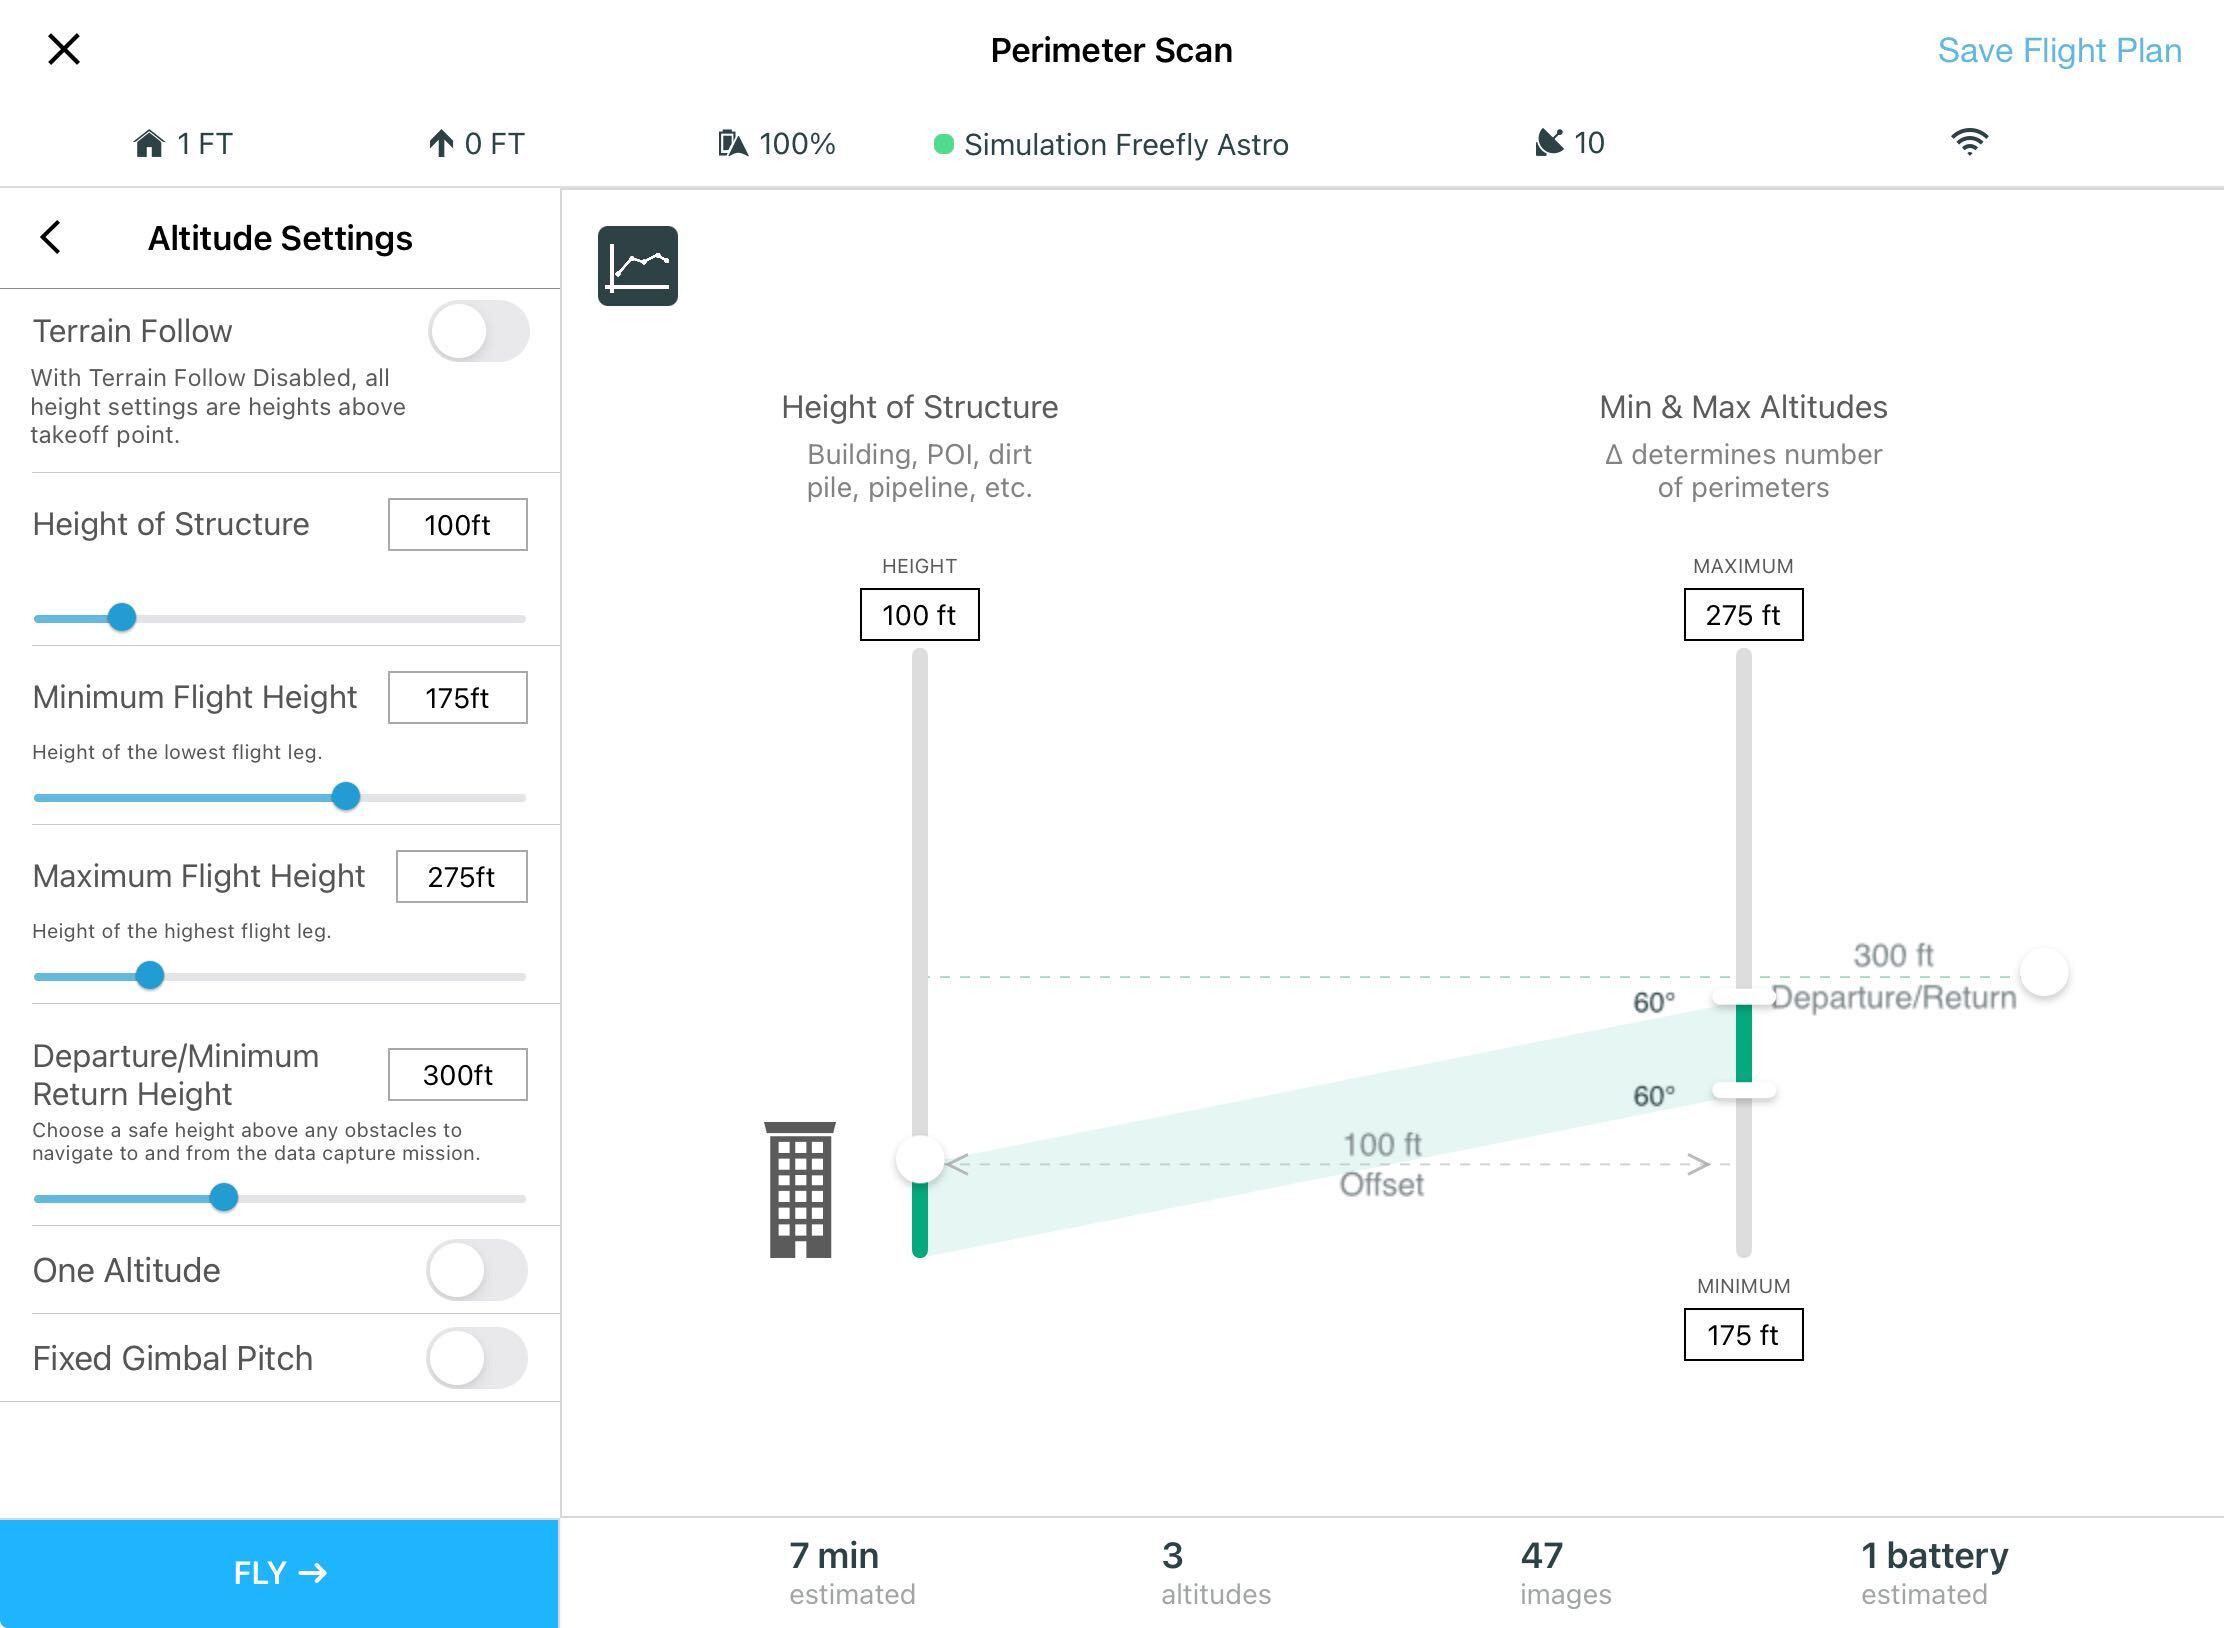
Set Structure Height and Min/Max Flight Height
The Height of Structure is the top of the structure to scan. After setting the height, adjust the Minimum Flight Height and Maximum Flight Height. For safety, set the minimum altitude slightly higher than the top of the structure scanned, and set the maximum altitude at 1.5x - 2x higher than the minimum altitude.
Run the Pre-Flight System Checks
After setting the structure height and making any adjustments to the altitudes, tap the FLY → button to initiate preflight system checks. The System Checks screen will appear, and indicate your readiness to fly after conducting automated assessments of your sensor hardware, battery levels, camera storage, and mission settings. If all checks are passed, slide the green arrow to the right to initiate takeoff.
Monitor in-flight progress
Monitor the progress of your vehicle's flight as it flies in a ring pattern at multiple altitudes around the structure. The vehicle also hovers in place to capture panorama shots for sharp angles.
Note:
Ensure an additional visual observer is used if the vehicle is to fly outside the pilot's line-of-sight. This way, if a disruption occurs, the vehicle can return home at any time.
Process the job and assess models
Upload the mission to Site Scan to begin processing your imagery. The processed mission produces high-quality point clouds and 3D meshes that can be exported and uploaded to ArcGIS Online.
Article ID: 000023058
- Mobile Applications
Get support with AI
Resolve your issue quickly with the Esri Support AI Chatbot.


Discover more on this topic
Search for related information
Find training related to this topic
Explore ideas and give feedback
Get help from ArcGIS experts
Start chatting now