HOW TO
Label highways with a shield marker containing the highway number in ArcGIS Pro
Summary
ArcGIS Pro allows labeling highways with a shield marker symbol containing a highway number by using Structured Query Language (SQL) in the Label Class pane.
In this example, the ROADS.shp file is used. This file can be downloaded from the Related Information section.
Procedure
The following steps describe how to label highways with a shield marker containing the highway number in ArcGIS Pro:
- Download Road.zip and extract the file to a folder on the computer.
- In ArcGIS Pro, open a new blank project.
- Add ROADS.shp using the Add Data button.
- In the Contents pane, right-click the ROADS layer and select Attribute Table. View the ADMN_CLASS field which contains:
- Interstate
- US Highway
- State Highway
Note:
The RTE_NUM1 field contains the route number for each highway. Close the attribute table after viewing these items.
- Set the symbol color for each highway.
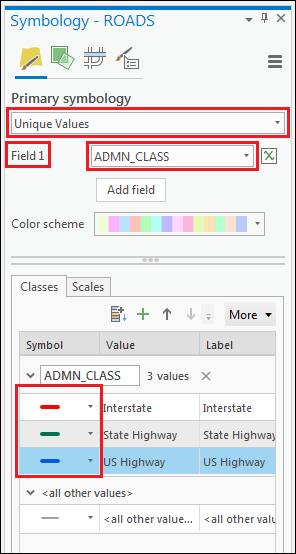
- In the Appearance tab, click the Symbology icon in the Drawing group.
- In the Symbology pane, select Unique Values from the drop-down list.
- For Field 1, select ADMN_CLASS from the drop-down list.
- Click each line symbol and set the symbol color for Interstate to red, State Highway to green, and US Highway to blue.
- Create a new label class in the Label Class section.
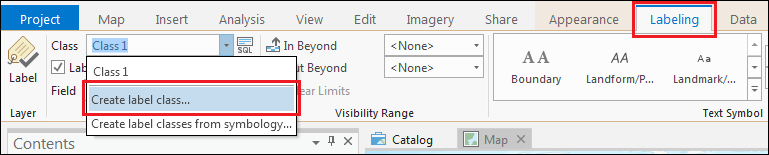
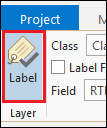
- Click the Labeling tab. In the Class drop-down list, select Create label class to create a new label class.
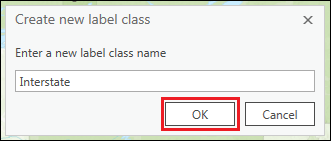
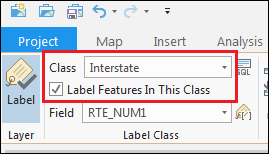
- In the Create new label class dialog box, name the new label class as 'Interstate' and click OK. Ensure the Label Feature In This Class check box for 'Interstate' class is checked.
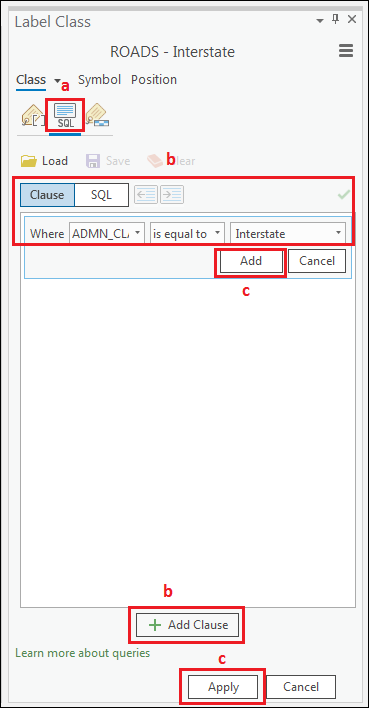
- Add an SQL Query expression.
- In the Label Class section, click SQL Query
 next to the Class field.
 - In the Label Class pane, click Clause > Add Clause and insert the following query:
- In the Label Class section, click SQL Query
Clause mode:  Where 'ADMN_CLASS' 'is equal to' 'Interstate'
or
SQL mode:  "ADMN_CLASS" = 'Interstate'
- Click Add and then click Apply.
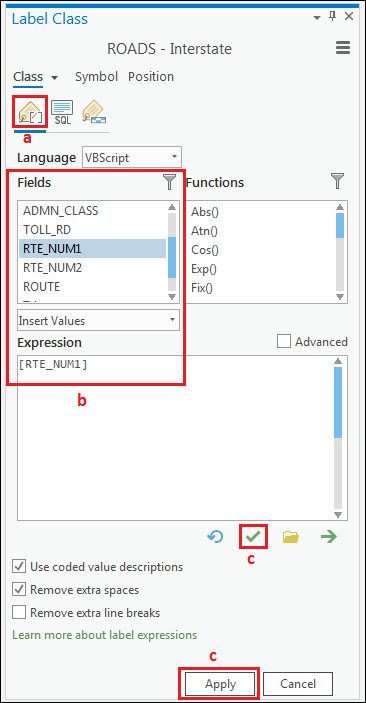
- Add a label expression for the label.
- In the Label Class pane, click Label expression
 .
. - Select RTE_NUM1 from the Fields field.
- Click Verify and then click Apply.
- In the Label Class pane, click Label expression
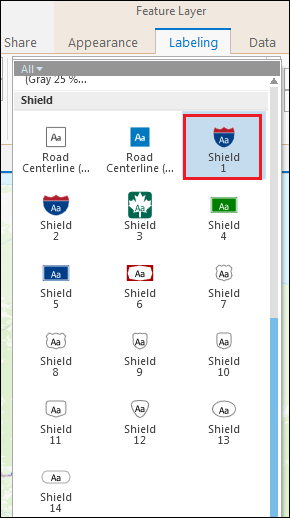
- In the Text Symbol group, expand the Text Symbol Style gallery. Under Shield, click Shield 1.
- Return to the Labeling tab and repeat steps 6 through 9 for 'State Highway' and 'US Highway' classes.
- Use the following SQL expression for each class respectively:
- For State Highway:
Clause mode:  Where 'ADMN_CLASS' 'is equal to' 'State Highway'
or
SQL mode: "ADMN_CLASS" = 'State Highway'
- For US Highway:
Clause mode: Where 'ADMN_CLASS' 'is equal to' 'US Highway'
or
SQL mode: "ADMN_CLASS" = 'US Highway'
- For Text Symbol in step 9, select the desired style from the Text Symbol Style gallery under the Shield section for each class.
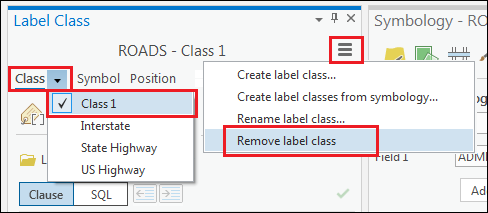
- In the Label Class pane, remove the default class, Class 1, by clicking the menu button
 and select Remove label class.
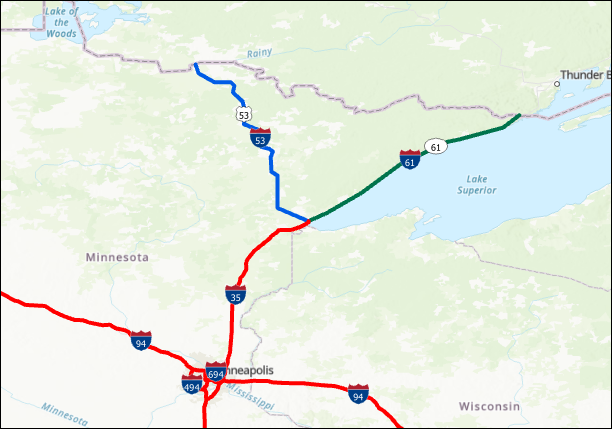
- Click the Label icon in the Layer group to view the three styles of highway shield symbols with the correct route numbers on the map.
Note:
If the symbols are rotated, change the Label Placement setting to Shield.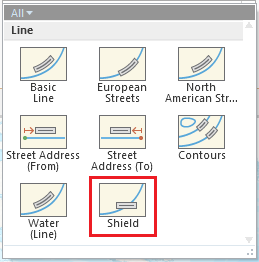
Article ID: 000021628
- ArcGIS Pro
Get support with AI
Resolve your issue quickly with the Esri Support AI Chatbot.


Related Information
Discover more on this topic
Search for related information
Find training related to this topic
Explore ideas and give feedback
Get help from ArcGIS experts
Start chatting now