HOW TO
Extract X and Y coordinates from a grid
Summary
A grid is a raster data type arranged in rows and columns. Each cell in a grid contains a value that represents information such as land cover and elevation. Sometimes, the X and Y coordinates of a grid must be extracted to obtain location information. The following article, How To: Convert a grid to a text file of x-, y- and z-values of the center of each cell with the Grid to Features function in the Spatial Analyst toolbar provides a workflow on extracting the X and Y coordinates of the center of every cell in a grid using the Spatial Analyst toolbar. However, if the Spatial Analyst extension is not available, the Raster to Point tool and the Calculate Geometry tool can be used to extract the X and Y coordinates from the grid.
Procedure
The instructions below describe how to extract the X and Y coordinates of the center of each cell in a grid using the Raster to Point tool and the Calculate Geometry tool.
Note:
If the size of the grid is large, split the grid into smaller pieces using the Split Raster tool before extracting the X and Y coordinates from each cell. For more information, refer to the following ArcMap help document: Split Raster.
- Create a point for each cell in the grid using the Raster to Point tool, using the following steps:
- Add the grid raster to ArcMap using the Add Data button in the Standard toolbar.
- In the ArcToolbox window, navigate to Conversion Tools > From Raster > Raster to Point.
- In the Raster to Point dialog box, select the grid for the Input raster. When the Input raster is set, the Field parameter is automatically changed to Value.
- Set a name and location for the Output point features.
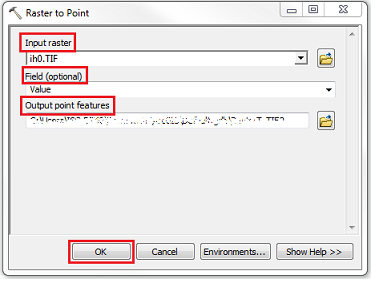
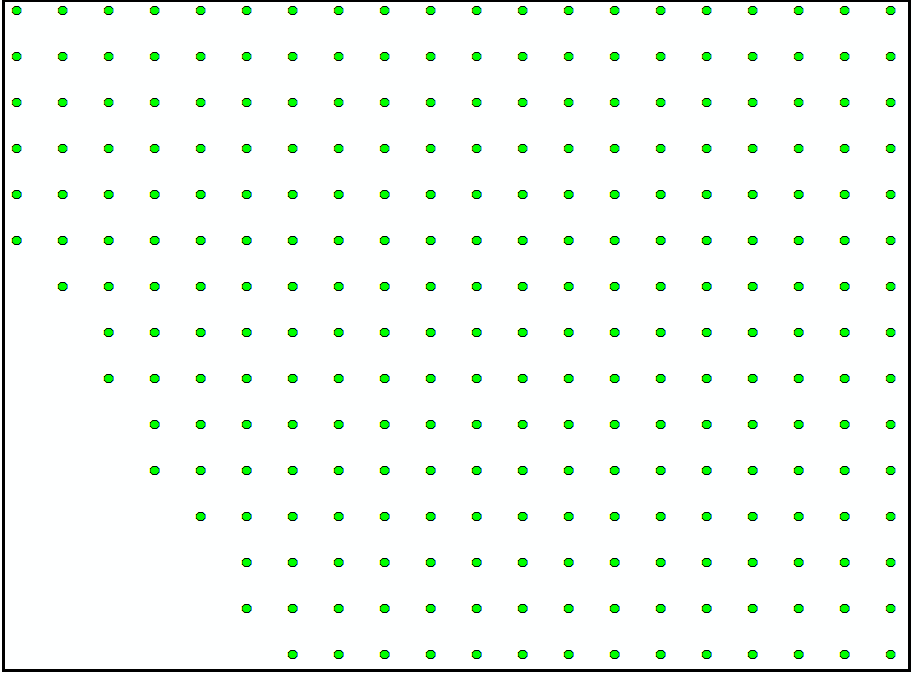
- Click OK to execute the tool. A new feature class containing the points converted from the grid is added to the map.
- Add two new fields in the attribute table, one for X and one for Y, and use the Calculate Geometry tool to calculate the coordinates of the points, using the following steps:
- In the Table Of Contents, right-click the layer created in Step 1, and Open Attribute Table.
- Click Table Options > Add Field.
- In the Add Field window, name the field Northing (for Y coordinates), and set the Type to Double.
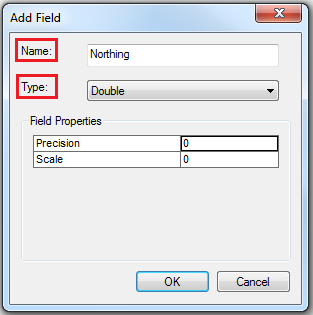
- Repeat Step 2 (b) and (c) to create another field named Easting (for X coordinates).
- Start an edit session to enable the Calculate Geometry tool. In the Calculate Geometry dialog box, set the property to Y Coordinate of Point, and select the Use coordinate system of the data source option. Set the Units as desired. Click OK.
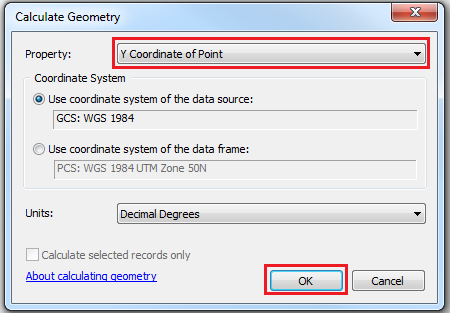
- Repeat Step 2 (e), applying the X Coordinate of Point property to the Easting field.
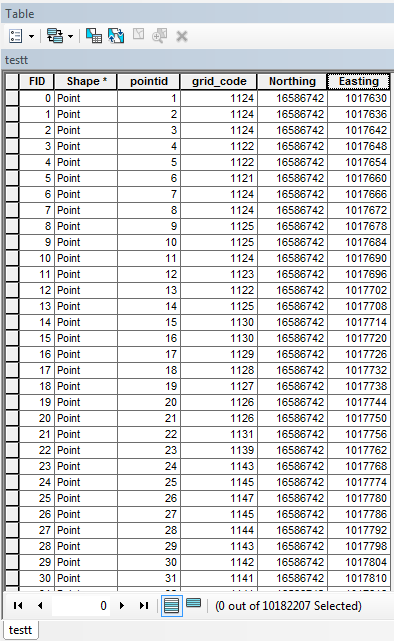
- The Northing and Easting fields are populated with the X and Y coordinates.
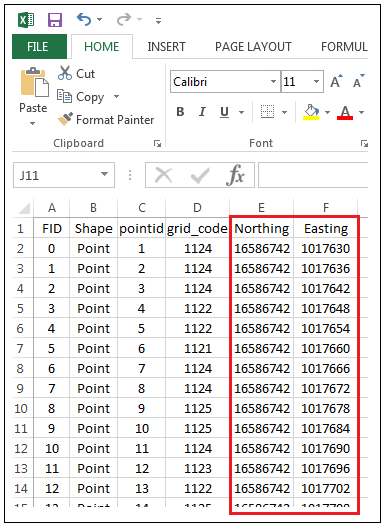
The following image is an example of a Microsoft Excel file containing X and Y coordinates exported from an attribute table.
Article ID: 000018247
- ArcMap
Get support with AI
Resolve your issue quickly with the Esri Support AI Chatbot.


Related Information
Discover more on this topic
Search for related information
Find training related to this topic
Explore ideas and give feedback
Get help from ArcGIS experts
Start chatting now