HOW TO
Edit the common boundary of polygons from different shapefiles
Summary
Sometimes a map contains features that share common boundaries. For example, an electoral map showing electoral district boundaries, a geological map showing multiple geological formations, or a world map showing country borders. When editing a map with common boundaries, moving a shared boundary simultaneously ensures the features with shared geometry are seamlessly integrated without gaps in the merged feature class.
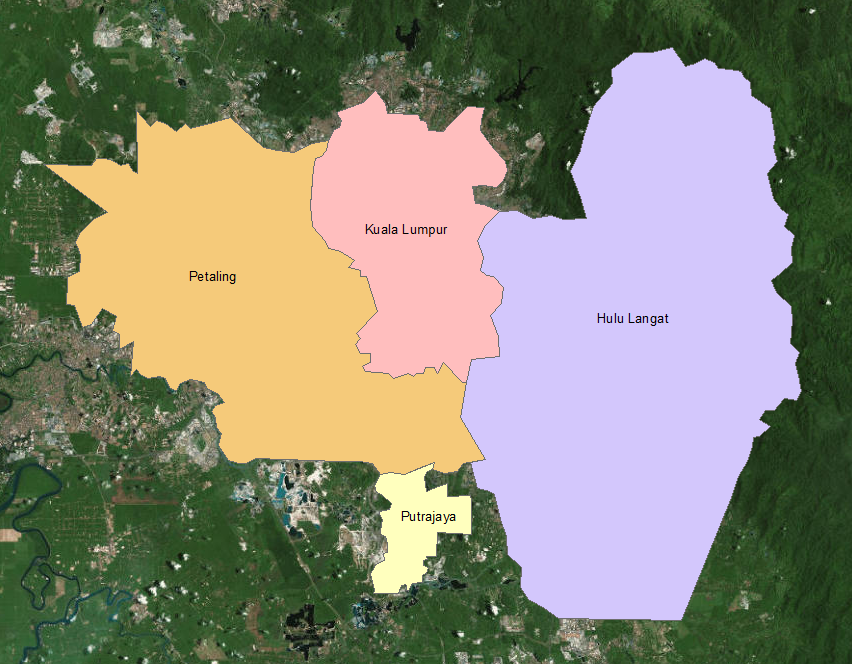
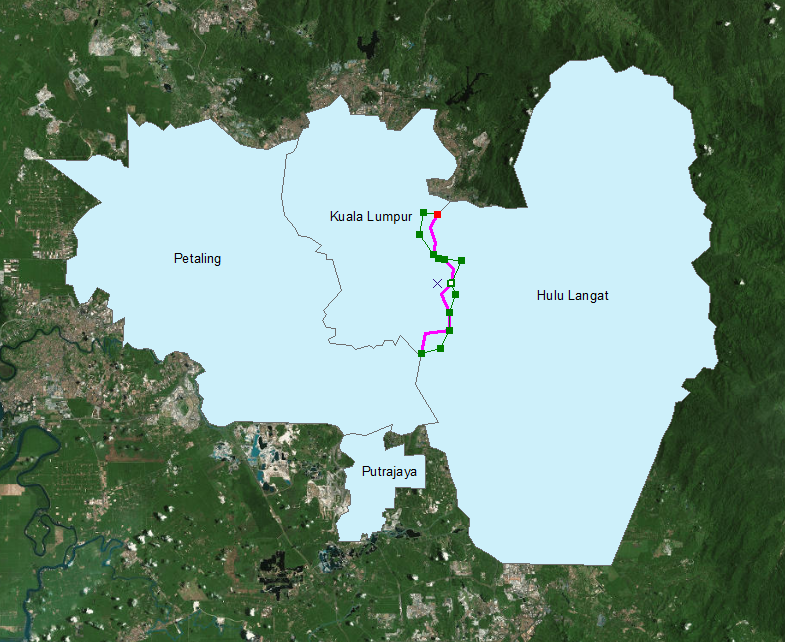
The map below shows two federal territories (Kuala Lumpur and Putrajaya) and two districts in the state of Selangor (Petaling and Hulu Langat) in Malaysia, which are adjacent to each other. These different shapefiles are merged and subjected to map topology to ease editing or boundary refinement.
Procedure
The following workflow describes how to edit the common boundary of polygons from different shapefiles:
- Combine multiple shapefiles into the same feature class using the Merge tool.
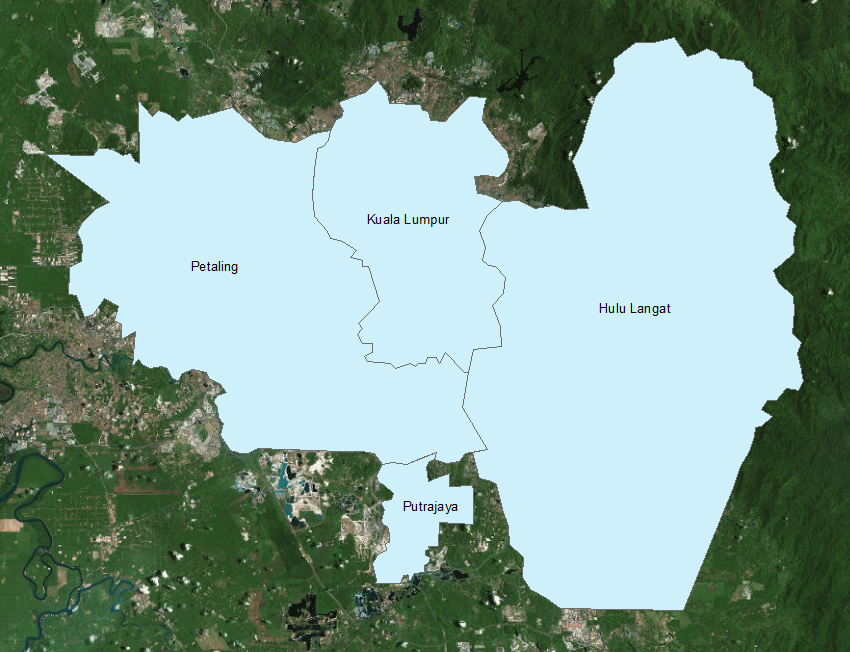
The following image is the feature class generated after merging the shapefiles.
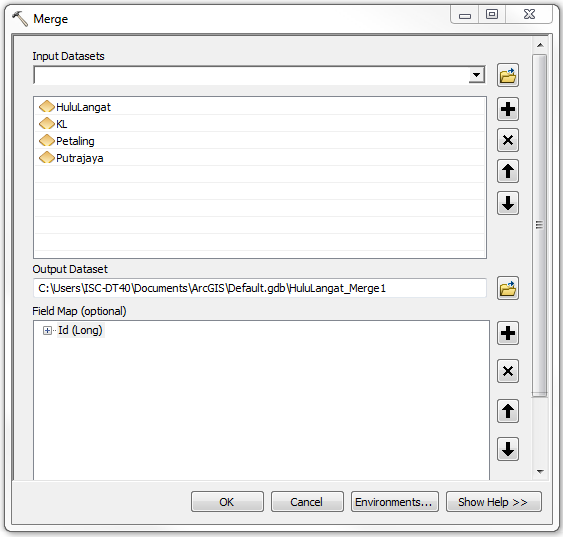
- In ArcMap, click the Search button, and type Merge in the search box.
- Click the Merge (Data Management) tool. This opens the Merge dialog box.
- For Input Datasets, select all the layers to merge from the drop-down menu. The Output Dataset is automatically generated once the Input Datasets are specified.
- Click OK. A merged feature class is generated.
- Subject the newly created feature class to map topology. This enables the features in the selected layer to be edited simultaneously.
- Enable the Topology toolbar by navigating to Customize > Toolbars > Topology.
The Topology toolbar appears.

- Right-click the merged feature class created in Step 1, and click Edit Features > Start Editing.
This automatically enables the Topology toolbar. - Click the Select Topology tool
 . This opens the Select Topology dialog box.
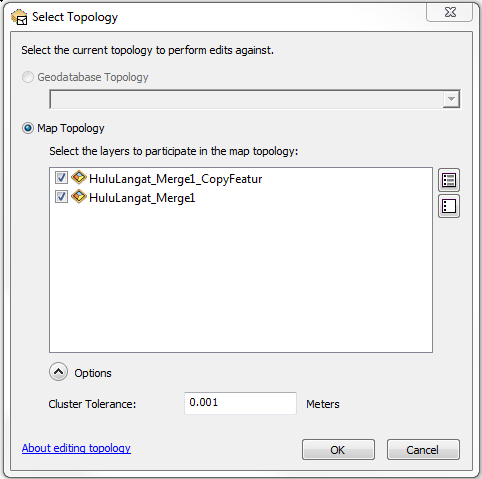
- Click the Map Topology option and select all the layers to include in the map topology.
- Enable the Topology toolbar by navigating to Customize > Toolbars > Topology.
Warning:
Ensure all the layers for editing are enabled (visible). This is important because topology editing on an enabled layer does not automatically update the geometry of the disabled (hidden) layer.
- Click OK.
Note:
The Cluster Tolerance field under the Options section specifies the default value of the distance that ArcMap considers coincident. The default value is the minimum possible value. Increasing this value results in more features considered as coincident.
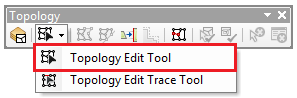
- Edit the common boundary of the layer subjected to map topology.
- Select the Topology Edit tool.
- Select the line segment for editing.
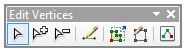
- Click the Modify Edge tool
 . The Edit Vertices toolbar opens and nodes appear along the selected line segments for editing.
- Select and move the vertices to edit the boundary.
- Click Save Edits to save and end the edit session.
- Select the Topology Edit tool.
Warning:
Using tools other than within the Topology toolbar (for example, using the Editor toolbar) to edit a common boundary causes the coincident boundary to be lost.
Article ID: 000018127
- ArcMap
Receive notifications and find solutions for new or common issues
Get summarized answers and video solutions from our new AI chatbot.


Related Information
Discover more on this topic
Search for related information
Find training related to this topic
Explore ideas and give feedback
Get help from ArcGIS experts
Download the Esri Support App