PROBLEM
Clipped raster layer does not maintain the original color ramp of the input raster layer
Description
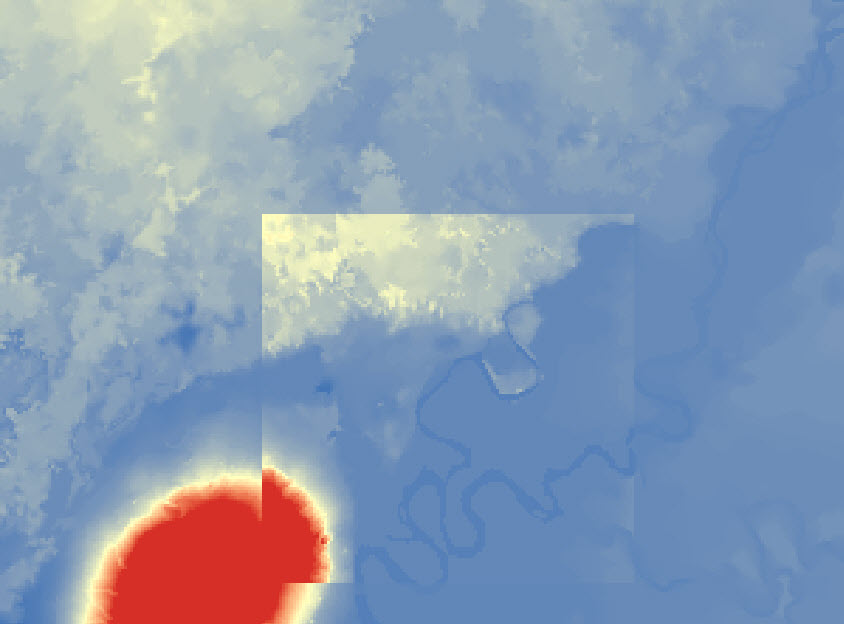
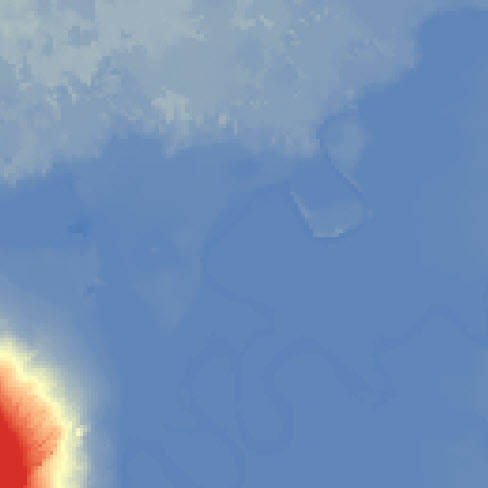
In ArcMap, the clipped output raster layer does not maintain the original color ramp of the input raster layer. The difference in the original color ramp of the input raster layer and the clipped output raster layer is shown in the images below.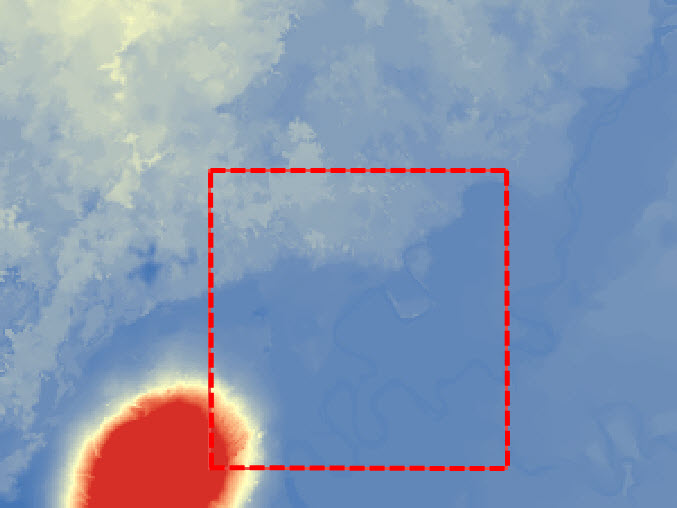
Cause
When clipping a part of a raster layer, the range of pixel values for the layer changes. Each pixel value is associated with a specific color. Therefore, when the range values change, the color ramp is altered. As a result, the color ramp of the clipped output raster layer varies from the original input raster layer.
Solution or Workaround
The following workarounds are possible solutions:
Create a temporary layer for the clipped raster layer
Use the Clip button on the Image Analysis window to create a temporary layer by following the instructions in ArcMap Web Help: Using the Clip button on the Image Analysis window. When creating a temporary layer, the original raster dataset remains unchanged and a new temporary raster layer is added to the data frame. For more information, refer to ArcMap Web Help: Image Analysis window: Processing section.
Note:
Optionally, to save the raster dataset in the temporary layer, export the raster dataset or save the layer file.
Limit the data frame extent to the shape of the shapefile or feature class
Note:
Changing the data frame extent to the shape of the shapefile or feature class changes all the layers' extent in the data frame according to the shape of the shapefile or feature class.
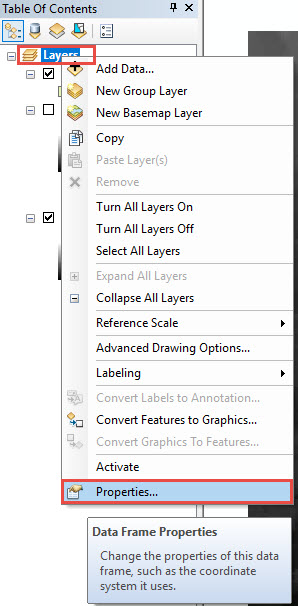
- In Table Of Contents, right-click the data frame layer and click Properties....
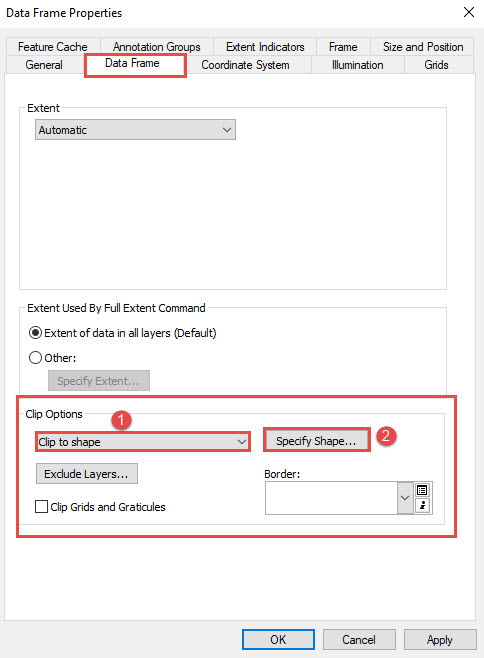
- In the Data Frame Properties dialog box, click Data Frame.

- In the Data Frame tab, click the drop-down arrow under Clip Options > Clip to shape. Click Specify Shape... and click OK.
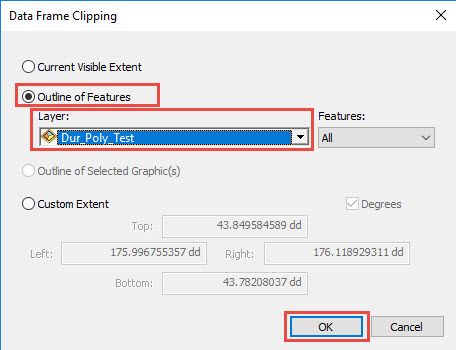
- In the Data Frame Clipping dialog box, select Outline of Features. Click the drop-down arrow and select the desired shapefile or feature class layer and click OK.
- Click OK > Apply to close the Data Frame Properties dialog box and to view the clipped output raster layer.
Note:
The output raster layer is clipped according to the rectangular extent of the shapefile regardless of the shapefile's feature. Hence, this is not the best method to clip a raster with a non-rectangular shapefile.
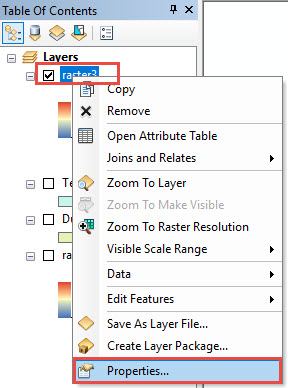
- In Table of Contents, right-click the input raster layer and click Properties.
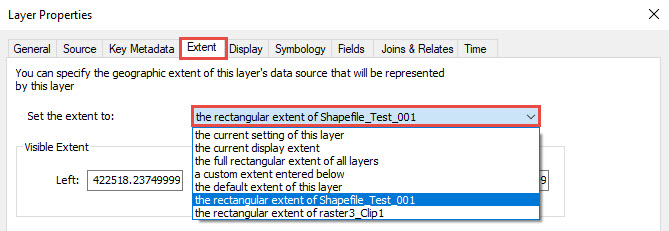
- In the Layer Properties dialog box, click the Extent tab and set the extent to the rectangular extent of the specified shapefile.
- Click Apply > OK to close the Layer Properties dialog box and to view the clipped output raster layer with the rectangular extent of the shapefile.

Article ID:000017973
- ArcMap
Get help from ArcGIS experts
Download the Esri Support App
Related Information
Discover more on this topic
Search for related information
Find training related to this topic
Explore ideas and give feedback