HOW TO
Set a map frame at the center of a layout in ArcGIS Pro
Summary
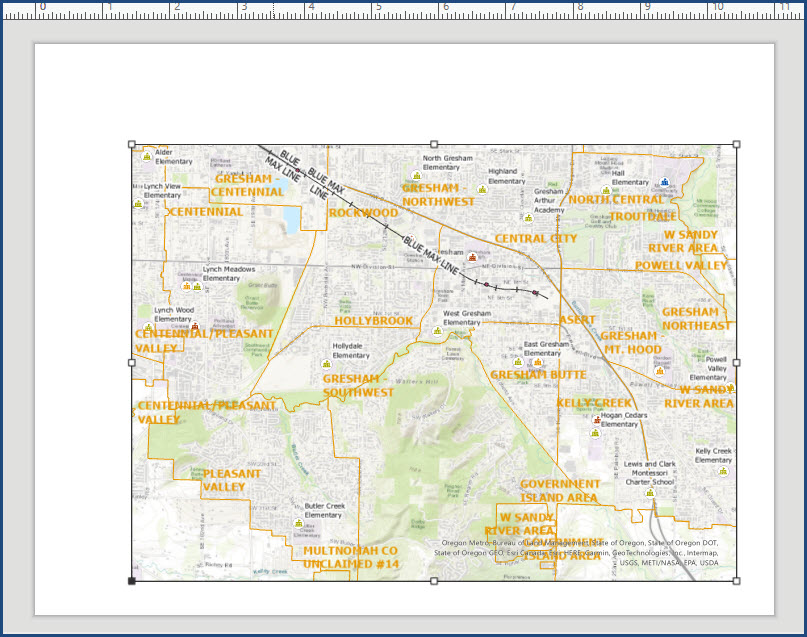
Creating a layout in a project enables map elements such as map frames and legends to be strategically added and adjusted on a page designed for map printing. In certain circumstances, it is necessary to place a map frame at the center of the layout. In this example, the map frame is not set at the center of the layout.
This article describes two workarounds to set the map frame at the center of the layout in ArcGIS Pro by using guides and adjusting the alignment of the map frame.
Procedure
Set guides at specified increments on the layout
Adding guides to the layout provides a visual reference in positioning and adjusting the size of the map according to preference. Follow the steps below to set the map frame at the center of the layout by adding guides to the layout.
- Open the project in ArcGIS Pro.
- Add a layout to the project. Refer to ArcGIS Pro: Add a layout to your project for more information. In this example, the ANSI - Landscape Letter 8.5" x 11" layout is selected.

- Add a map frame to the layout. Refer to ArcGIS Pro: Insert a map frame for more information.
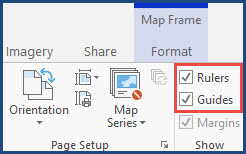
- Click the Layout tab and check Rulers and Guides in the Show group.
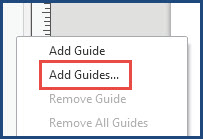
- Right-click the ruler and click Add Guides....
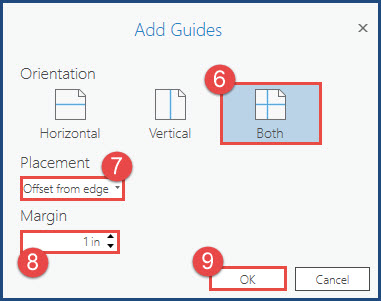
- In the Add Guides window, under Orientation, click Both.
- Under Placement, click the drop-down menu and select Offset from edge.
- Under Margin, specify the size of the edge offset. In this example, the size is specified as '1 inch'.
- Click OK.
- On the layout, click the map frame and resize it according to the guides added to the layout.
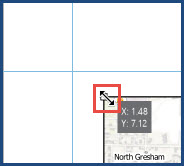
- Click Save to save the changes made to the layout.
Set the alignment of the map frame on the layout
- Open the project in ArcGIS Pro.
- Add a layout to the project. Refer to ArcGIS Pro: Add a layout to your project for more information. In this example, the ANSI - Landscape Letter 8.5" x 11" layout is selected.

- Add a map frame to the layout. Refer to ArcGIS Pro: Insert a map frame for more information.
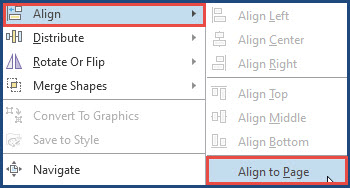
- Right-click the map frame, select Align and Align to Page.
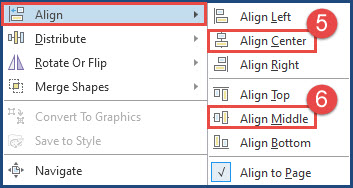
- Right-click the map frame, select Align and click Align Center.
- Right-click the map frame, select Align and click Align Middle.
- Click Save to save the changes made to the layout.
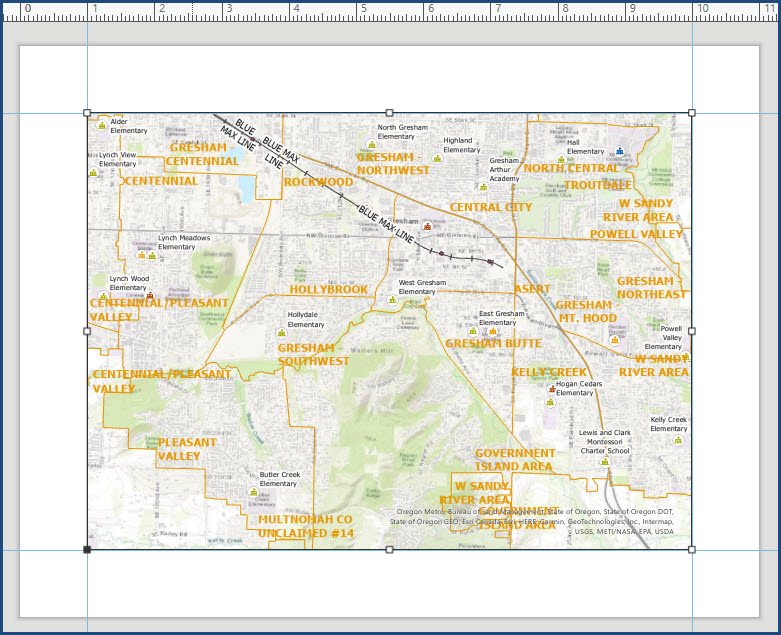
The image below shows the map frame is set at the center of the layout in ArcGIS Pro.
Article ID: 000017681
- ArcGIS Pro 3 0
- ArcGIS Pro 2 8 x
- ArcGIS Pro 2 x
Get support with AI
Resolve your issue quickly with the Esri Support AI Chatbot.


Related Information
Discover more on this topic
Search for related information
Find training related to this topic
Explore ideas and give feedback
Get help from ArcGIS experts
Start chatting now