HOW TO
Calculate multiple small polygon dimensions within a larger polygon in ArcGIS Pro
Summary
In ArcGIS Pro, the Minimum Bounding Geometry tool creates a feature class with polygons that indicate a minimal bounding geometry enclosing each input feature or a combination of input features. For either display, first-approximation spatial query, or spatial indexing purposes, minimal bounding geometry is used to indicate the general position of a geographic feature or dataset.
The instructions provided describe how to calculate the small polygon dimensions within a larger polygon in ArcGIS Pro.
Procedure
- Calculate the width of the small polygons.
- Start ArcGIS Pro and open the project.
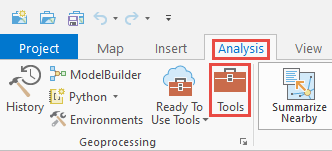
- On the ArcGIS Pro ribbon, click Analysis > Tools to open the Geoprocessing pane.
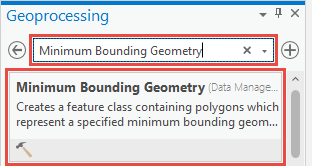
- In the Geoprocessing tool search pane, search for Minimum Bounding Geometry in the search bar, and click Minimum Bounding Geometry (Data Management Tools).
Note:
Refer to ArcGIS Pro: Minimum Bounding Geometry (Data Management) for more information on the parameters in the Minimum Bounding Geometry tool.
- In the Minimum Bounding Geometry pane, configure the following parameters.
- For Input Features, select the small polygon layer.
- For Output Feature Class, define the name of the new polygon layer. Wards_MinBoundGeo is used in this example.
- For Geometry Type, select Rectangle by width.
- Check the Add geometry characteristics as attributes to output checkbox.
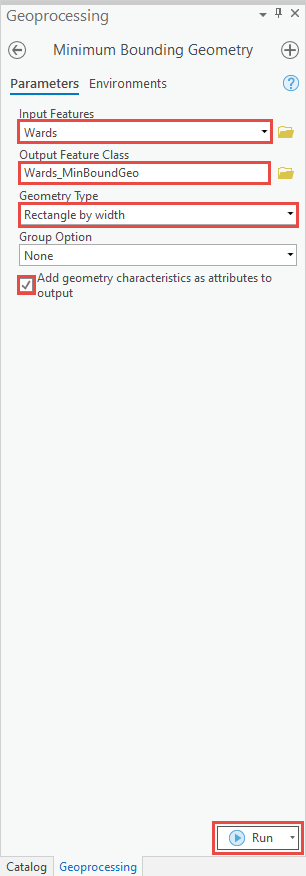
- Click Run.
- Identify the small polygons that are located within the desired big polygon and assign attributes to them.
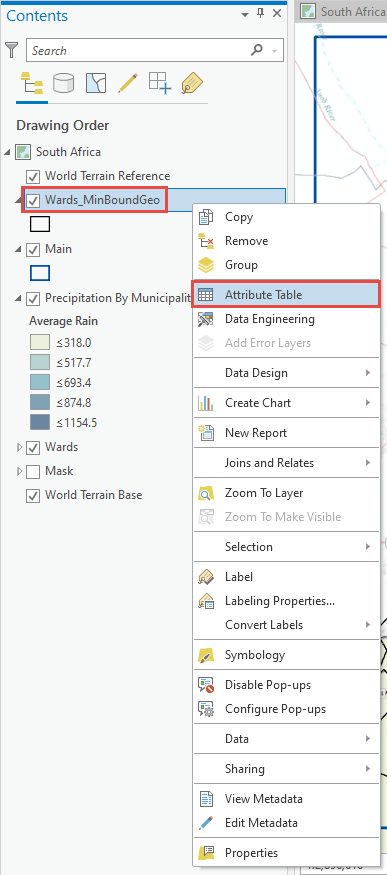
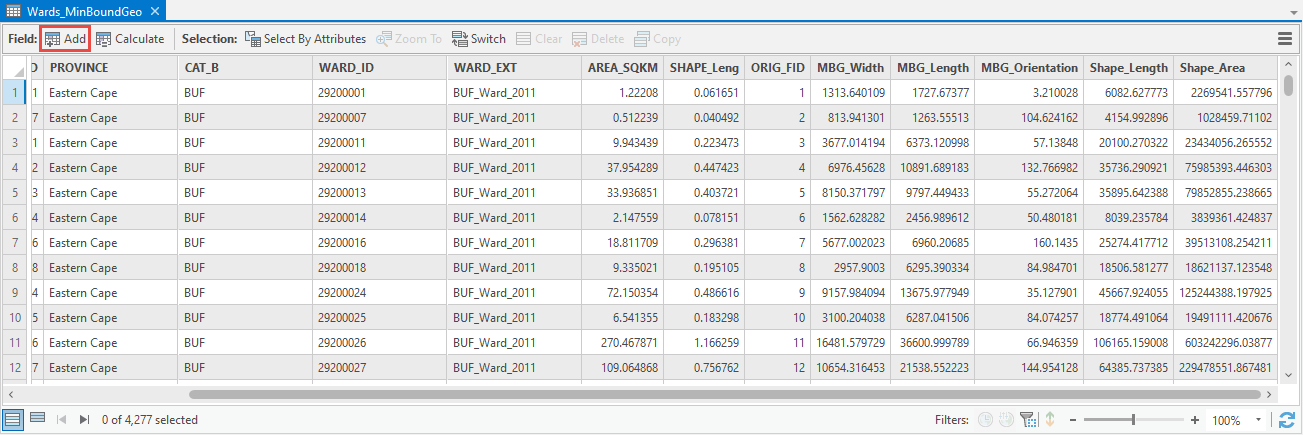
- In the Contents pane, right-click the newly created minimum bounding geometry layer and click Attribute Table.
- In the minimum bounding geometry layer attribute table, click Add to add a new field.
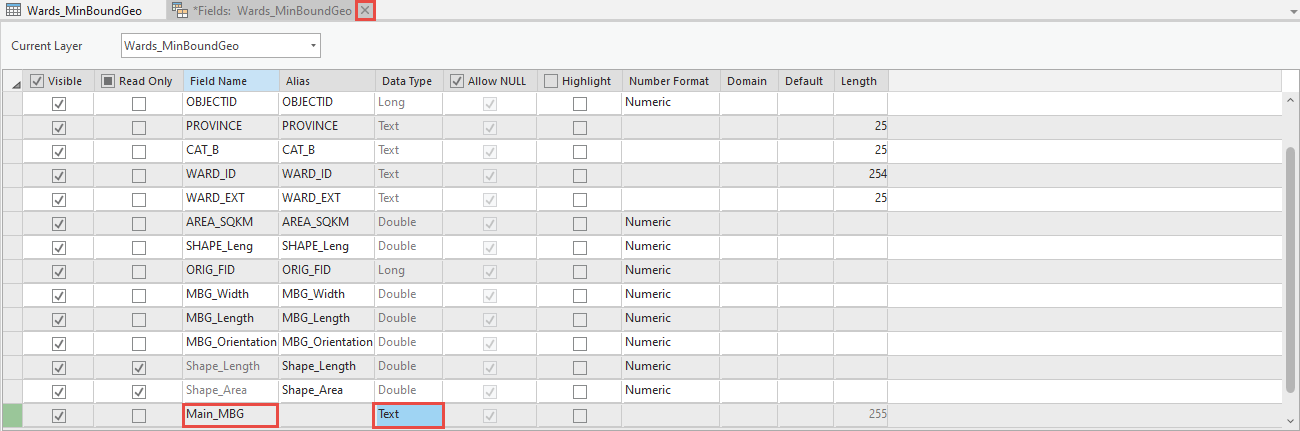
- Provide a name for the new field, and for Data Type, select Text. The field name, Main_MBG, is used in this example.
- Close *Fields: <minimum bounding geometry layer name>, and click Yes to save the changes.
- On the ArcGIS Pro ribbon, click Map > Select and select the large polygon on the map.
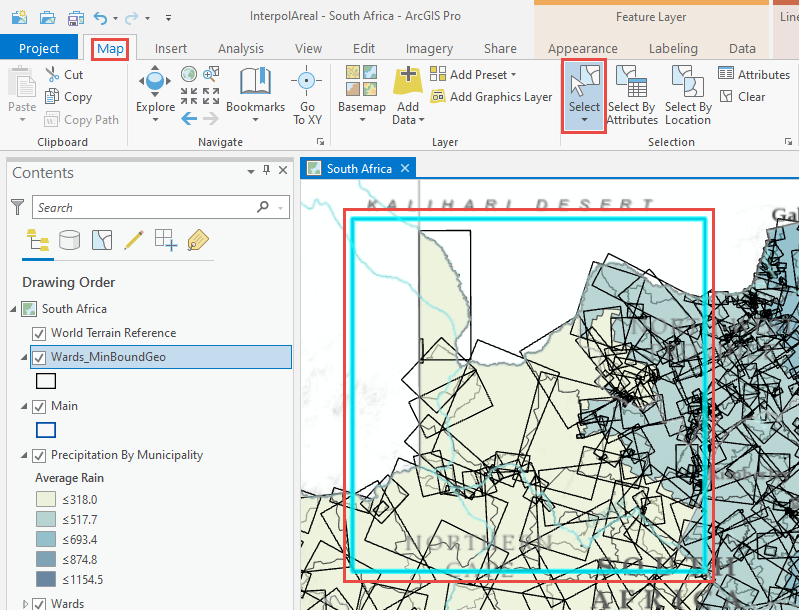
- In the Selection group, click Select By Location.

Note:
Refer to ArcGIS Pro: Select Layer By Location (Data Management) for more information on the parameters in the Select By Location tool.
- In the Select By Location dialog box, configure the following parameters.
- For Input Features, select the newly created polygon layer.
- For Relationship, select Within, or any other option based on the desired result.
- For Selecting Features, select the large polygon. The Main polygon layer is used in this example.
- For Selection type, select New selection.
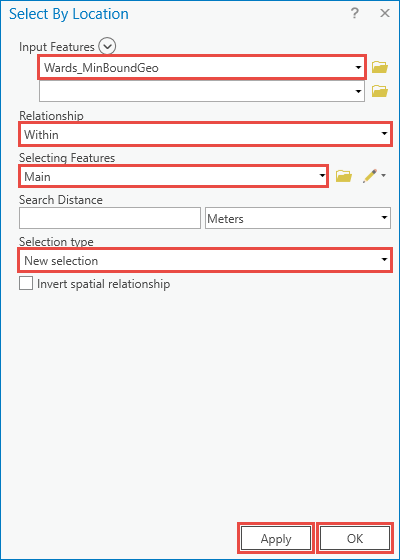
- Click Apply. Click OK.
- Open the Attribute Table of the minimum bounding geometry layer.
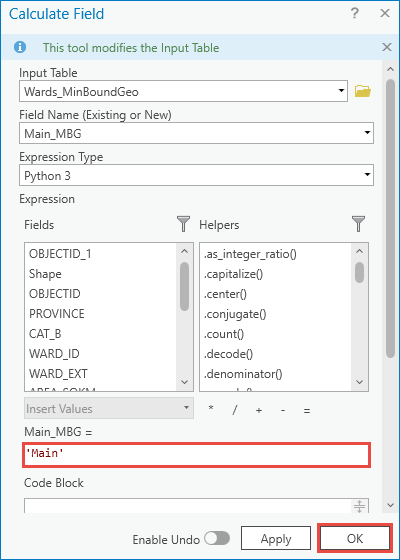
- Click Show Selected Records and right-click the newly created field. Click Calculate Field.
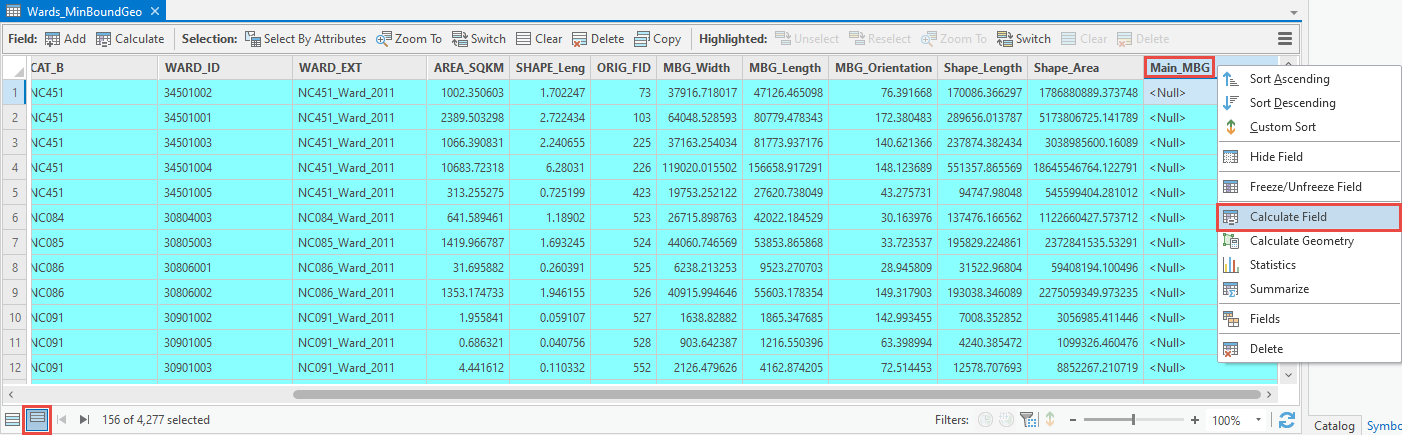
- In the Calculate Field tool dialog box, enter the name of the large polygon layer with single quotes, and click OK. The Main_MBG field values change from <Null> to Main.
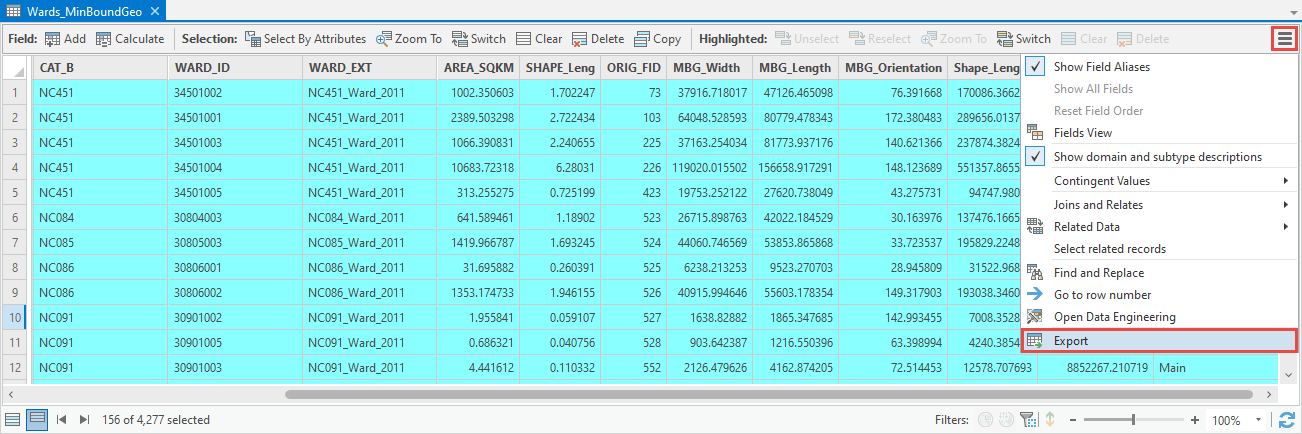
- Export the attribute table to a CSV file format.
- In the Attribute Table of the minimum bounding geometry layer, click the three-bar drop-down menu icon above the vertical scrollbar, and click Export.
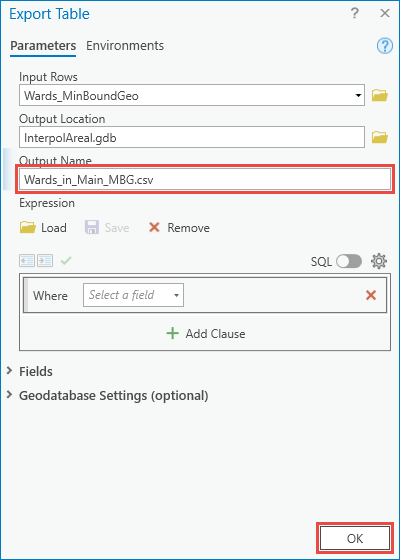
- In the Export Table dialog box, define a name for the new attribute table with .csv affixed at the end for the Output Name parameter. Click OK.
Note:
Refer to ArcGIS Pro: Table To Table (Conversion) for more information on the parameters in the Export Table tool.
Article ID: 000026895
- ArcGIS Pro 2 8 x
- ArcGIS Pro 2 7 x
- ArcGIS Pro 2 x
Get support with AI
Resolve your issue quickly with the Esri Support AI Chatbot.


Related Information
Discover more on this topic
Search for related information
Find training related to this topic
Explore ideas and give feedback
Get help from ArcGIS experts
Start chatting now