HOW TO
Add an Excel table to an ArcGIS Pro layout
Summary
In ArcGIS Pro, a Microsoft Excel table can be added to a layout to present information. This article provides two workflows to add an Excel table to a layout.
Procedure
Use one of the workflows below to add an Excel table to a layout.
Add the Excel table as a Picture element
- Take a screenshot of the Excel table. Refer to Microsoft Support: Use Snipping Tool to capture screenshots or Apple Support: Take a screenshot on your Mac for steps to take a screenshot on the machine.
- Add the screenshot as a Picture element to the layout.
- In ArcGIS Pro, ensure the Layout tab is selected.
- On the ArcGIS Pro ribbon, click the Insert tab.
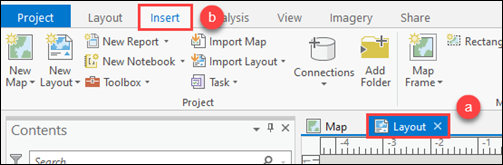
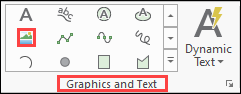
- In the Graphics and Text group, select the Picture element.
- In the Insert Picture window, browse and select the screenshot.
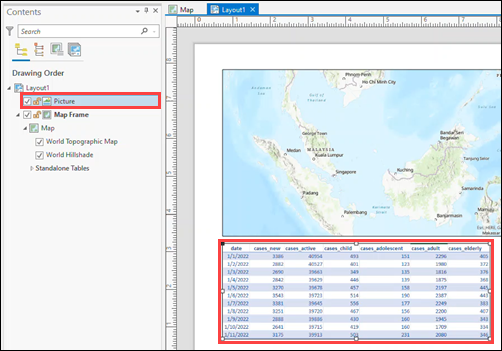
- In the layout, click to add the picture at its original size, or draw a rectangle to set the picture size.
The screenshot image of the Excel table is added to the layout.
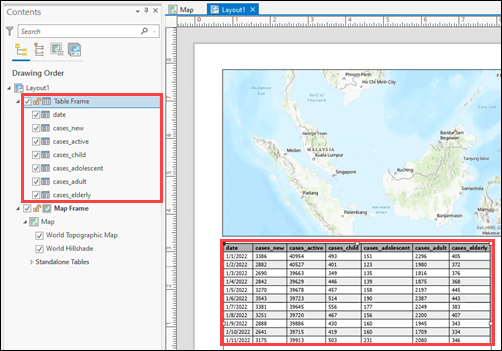
Display the Excel table using a table frame
Alternatively, add a table frame to the layout to display the Excel table. A table frame references and displays a feature table in any map or scene in a project. This workflow displays the table as static or dynamic, and the appearance of the table can also be customized. Refer to ArcGIS Pro: Insert a table frame for steps to add the table frame to the layout.
Article ID:000026796
- ArcGIS Pro 2 8 x
- ArcGIS Pro 2 7 x
- ArcGIS Pro 2 x
Get help from ArcGIS experts
Download the Esri Support App
Related Information
Discover more on this topic
Search for related information
Find training related to this topic
Explore ideas and give feedback