HOW TO
Add a disclaimer to a web map
Summary
A web map disclaimer relinquishes specific responsibility the map developer determines is to be beyond the scope of the map service. A disclaimer can be added to a web map in several ways: using a pop-up window or a splash screen that opens with the web map, using Map Notes, adding text in the web map details page, or embedding on a printed map.
The following is an example disclaimer that can be added to a web map:
Note:
The data on the map is derived from the (insert source name). Esri is not liable for positioning inaccuracies, subsequent updates, errors, or omissions of data. However, suggestions for improvement or error notifications are welcome.
Procedure
The following methods describe ways to add a disclaimer to a web map:
Adding a disclaimer using the Splash widgetAdd the disclaimer as a splash screen pop-up window using the Splash widget in Web AppBuilder for ArcGIS. The splash screen appears when opening the web app.
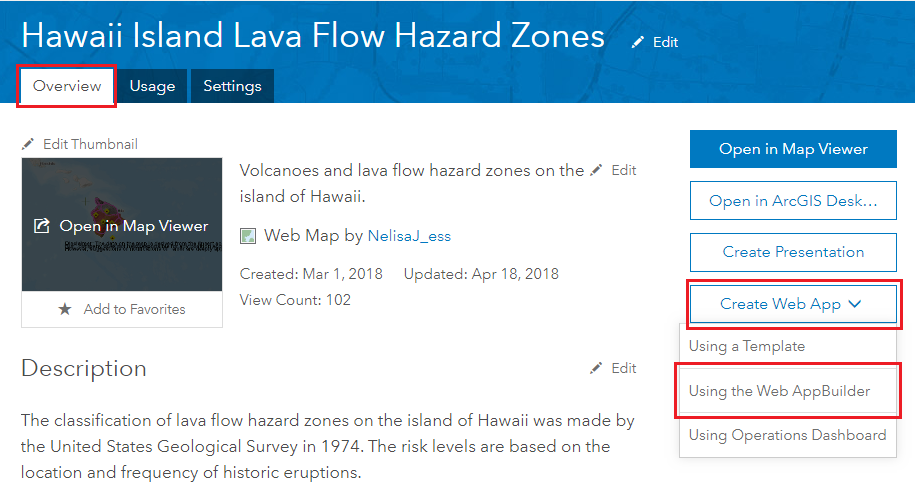
- In ArcGIS Online, navigate to Content > My Content, and select the desired web map from the Title list.
- In the web map details page, create a Web AppBuilder for ArcGIS app by clicking Create Web App > Using the Web AppBuilder.
- Complete all the fields in the Create a New Web App dialog box, and click OK.
- Select the desired theme from the Theme tab.
- Navigate to the Widget tab, and click the Show this widget icon (small eye icon) at the top right corner of the Splash widget to enable the Splash widget.

- Click the Configure this widget icon (pencil icon) at the bottom right corner of the Splash widget. The Configure Splash dialog box opens.
- Add the disclaimer in the Content tab text field.
- In the Options tab, uncheck the Option for user to disable splash screen on application startup check box. This ensures the disclaimer splash screen opens each time the application launches.
- Click OK and Save the web map. The disclaimer splash screen appears as follows:
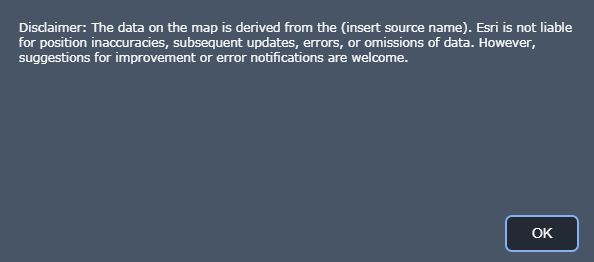
Note:
Click the Options tab to set the behavior of the splash screen. To require splash screen display at application startup, choose the default Do not require confirmation to continue setting. To select whether to display the splash screen at each application startup or only for the first application startup, choose the Require confirmation to continue setting.
Adding a disclaimer using Map Notes
Add a disclaimer to a map in Map Viewer using the Map Notes function in the Edit tab. A map note does not have a fixed location, so it moves with the map. Additionally, the disclaimer is not visible on the printed map. Add a map note using either Map Notes – Text or Map Notes – Points.
- Using Map Notes – Text
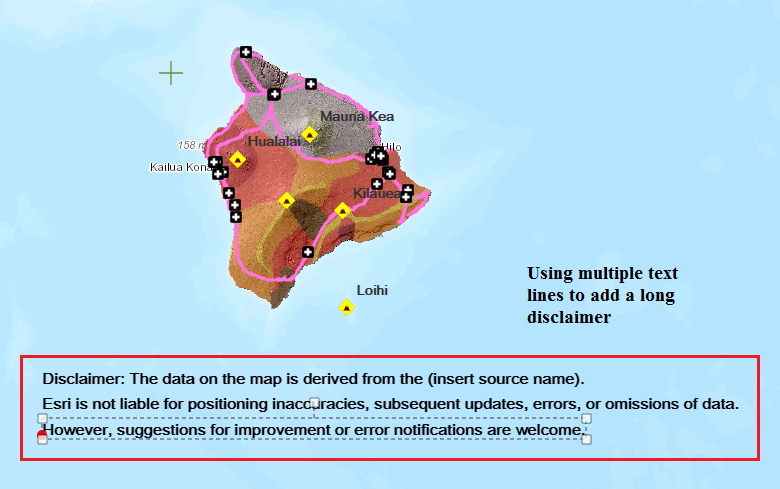
With Map Notes - Text, the font size and style cannot be changed. Only symbology color can be edited. This method is suitable for short, one-line disclaimers, as the map text area is limited and cannot be adjusted to the size of the text.
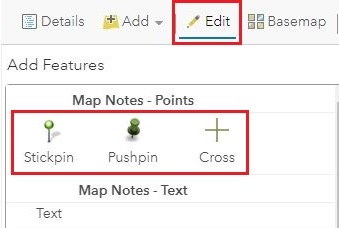
- Navigate to the Edit tab, and click the Text symbol under the Map Notes – Text option.

- Point and click the cursor within the map area and type the disclaimer.
- Use multiple text lines to organize long sentences. The positions must be organized manually.
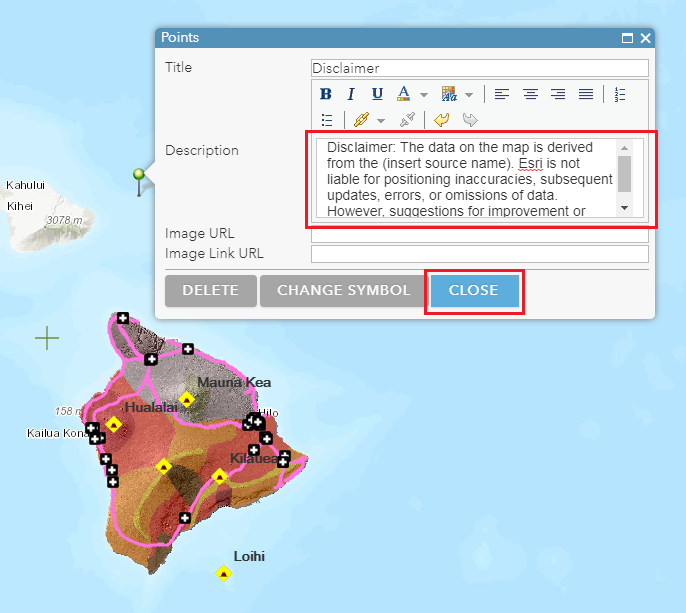
- Using Map Notes – Points
With Map Notes - Points, the disclaimer only displays after the marker point is clicked. In other words, the disclaimer is only visible after a user interaction. This method is suitable for concise, multiple sentence disclaimers, as the text can be inserted without adjusting the text position to fit the data frame.
- Navigate to the Edit tab, and select any marker symbol under the Map Notes – Point option.
- Point and click the cursor to place the marker symbol on the map. A Point dialog box opens.
- Add the disclaimer in the Description field and specify the Title field.
- Click CLOSE.
Using this method, the disclaimer appears in the web map item details page, but not in the web map nor on the printed map. This method is suitable to show the overall information related to the map, including the disclaimer, on a single map.
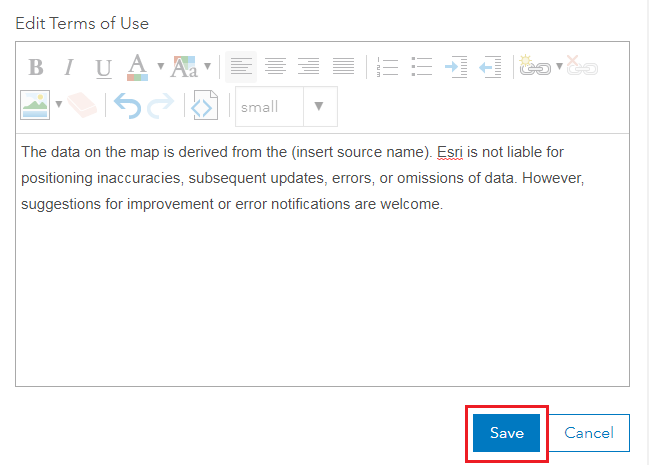
- In the web map item details page, scroll to Terms of Use, and click Edit.

- Add the disclaimer in the Edit Terms of Use field and click Save.
Note:
A disclaimer added in the Terms of Use does not appear on the printed map using Map Viewer, Print > Map or Print > Map with Legend. Only the Summary from the Overview is included. If necessary, the disclaimer can be added in the Summary field. However, the field is limited to 250 characters.
Adding a disclaimer on a printed map
To include the disclaimer on a printed map, use the Print widget from Web AppBuilder for ArcGIS.
- Create a Web AppBuilder for ArcGIS app from the web map by navigating to the item details page > Create Web App > Using the Web AppBuilder.
- Select the desired theme from the Theme tab.
- Select the Print widget from the Choose Widget window to place the widget in the widget controller or the placeholder, and click Save.

- Launch the Web AppBuilder for ArcGIS, and click the Print widget icon. A Print dialog box opens.
- Specify the Map title, Layout, and Format.
- Click the Advanced button.
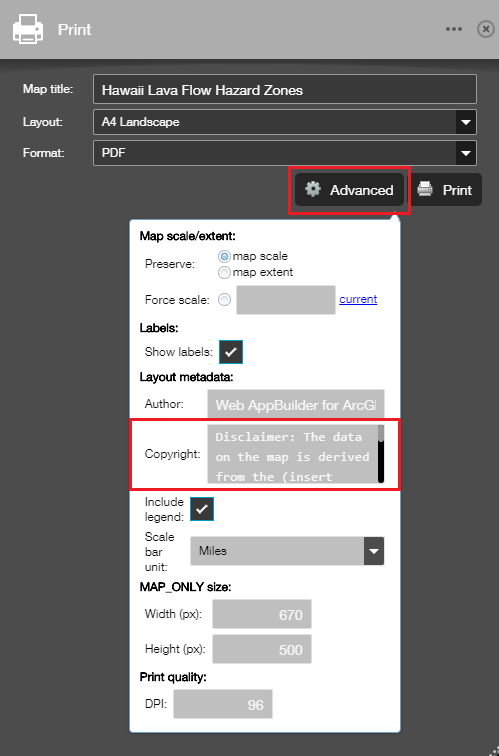
- Add the disclaimer in the Copyright section, and click Print.
- Select the printed file available in the specified format. The disclaimer appears at the bottom-left corner of the printed map.

Article ID: 000018144
- ArcGIS Online
- Web Applications
Get support with AI
Resolve your issue quickly with the Esri Support AI Chatbot.


Related Information
Discover more on this topic
Search for related information
Find training related to this topic
Explore ideas and give feedback
Get help from ArcGIS experts
Start chatting now