PROBLEM
Unable to open an ArcGIS Pro annotation feature class in ArcMap
Description
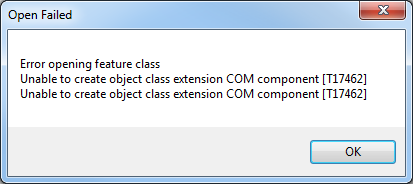
When using ArcMap to open an annotation feature class created in ArcGIS Pro, the following error message is returned:
Error:
Error opening feature class
Unable to create object class extension COM component [annotation feature class name]
Cause
This is a known limitation. Annotation feature classes created in or upgraded to ArcGIS Pro are not supported in ArcMap.
Solution or Workaround
To view the annotation in ArcMap, use one of the following options:Note: The following workarounds allow 'read-only' of the annotations in ArcMap.
Publish the annotation feature class to ArcGIS Online and add the web tile layer to ArcMap
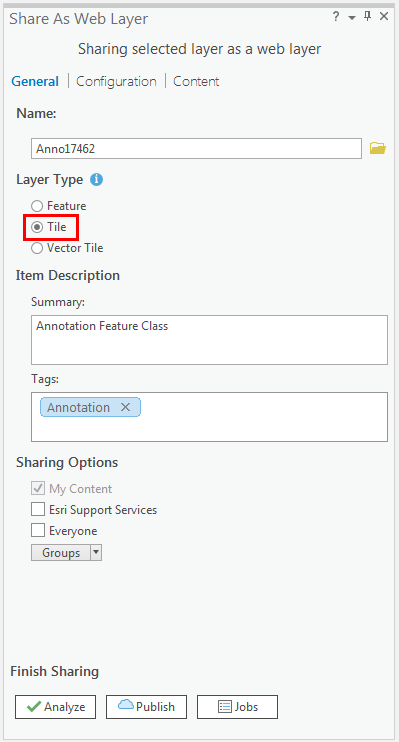
- In ArcGIS Pro, publish the annotation feature class as a web tile layer to ArcGIS Online.
- Open the published tile layer in ArcMap to view the annotations.
- In ArcMap, sign in to ArcGIS Online.
- Click the Add Data drop-down arrow, and click Add Data From ArcGIS Online.
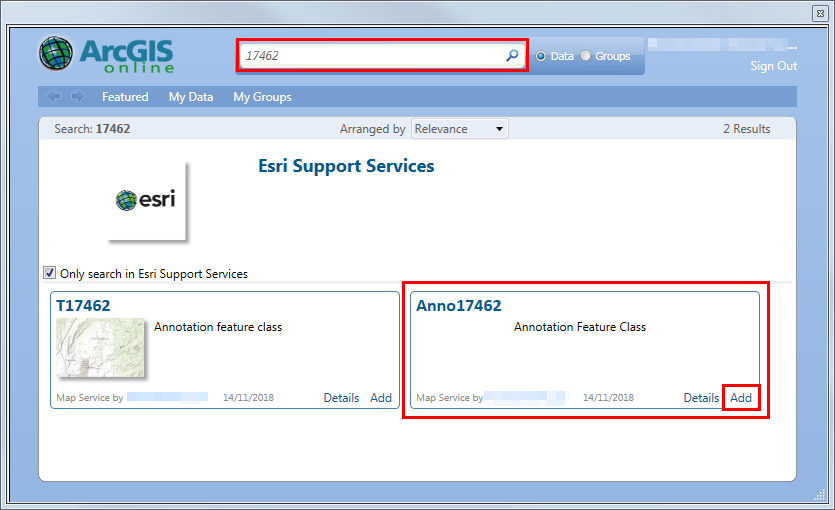
- In the ArcGIS Online dialog box, search for the published annotation tile layer name in the search box.
- In the search results, click Add to add the annotation tile layer to ArcMap.
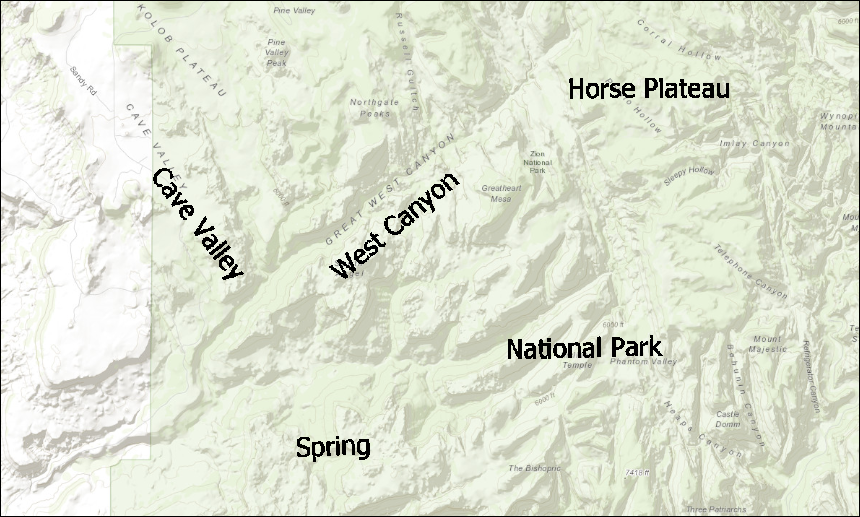
The image below shows an annotation tile layer added to ArcMap.
Convert the annotation to point features, and label the points using the TextString field in ArcMap
- In ArcGIS Pro, convert the annotation to point features using the Feature To Point tool.
Note:
The Feature To Point tool is only available with an ArcGIS Desktop Advanced license.
- In the Geoprocessing pane, navigate to Toolboxes > Data Management Tools > Features > Feature To Point.
- In the Feature To Point pane, select the annotation feature class as the Input Features.
- Set a name and location for the Output Feature Class.
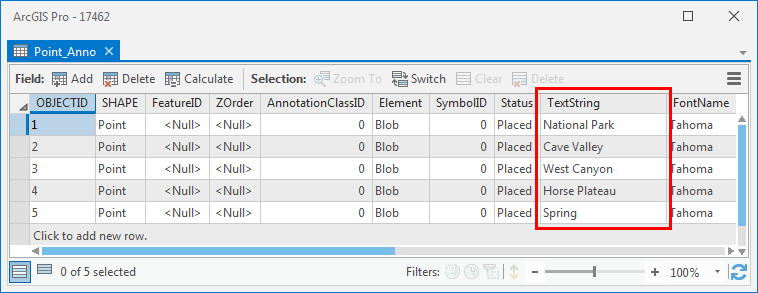
- Click Run. The annotations are displayed in the TextString field in the point feature class attribute table as shown in the image below.
- In ArcMap, add the point feature class to the map, and label the features using the TextString field.
- Click the Add Data icon, and browse to the point feature class converted in Step 1.
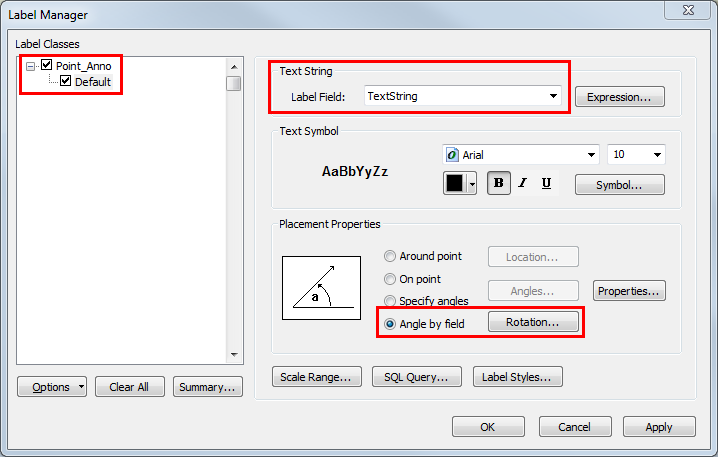
- In the Labeling toolbar, click Label Manager.
- In the Label Manager dialog box, check the check box for the point feature class in the Label Classes section, and select TextString for the Label Field.
- Optionally, in the Placement Properties section, select Angle by field, and click Rotation to rotate the labels according to the angle of the original annotation.
- In the Rotation dialog box, select the Angle field for Rotate Labels by Angle in this field, and click OK.

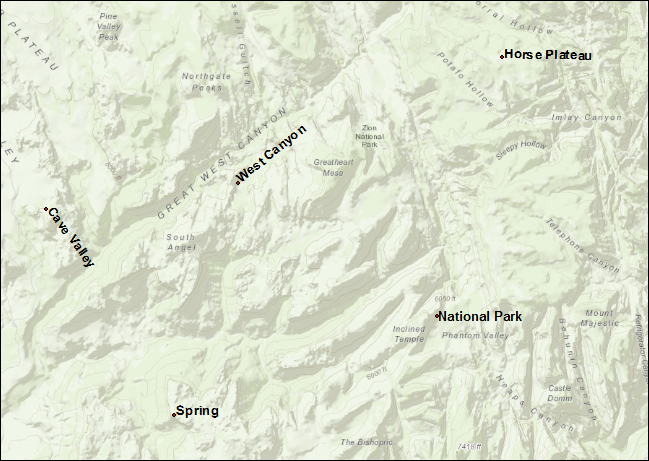
- Click OK to close the Label Manager dialog box. The point features are labeled with the ArcGIS Pro annotations.
Note:
In ArcMap, the point feature labels can be converted to annotations. For more information, refer to ArcMap: Converting labels to annotation.
Article ID: 000017462
Software:
- ArcMap
- ArcGIS Pro
- ArcGIS Online
Get support with AI
Resolve your issue quickly with the Esri Support AI Chatbot.


Related Information
Discover more on this topic
Search for related information
Find training related to this topic
Explore ideas and give feedback
Get help from ArcGIS experts
Start chatting now