HOW TO
Use custom fonts in theme development for ArcGIS Experience Builder
Summary
When developing custom themes for ArcGIS Experience Builder, users may wish to specify custom fonts that do not ship with ArcGIS Experience Builder or are not installed in the operating system. A custom font can either be sourced from a file (woff2, ttf, etc.), or from a URL. To enable this functionality, a few steps must be taken to bring the font into ArcGIS Experience Builder so it can then be applied to the text in various widgets as desired.
Procedure
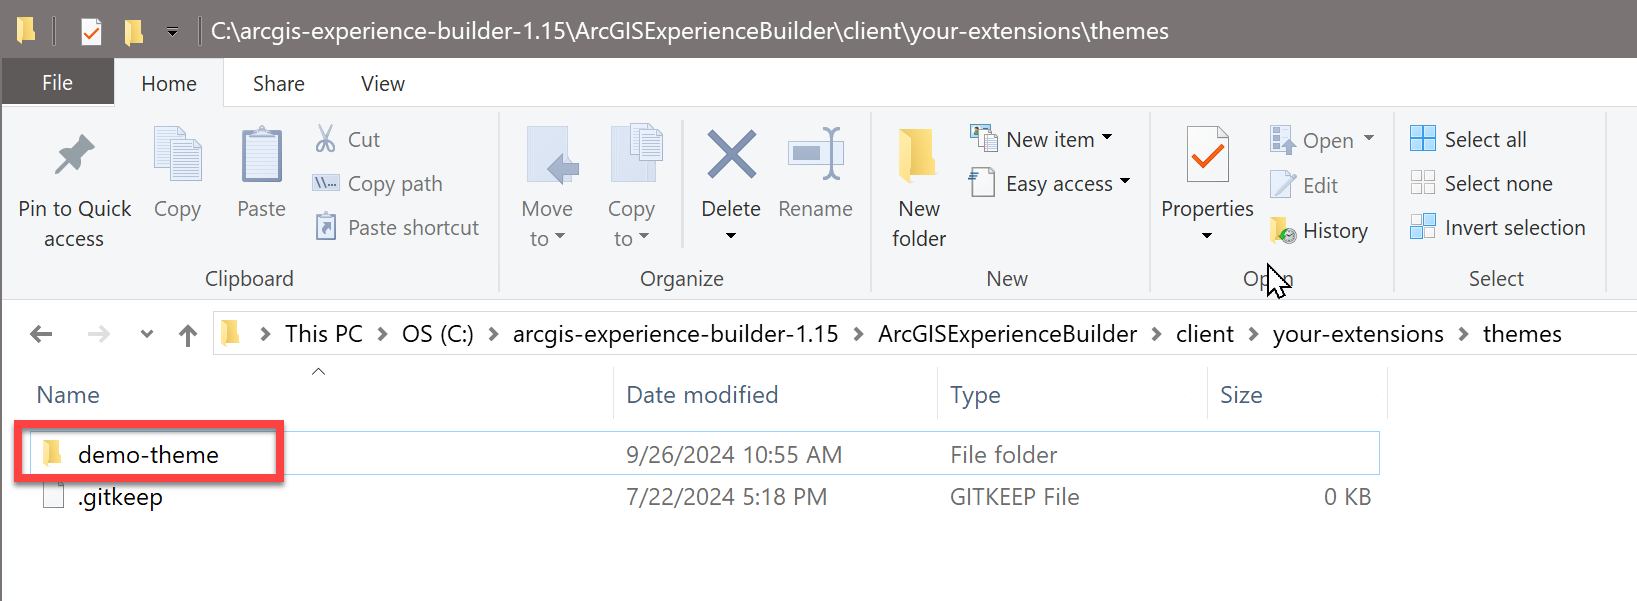
- Create a new theme. For this step, you can use the demo-theme available in the examples below as it already has much of the necessary folder structure:
- Once the above GitHub repo is downloaded, unzip it and copy the demo-theme folder to:
<your_install_path>\ArcGISExperienceBuilder\client\your-extensions\themes
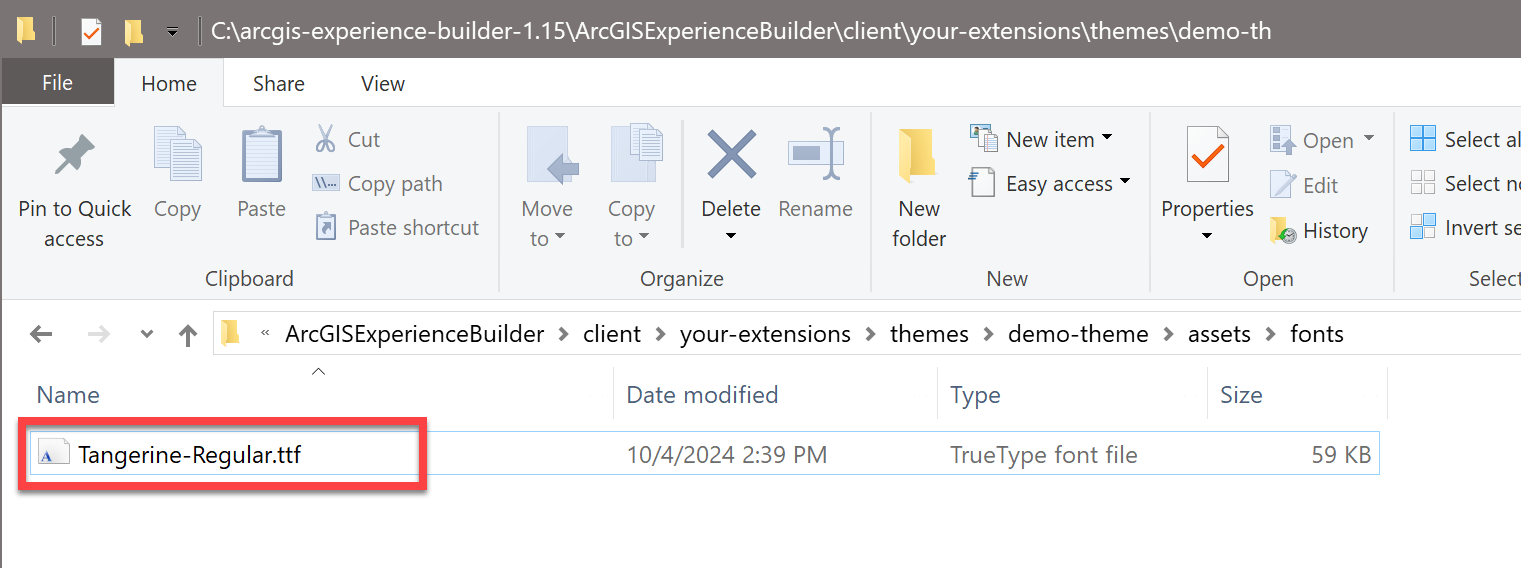
- Inside the demo-theme folder create a folder called assets. Inside the assets folder, create a folder called fonts, this is where to place custom font files (woff2, ttf, etc.):
- Inside the demo-theme folder, create a file called style.scss. This is where to specify the location of the custom fonts for the theme to pull from.
- Open style.scss in an editor and paste the following text into it:
@font-face {
    font-family: 'Tangerine-Regular';
    src: url('./assets/fonts/Tangerine-Regular.ttf') format('truetype');
}

@import url("https://fonts.googleapis.com/css?family=Tangerine");
- The @font-face property is for importing from a file.
- The @import statement is for importing from a URL.
- Comment out the import method you are not using.
Note:
There is a difference in the name of the font between the two methods above. the @import statement imports the font and sets the name to "Tangerine", while the @font-face statement will set the font name to "Tangerine-Regular". Make sure to use the correct font name in the next steps depending on which font import method you used.
TIP:
Open the entire demo-theme folder in Microsoft Visual Studio Code or Notepad++ to facilitate quickly moving between the files we'll be editing.
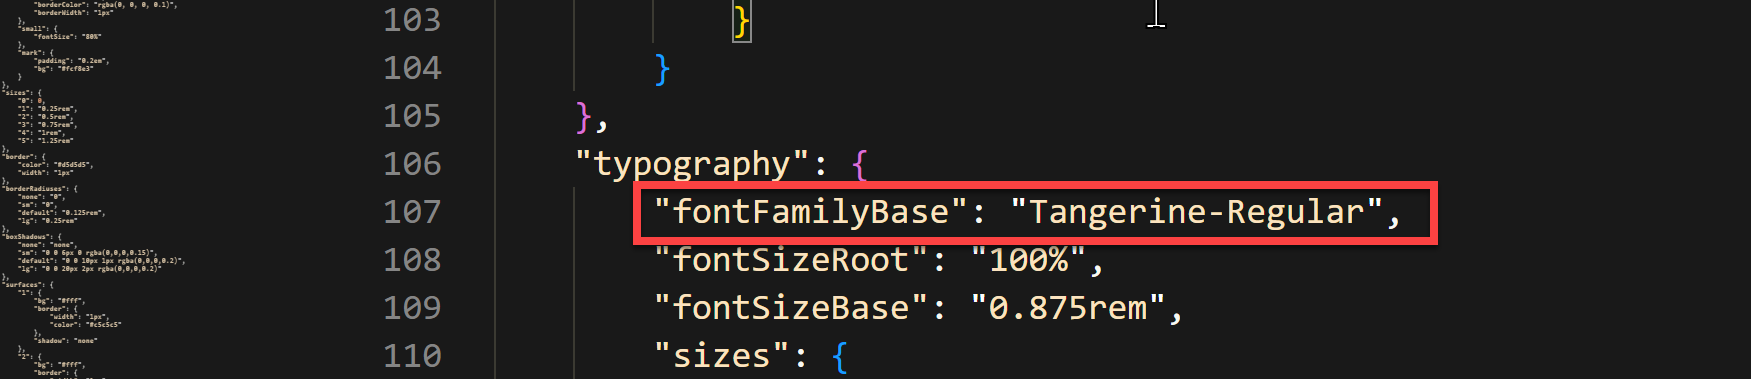
- Inside the demo-theme folder, open the variables.json file and update the fontFamilyBase property to the name of the custom font as in the example below:
		}
	}
},
"typography": {
	"fontFamilyBase": "Tangerine-Regular",
	"fontSizeRoot": "100%",
	"fontSizeRoot": "0.875rem",
	"sizes": {
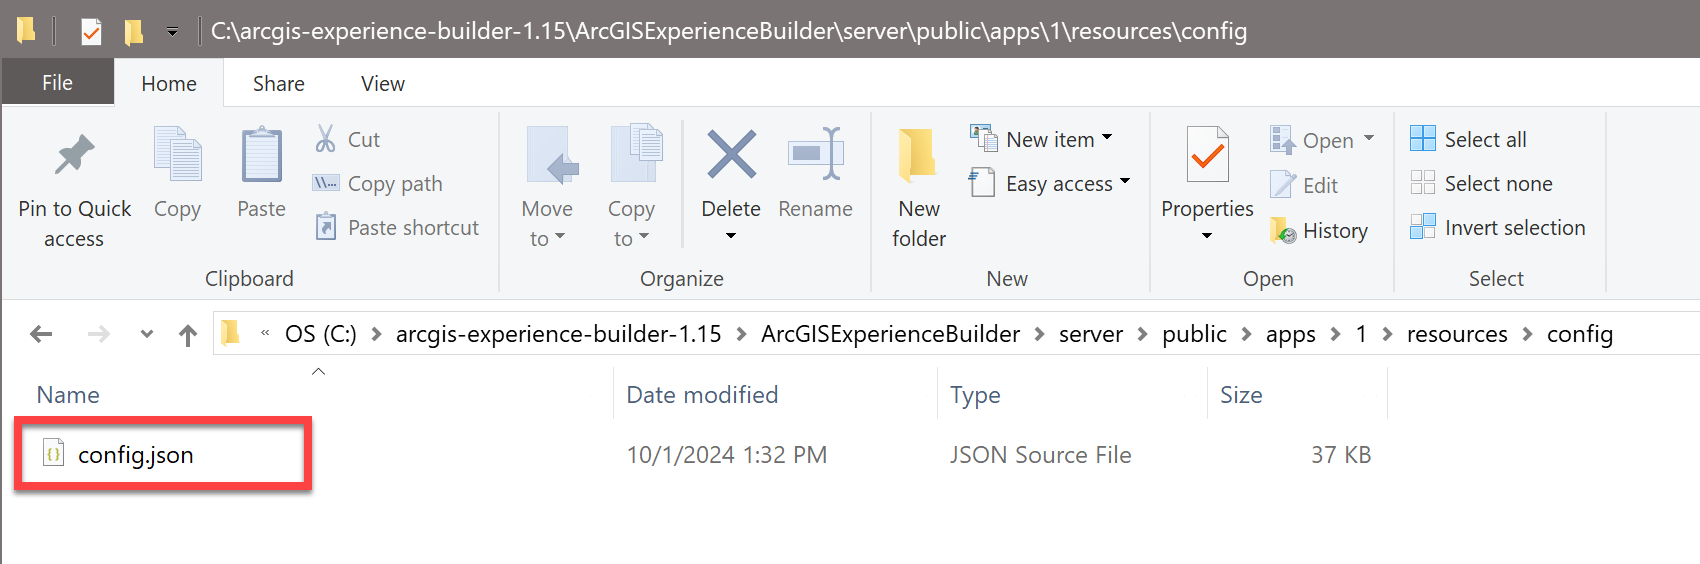
- Apply the custom font to the text inside the Experience itself by editing the config.json file inside the Experience's resources/config folder as shown below:
<your_install_path>\ArcGISExperienceBuilder\server\public\apps\1\resources\config\config.json
- Locate any text that you wish to apply the custom font to and add a CSS font-family tag to specify that the text be rendered with the custom font, as shown in the example below:
"widget_21": {
"uri": "widgets/common/text/",
"version": "1.15.0",
"config": {
"text": "",
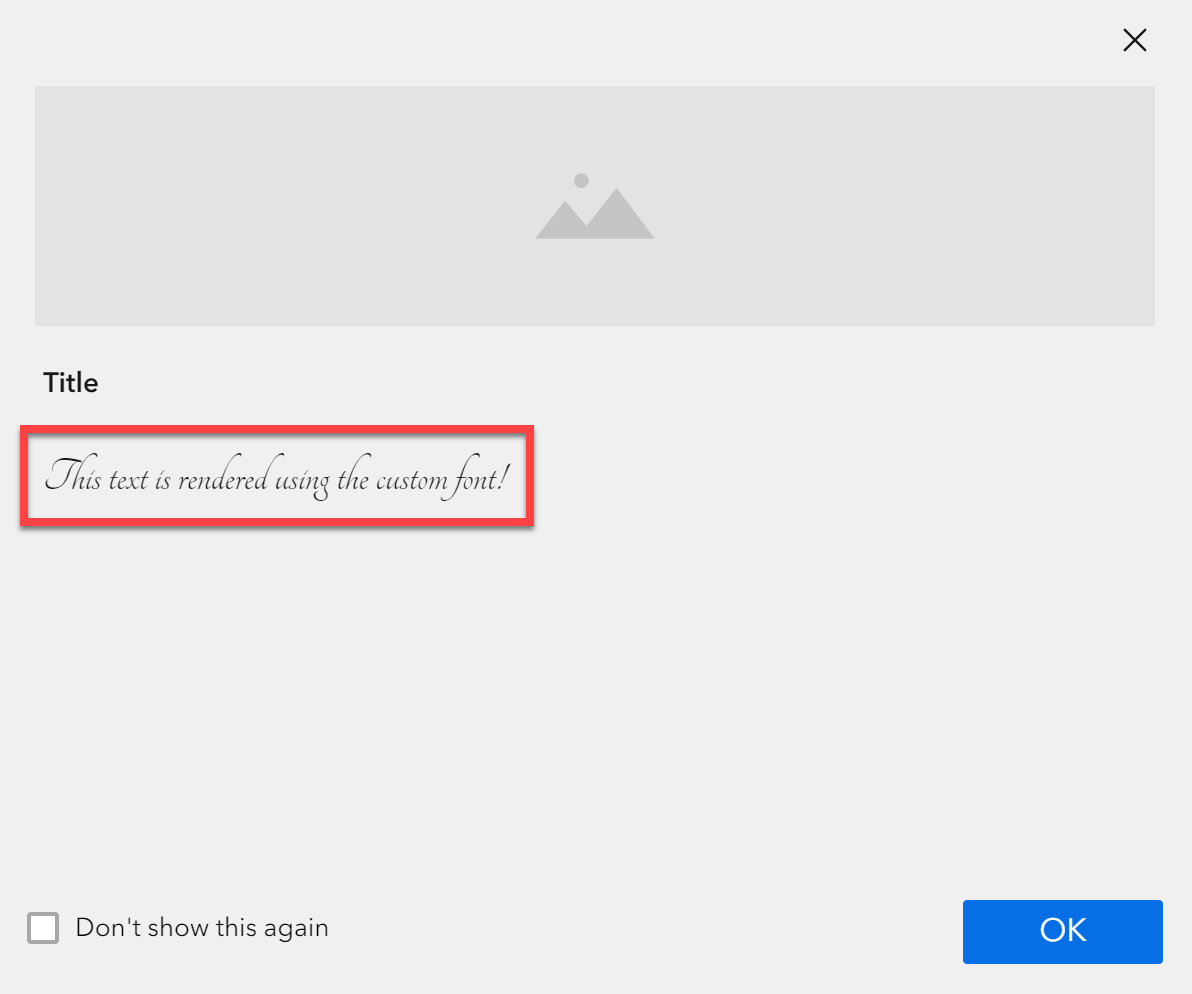
"placeholder": "<p><span style=\"font-size: 24px; font-family: Tangerine-Regular; color: var(--dark-800);\">This text
is rendered using the custom font!</span></p>",
"style": {
"verticalAlign": "start",
"wrap": true
}
}

- The custom font should now appear in your Experience after refreshing the page, as shown in the next image:
Note:
You may also need to reselect your custom theme in the themes list to get the font to be applied. If that doesn't work, try restarting the client with Ctrl+C then Y and then npm start.
Article ID: 000033861
- ArcGIS Experience Builder
Get support with AI
Resolve your issue quickly with the Esri Support AI Chatbot.


Related Information
Discover more on this topic
Search for related information
Find training related to this topic
Explore ideas and give feedback
Get help from ArcGIS experts
Start chatting now