HOW TO
Run reports for multiple sites generated by the Business and Facilities Search tool
Summary
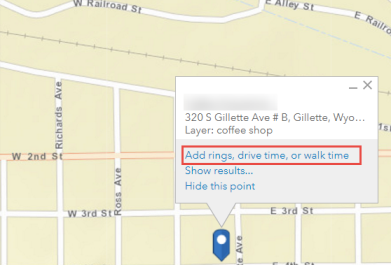
When using the Business and Facilities Search tool, the locations generated are saved as a layer. Creating reports requires the locations to be added as sites. Adding a location as a site is done by clicking the location displayed on the map and clicking the "Add rings, drive time or walk time" option. However, this workflow is inefficient for a large number of business locations.
Multiple business locations can be added as sites by exporting the business locations as a shapefile to ArcGIS Online and importing the shapefile as sites back to the Business Analyst Web App.
Procedure
The following instructions describe how to run reports for multiple sites generated by the Business and Facilities Search tool in Esri Business Analyst Web App.
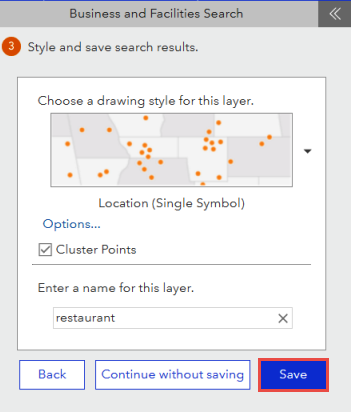
- In the Business Analyst Web App, type the desired location in the Business and Facilities Search option located in the drop-down menu of the Search tool in the Maps tab. Click Next > Save.
Note:
A prompt opens to notify users on credit usage, which costs 10 credits per 1000 records for Business Search. Click OK to proceed to the next step. For more information about credit usage, please refer to Service Credits Overview and Credits.
- Export the layer containing the locations to a shapefile and download the file from ArcGIS Online.
- Log in to ArcGIS Online by using the same username and password of the Business Analyst account.
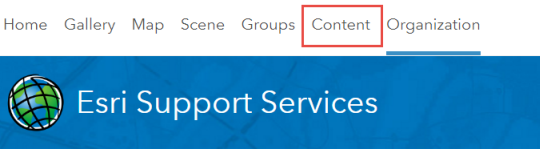
- Click the Content tab > BA – Project Data, located in the Folders box. This opens the Item details page of the feature layer.
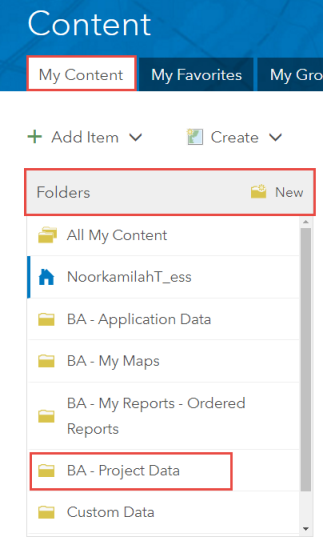
- Click the feature layer previously created in Step 1 in BA - Project Data.
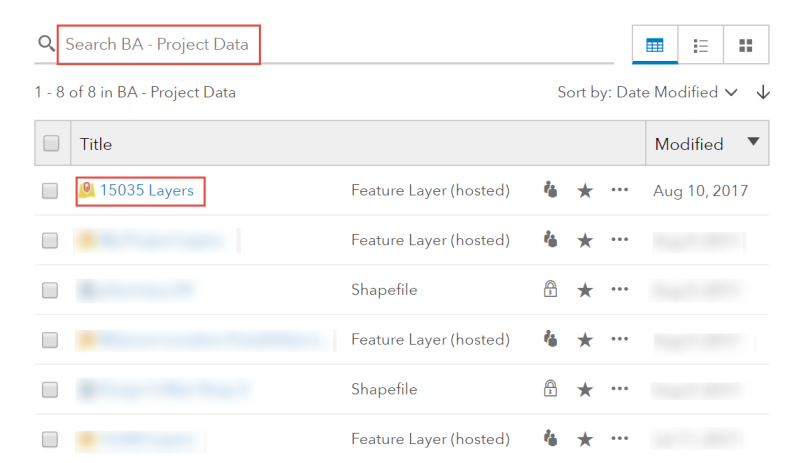
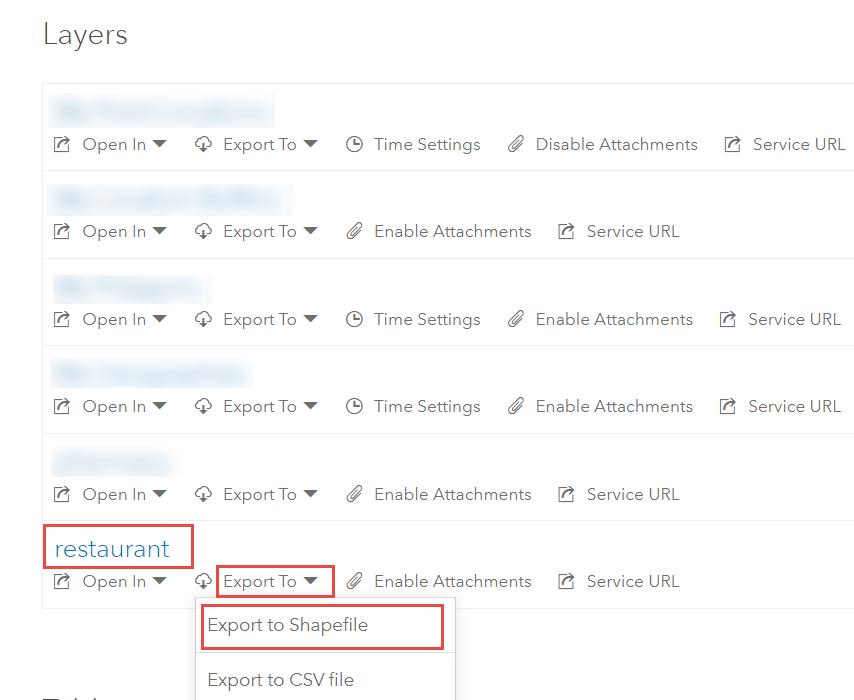
- Under the Layers section, search for the desired business location layer, and click Export To > Export to Shapefile.
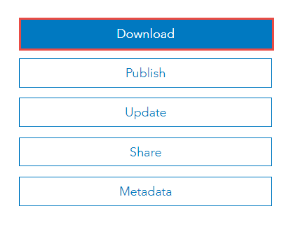
- In the Export to Shapefile dialog box, insert the desired Title, Tags, and Summary in the text box. Click Export > Download and ensure that the BA - Project Data is selected as the output folder.

- Import the shapefile to the Business Analyst Web App.
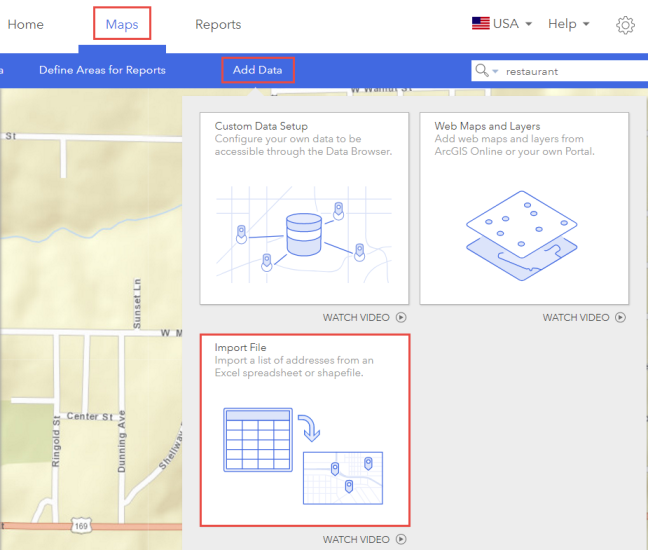
- In the Business Analyst Web App, import the downloaded shapefile by clicking Maps > Add Data > Import File. For more information, refer to Business Analyst Web App: Import file.

Note:
If the shapefile contains more than 100 records (locations), only the first 100 records (location) are imported. For more details, refer to Business Analyst Web App: Import file.
- Set the desired symbology in the Style the Data section, and click Next.
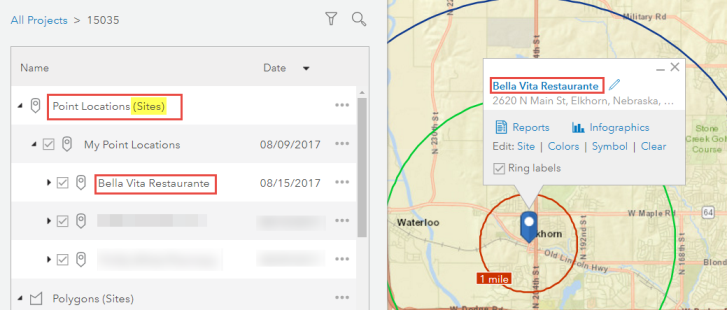
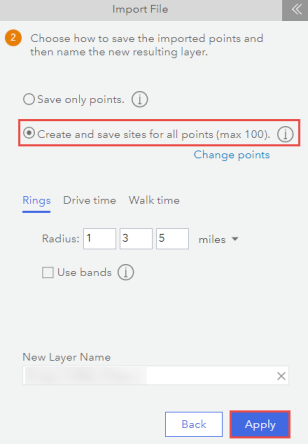
- Select the Create and save sites for all points (max 100) option.
- Optionally, change the layer name in the New Layer Name text box.
- Add Rings, Drive time, or Walk time, and click Apply. For more information, refer to Business Analyst Web App: Find location.
- Click I'm Done. The locations are saved as sites and can be used to create reports. For more information on running reports, refer to Business Analyst Web App: Run reports.
- In the Business Analyst Web App, import the downloaded shapefile by clicking Maps > Add Data > Import File. For more information, refer to Business Analyst Web App: Import file.
Article ID: 000015035
- ArcGIS Online
- ArcGIS Business Analyst Web App
Get support with AI
Resolve your issue quickly with the Esri Support AI Chatbot.


Related Information
Discover more on this topic
Search for related information
Find training related to this topic
Explore ideas and give feedback
Get help from ArcGIS experts
Start chatting now