PROBLEM
Unexpected image displayed in the ArcGIS Experience Builder Card widget at default map extent
Description
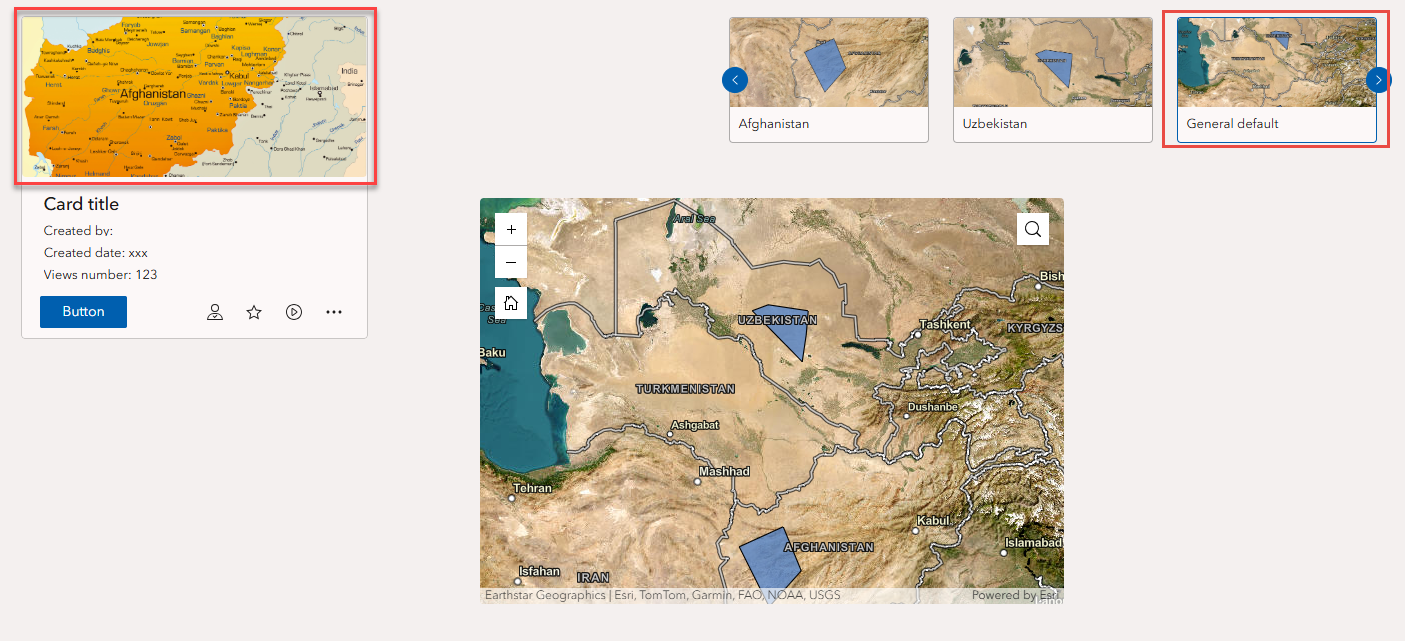
In the ArcGIS Experience Builder app, the Card widget displays an unexpected image when the map returns to the default extent. This occurs when the default bookmark is selected in the Bookmark widget, when the Home tool is clicked on the Map widget, or when the experience first loads and no feature is selected.
For example, in this preview, the Card widget displays an unexpected image when selecting the default extent bookmark.
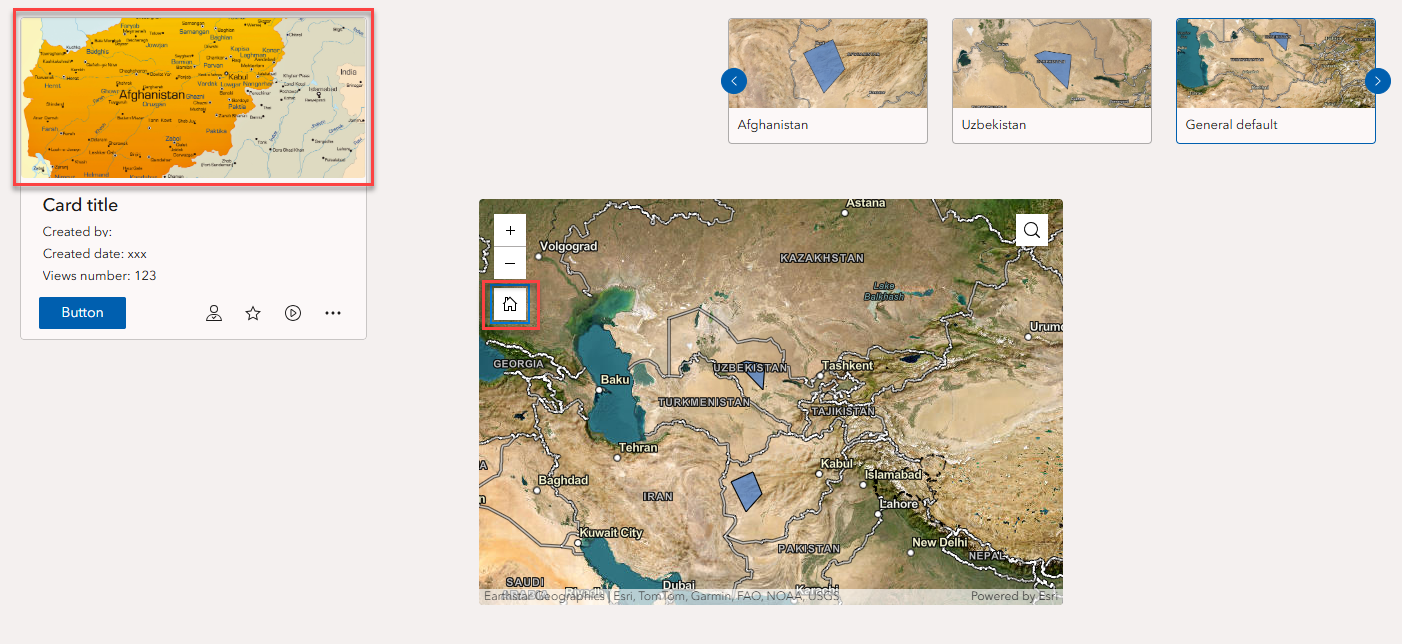
In this preview, the Card widget displays an unexpected image when the Home tool is clicked on the Map widget.
Cause
This is expected behavior. When the Image widget within the Card widget is configured using a dynamic URL or feature layer attachments, it displays the image from the first feature returned by the connected data source. When the map returns to the default extent and no feature is actively selected, the Image widget defaults to the first available feature in the dataset.
Solution or Workaround
Create a new feature in the existing feature layer to use the desired image as the first feature in the connected data.
- In ArcGIS Online, open the existing web map and create a new polygon feature within the existing feature layer.
Note:
Create the polygon feature as small as possible to minimize its visibility, as it only serves to display the desired image. Ensure the new feature is created far enough from existing features to prevent it from being captured by other bookmark extents, as this may cause the Image widget to reference the incorrect feature image.
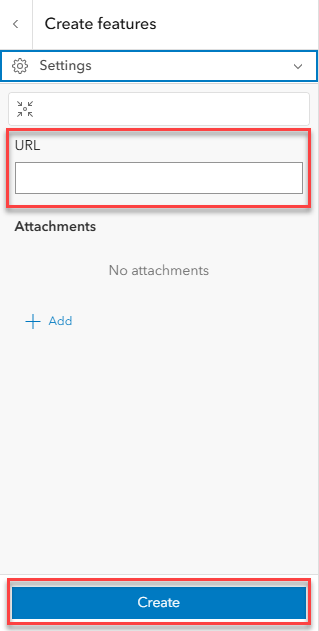
- In the Create features pane, insert the desired image URL in the image field for the default extent and click Create. In this example, the field is the URL field. Optionally, add the image as an attachment in the Attachments field.
- Save the map.
- Open the existing ArcGIS Experience Builder web experience for editing. Refresh the web experience, if necessary.
- On the sidebar of the web experience, click the Data
 tab.
tab. - In the Data panel, select the web map card, and click the feature layer card. Click Settings
 .
. - In the feature layer window, click Sort > +Add a sort field.
- Select the field to sort and click the preferred sequence to set the desired image for the default extent. In this example, the OBJECTID field is sorted in Descending order so the newly created feature is treated as the first feature.

- Click Apply changes.
- Click Save
 and Publish to publish the experience.
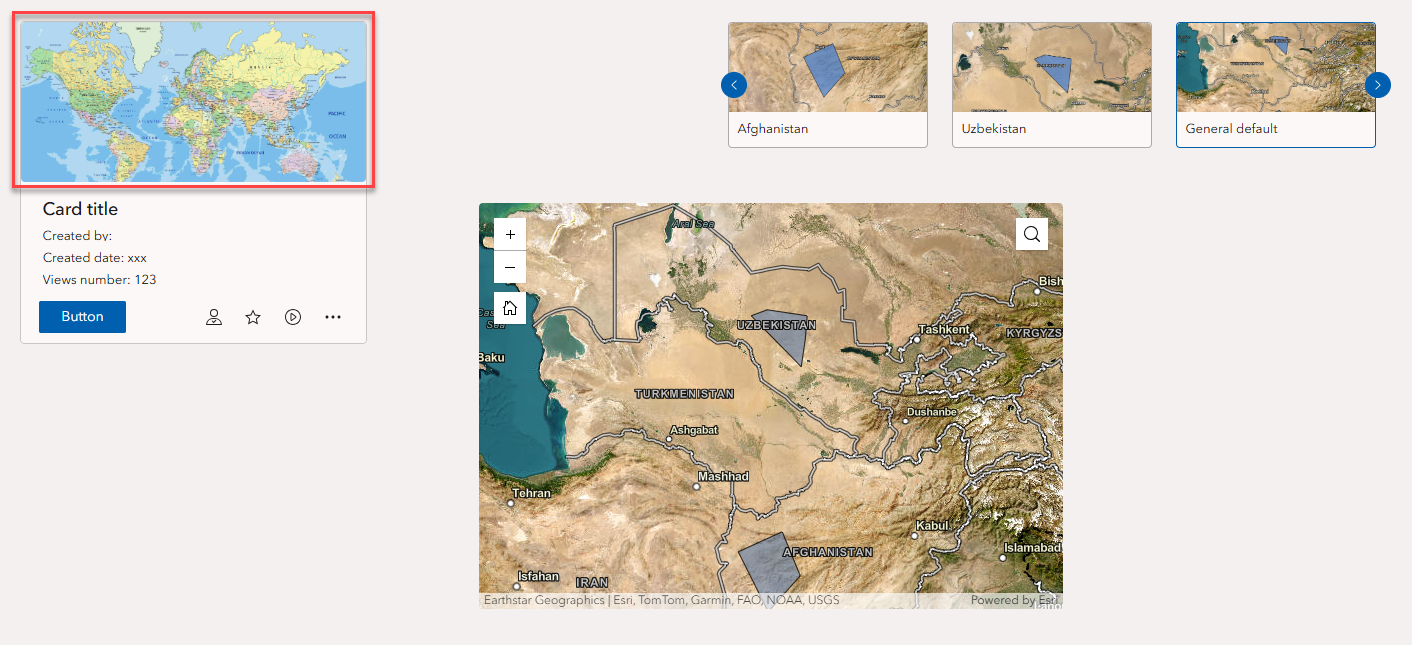
The Experience Builder preview displays the desired image for the default extent.
Article ID: 000036819
- ArcGIS Online
- ArcGIS Experience Builder
Get support with AI
Resolve your issue quickly with the Esri Support AI Chatbot.


Related Information
Discover more on this topic
Search for related information
Find training related to this topic
Explore ideas and give feedback
Get help from ArcGIS experts
Start chatting now