PROBLEM
Unable to export an attribute table to an Excel file in ArcGIS Pro
Description
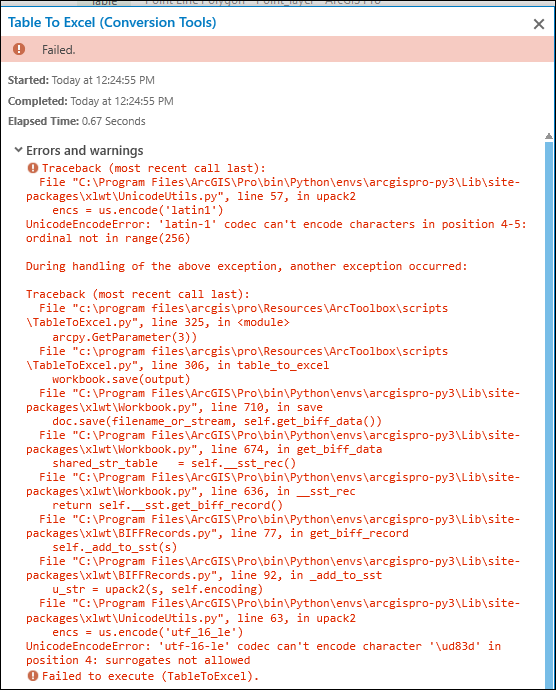
When attempting to export an attribute table to an Excel file using the Table To Excel geoprocessing tool in ArcGIS Pro, the tool fails and returns the following error message:
Error:
Table To Excel failed.

Cause
This issue occurs when the layer name or attribute table contains Unicode symbols or characters.
Solution or Workaround
Use one of the options provided to resolve this issue.
Remove the Unicode symbol from the layer name
- Open the ArcGIS Pro project. In the Contents pane, browse to and double-click the layer.
- In the Layer Properties: <layer_name> window, click the General tab.
- In the Name section, rename the layer or remove the Unicode symbol, and click OK. In this example, the Unicode symbol is removed from the layer’s name.

Remove the Unicode symbol from the field in the attribute table
- Open the ArcGIS Pro project.
- In the Contents pane, browse to and right-click the layer, and select Attribute Table.
- In the attribute table, browse to and double-click the field to remove the Unicode symbol.
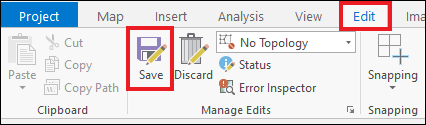
- On the top ribbon, click the Edit tab.
- In the Manage Edits group, click Save to save the edits made in the attribute table.
Export the attribute table to an XLS file
Using the Table To Excel tool, export the attribute table to an XLS file.
- Open the ArcGIS Pro project. On the top ribbon, click the Analysis tab > Tools.
- In the Geoprocessing pane, search for and click Table To Excel (Conversion Tools). The Table To Excel window opens.
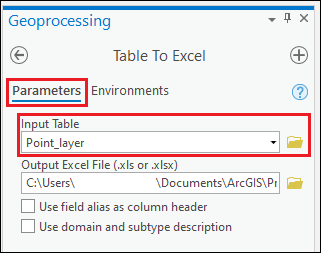
- In the Table To Excel window, click Parameters.
- Click the drop-down menu of Input Table, or Browse (the folder icon), and select the feature layer with the desired attribute table. In this example, a layer titled Point_layer is selected, and the Output Excel File (.xls or .xlsx) parameter is populated automatically.
- Click and browse to the end of the Output Excel File (.xls or .xlsx) parameter, and change the output format to .xls.
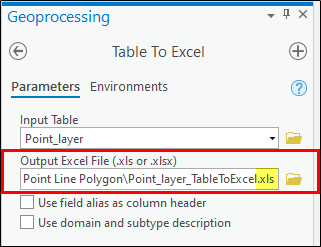
Note:
By default, the output format is set to XLSX.
- Click Run.
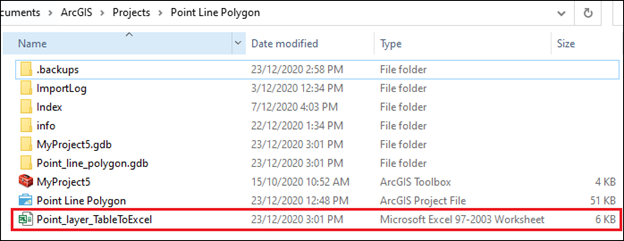
The image below shows the attribute table is exported as an Excel (.xls) file.
Use the Table To Table geoprocessing tool
Export the attribute table to a CSV file using the Table To Table geoprocessing tool.
- Open the ArcGIS Pro project.
- In the Contents pane, browse to and right-click the layer. Click Data > Export Table.
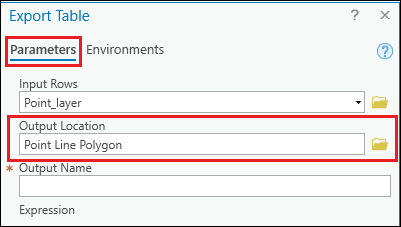
- In the Export Table window, click Parameters.
- For Output Location, click Browse.
- In the Output Location window, select the desired folder for the output file, and click OK. In this example, a folder named Point Line Polygon is selected.
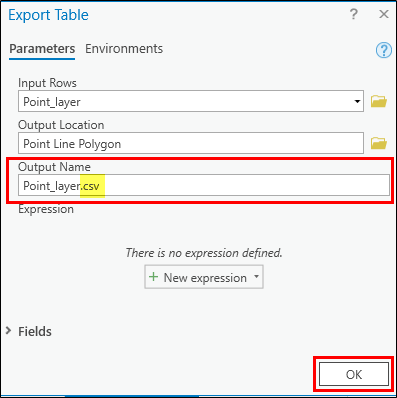
- Specify a name for Output Name, and include the .csv extension. Click OK.
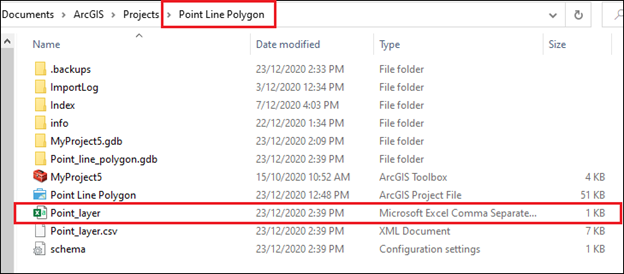
The image below shows the exported CSV file titled Point_layer is stored in the Point Line Polygon folder.
Use the Copy Rows geoprocessing tool
Export the attribute table to a CSV file using the Copy Rows geoprocessing tool.
- Open the ArcGIS Pro project. On the top ribbon, click the Analysis tab > Tools.
- In the Geoprocessing pane, search for and click Copy Rows (Data Management Tools). The Copy Rows window opens.
- In the Copy Rows window, click Parameters.
- Click the drop-down menu of Input Rows, or Browse (the folder icon), and select the feature layer with the desired attribute table.
- For Output Table, click Browse.
- In the Output Table window, specify the Name section, and include the .csv extension. Click Save.

- In the Copy Rows window, click Run.
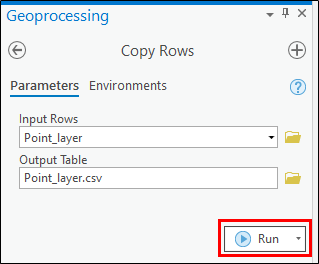
The image below shows the attribute table is exported as a CSV file.

Article ID: 000024919
- ArcGIS Pro 2 7 x
- ArcGIS Pro 2 x
Get support with AI
Resolve your issue quickly with the Esri Support AI Chatbot.


Related Information
Discover more on this topic
Search for related information
Find training related to this topic
Explore ideas and give feedback
Get help from ArcGIS experts
Start chatting now