HOW TO
Retain the transparency of a map layer created in ArcMap when exporting to ArcGIS Online
Summary
The transparency of a map layer must be preserved to ensure accurate data visualization is carried over when exporting from ArcMap to ArcGIS Online. However, the transparency is not honored if an incorrect format of the map layer is used when exporting the map layer.
This article provides instructions to retain the transparency by setting the layer transparency in ArcMap and generating a tile package to share to ArcGIS Online.
Procedure
- In ArcMap, set the desired map layer transparency through the Display tab of the Layer Properties dialog box, or the Effects toolbar. Refer to ArcMap: Setting layer transparency for steps to complete this.
- On the Menu bar, click Customize > ArcMap Options.
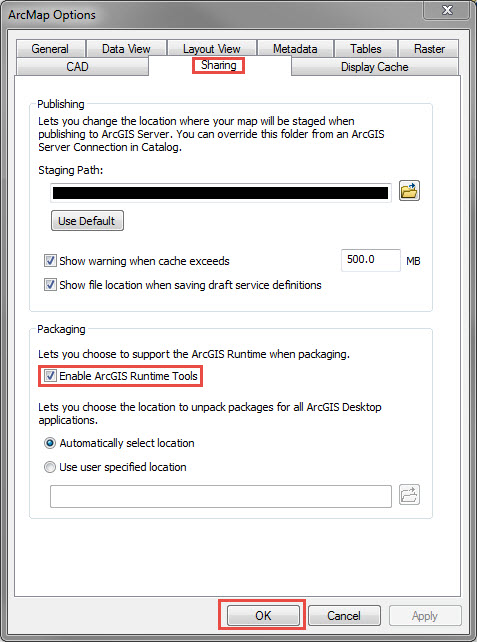
- In the ArcMap Options window, select the Sharing tab, and navigate to the Packaging section.
- Ensure the Enable ArcGIS Runtime Tools check box is checked, and click OK.
- On the Menu bar, click File > Share As > Tile Package.
- In the Tile Package window, on the Tile Package tab, select Upload package to my ArcGIS Online account.
Note:
A prompt to sign in is displayed if not signed in to ArcGIS Online.
- On the Tile Format tab, select ArcGIS Online / Bing Maps / Google Maps for Tiling Scheme.
- On the Item Description tab, fill in the required sections.
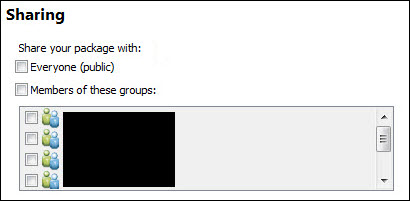
- On the Sharing tab, select the desired groups to share the package.
- Click Analyze, and Share.

- Click Yes in the Save Map Document pop-up window to save the document and create the tile package.
Note:
The time required to generate the tile package depends on the scale of the data.
The tile package is shared to ArcGIS Online, and the layer retains the same transparency when creating and exporting the map layer from ArcMap to ArcGIS Online.
Article ID: 000023085
- ArcGIS Online
Get support with AI
Resolve your issue quickly with the Esri Support AI Chatbot.


Related Information
Discover more on this topic
Search for related information
Find training related to this topic
Explore ideas and give feedback
Get help from ArcGIS experts
Start chatting now