HOW TO
Remove the border from a map frame in a layout in ArcGIS Pro
Summary
Once a map frame is added to a layout in ArcGIS Pro, a border is automatically applied to the map frame. However, the appearance of the map frame's border can be customized to enhance the visual presentation. This article describes the steps to remove the border from a map frame in a layout.
Procedure
- Open the project in ArcGIS Pro.
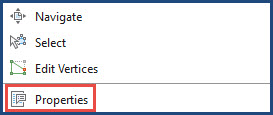
- In the Contents pane, right-click Map Frame and click Properties from the context menu.
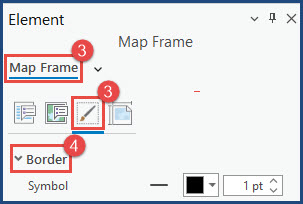
- In the Element pane, click Map Frame > Display.
- Expand Border.
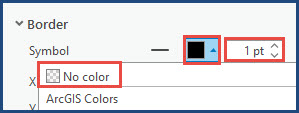
- For Symbol, click the Border Color drop-down menu, and select No color or configure the Border Line Width to 0 pt.
- Click Save to save the changes.
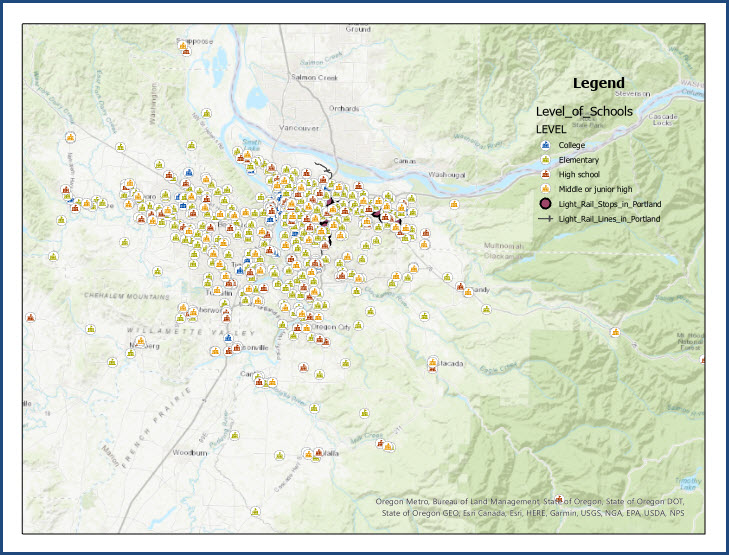
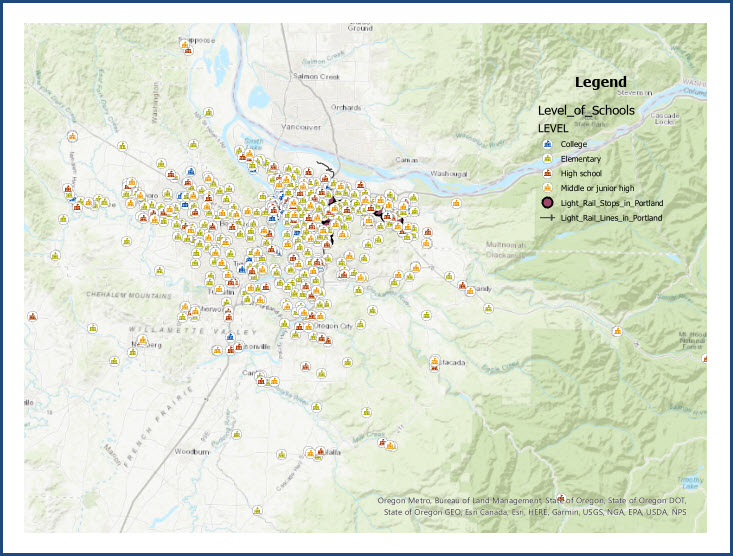
The image below shows the border is no longer displayed on the map frame.
Article ID: 000029661
Software:
- ArcGIS Pro 3 1
- ArcGIS Pro 3 0
- ArcGIS Pro 2 x
Get support with AI
Resolve your issue quickly with the Esri Support AI Chatbot.


Related Information
Discover more on this topic
Search for related information
Find training related to this topic
Explore ideas and give feedback
Get help from ArcGIS experts
Start chatting now