HOW TO
Preserve custom raster symbology for a single image or a mosaic dataset published from ArcGIS Pro to ArcGIS Online
Summary
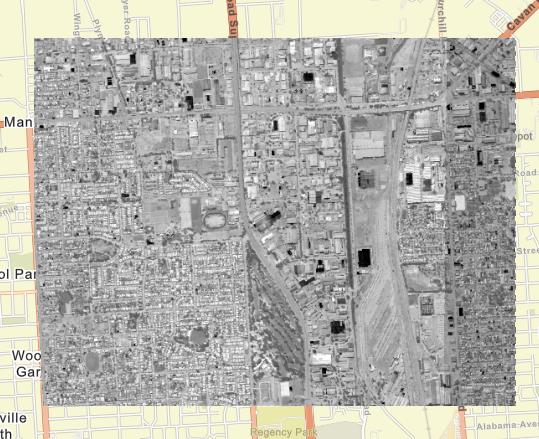
When publishing raster data as an image or a mosaic dataset with a custom color scheme applied from ArcGIS Pro, the published imagery layer in ArcGIS Online doesn’t preserve the symbology. As a result, the image is displayed by default with the RGB composite renderer, similar to the image shown below.
This is a known limit for BUG-000110154. Although the two reference articles below provide existing solutions, both require multiple steps. This article aims to provide an additional simpler solution.
- Existing solution 1: How To: Apply a raster function template to symbolize classified data in a mosaic dataset or image service published from ArcGIS Pro
- Existing solution 2: Publish an imagery service from ArcGIS Pro with a preferred raster function or defined symbology
Cause
This is a known limit for BUG-000110154.
Although the two articles below provide existing solutions, both require multiple steps. This article aims to provide an additional simpler solution.
Existing solution 1: https://support.esri.com/en-us/knowledge-base/how-to-apply-a-raster-function-template-to-symbolize-cl-000021676
Existing solution 2: https://support.esri.com/en-us/knowledge-base/publish-an-imagery-service-with-a-preferred-raster-func-000031281
Procedure
Note:
The workflows below apply to dynamic imagery layers. You cannot share dynamic imagery layer items with the public. Even if you have privileges to share data publicly, the option to share dynamic imagery layers with Everyone (public) is not available. See: Imagery layers
- Once an image or a mosaic dataset has been configured with the desired custom symbology, create a raster function template.

- In the Symbology pane, click the three-line 'hamburger' menu in the top right-hand corner and click Export as raster function template.
- Populate information in the parameter as necessary. In this case, in the Category field, select Custom. When the template is saved, it is available in the Custom tab of Raster Functions.
- Type a Description.
- For Type select Mosaic.
- Set Multidimensional rules to Match Variables. Click OK to save.
- Open the Raster Functions pane. Select the Custom tab. Navigate to the new Raster Function Template created from the step above.
- Right-click, Share to Portal, and populate the name, summary, and tags as appropriate.
- Publish the image or a mosaic dataset as a Dynamic Imagery Layer.
- Select any options for your images. In this workflow, we select Single image, and click Next.
- Source Data: Click the Add button to locate the source image data, and click Next.
- Populate the item details for the imagery layer, and click Run.
- After creating the hosted imagery layer is completed, go to ArcGIS Online and the Item Details page of the dynamic imagery layer.
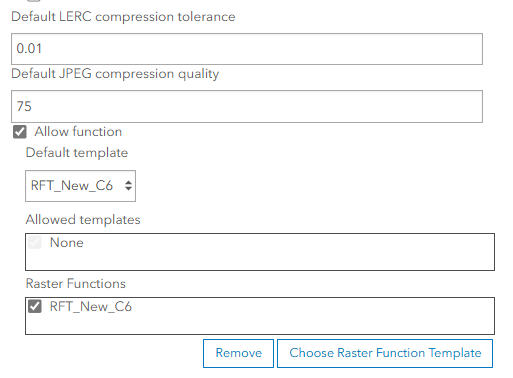
- Under Settings, scroll down to the Imagery Layer (hosted) section.
- Make sure to enable the Allow function check box.
- Click the Choose Raster Function Template button to select the raster function template, select the Default template to your selected raster function template, enable the template under Raster Functions, and click Save.
- Open the dynamic imagery layer in Map Viewer.
- If you prefer not to configure the raster function template on the settings page, you can instead apply it directly within Map Viewer.
- Open the published dynamic imagery layer in Map Viewer.
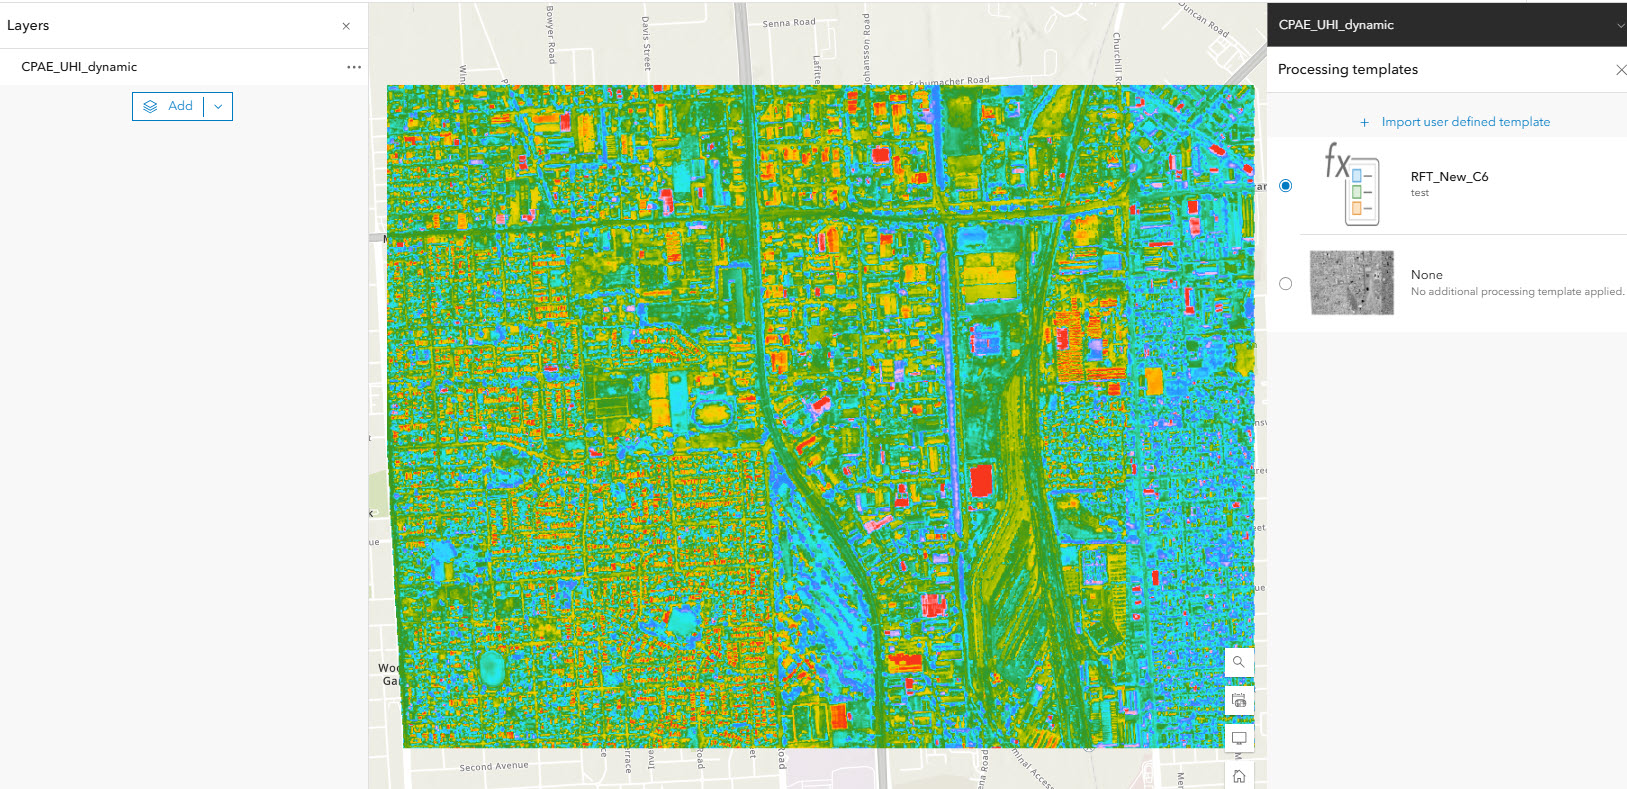
- Select the Processing templates menu, shown in the image below.
- Select + import user defined template.
- Under My Content, select the raster function template, and click Done.
Now, the custom symbology in Map Viewer looks exactly the same in ArcGIS Pro.
Article ID: 000034171
- ArcGIS Pro
- ArcGIS Online
Get support with AI
Resolve your issue quickly with the Esri Support AI Chatbot.


Related Information
Discover more on this topic
Search for related information
Find training related to this topic
Explore ideas and give feedback
Get help from ArcGIS experts
Start chatting now