HOW TO
Move a subset of rasters from a mosaic dataset to another in ArcGIS Pro
Summary
When managing or analyzing a large mosaic dataset, the workflow may involve moving a portion of the mosaic dataset to a new mosaic dataset. This is possible by selecting a subset of rasters in a temporary mosaic dataset layer, and adding them to a new mosaic dataset in ArcGIS Pro.
Procedure
Complete the steps below to move a subset of rasters from a mosaic dataset to another in ArcGIS Pro.
- In ArcGIS Pro, add the desired mosaic dataset to the map.
- Create a temporary mosaic dataset layer from the mosaic dataset added in Step 1 using the Make Mosaic Layer tool.
Note:
Ensure there are no pending edits on the mosaic dataset as this causes the Make Mosaic Layer tool to fail when it is unable to retrieve the schema lock.
- Click the Analysis tab > Tools. In the Geoprocessing pane, search for the Make Mosaic Layer tool.
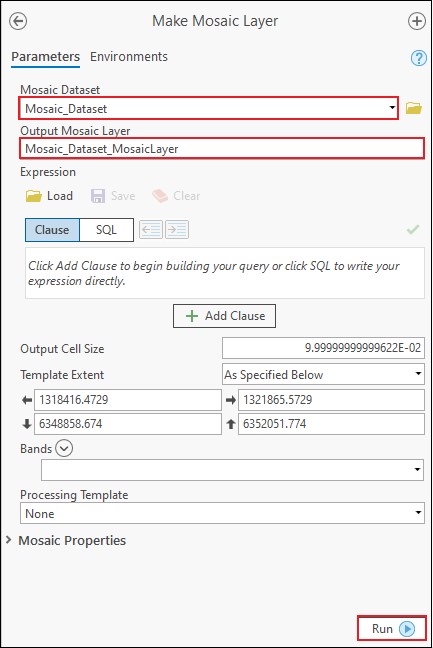
- In the Make Mosaic Layer window, click Parameters.
- In the Mosaic Dataset section, select the desired mosaic dataset.
- In the Output Mosaic Layer section, an output name is automatically generated with '_MosaicLayer' at the end of the selected Mosaic Dataset name.
- Leave the other parameters at default.
- Click Run.
Note:
In ArcGIS Pro 2.5, the Make Mosaic Layer tool does not display Boundary, Footprint, Image layers, and the attribute table. For more information, refer to BUG-000128595.
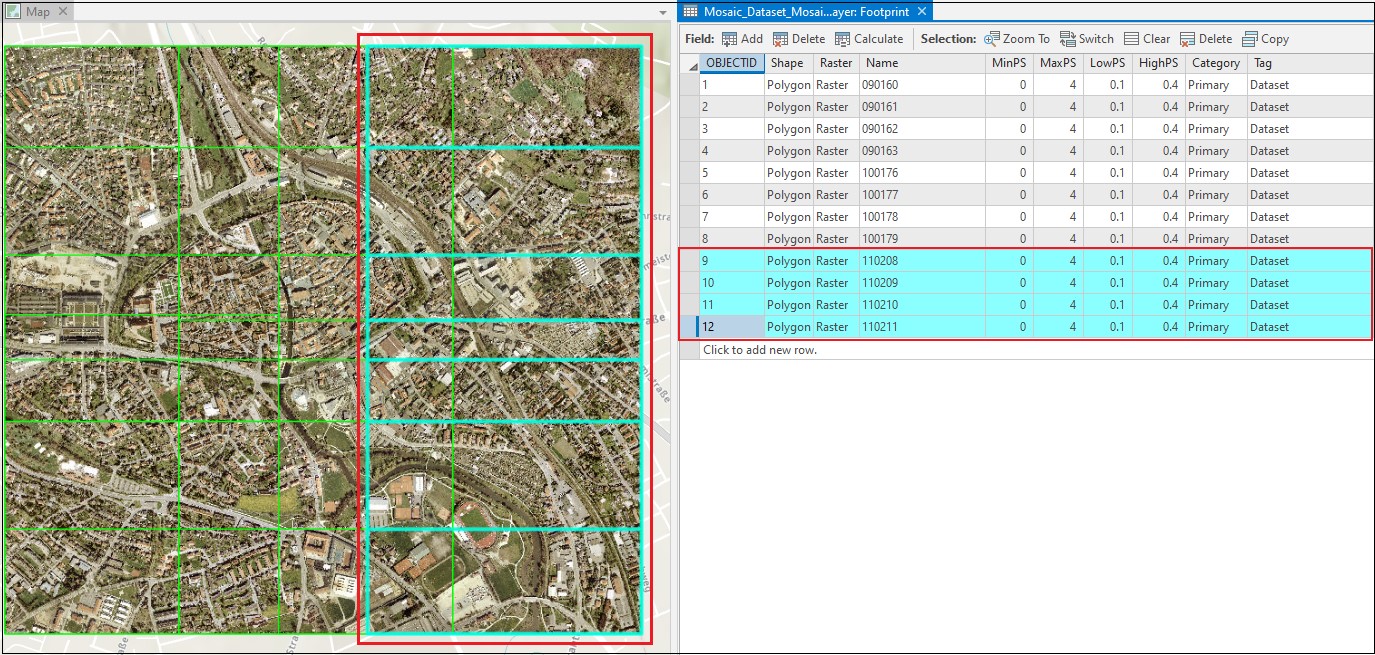
- Select a desired subset of rasters in the temporary mosaic dataset layer to be moved to a new mosaic dataset.
- In the Contents pane, right-click the temporary mosaic dataset layer created in Step 2. Select Open Table > Attribute Table.
- In the attribute table, select the desired subset of rasters. The selection in the attribute table is reflected on the map.
- Create a new and empty mosaic dataset. Refer to the 'Create the mosaic dataset' section in ArcGIS Pro: Create a mosaic dataset for steps to do so.
- Add the selected subset of rasters to the new mosaic dataset created in Step 4 using the Add Rasters To Mosaic Dataset tool.
- In the Catalog pane, right-click the new mosaic dataset layer, and select Add Rasters.
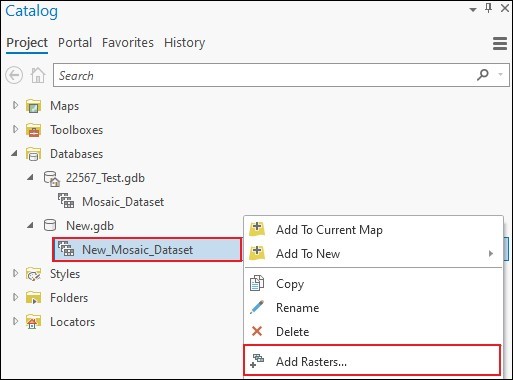
Note:
Optionally, click the Analysis tab > Tools. In the Geoprocessing pane, search for the Add Rasters To Mosaic Dataset tool.
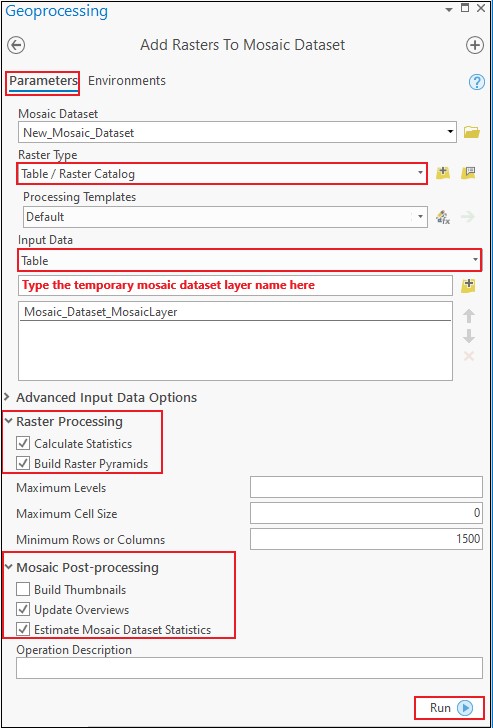
- In the Add Rasters To Mosaic Dataset window, click Parameters.
- In the Raster Type section, select Table / Raster Catalog.
- Ensure the Input Data section is set to Table. Drag the temporary mosaic dataset layer from the Contents pane to the Input Data list field.
- Click Raster Processing. Check the Calculate Statistics and Build Raster Pyramids check boxes.
- Click Mosaic Post-processing. The Update Cell Size Ranges, Update Boundary, and Estimate Mosaic Dataset Statistics check boxes are checked by default. Check the Update Overviews check box.
- Leave the other parameters at default.
- Click Run.
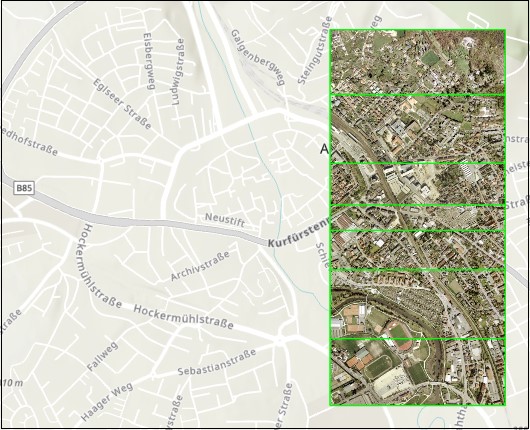
The image below shows the selected subset of rasters added to a new mosaic dataset.
Article ID: 000022576
- ArcGIS Pro
Get support with AI
Resolve your issue quickly with the Esri Support AI Chatbot.


Related Information
Discover more on this topic
Search for related information
Find training related to this topic
Explore ideas and give feedback
Get help from ArcGIS experts
Start chatting now