
HOW TO
Label selected features in ArcGIS Pro
Summary
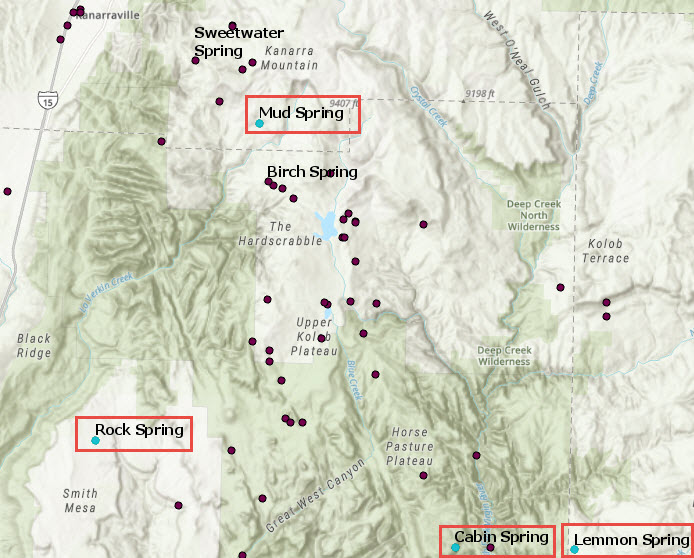
In ArcGIS Pro, labels are used to describe features on the maps. The map below shows the labels of springs around Zion National Park in Utah.
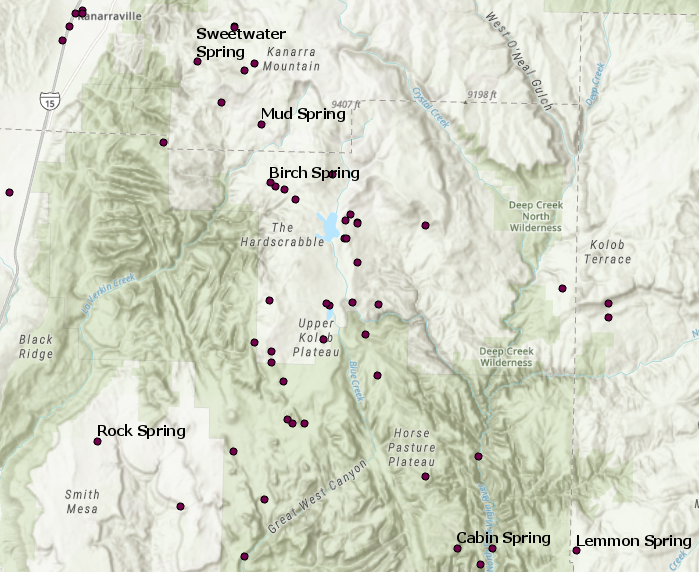
Sometimes it is necessary to highlight only the important or relevant springs in the area. This article describes how to label and display only selected features on the map.
Procedure
To label selected features in ArcGIS Pro, the labels must be converted to feature-linked annotations.
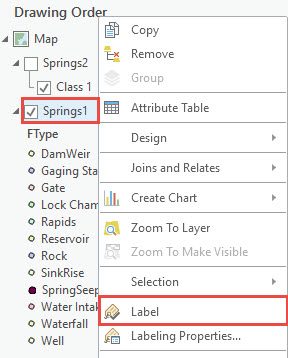
- In the Contents pane, right-click the desired feature layer and select Label.
- Create a feature-linked annotation feature class for the feature layer. Refer to ArcGIS Pro: Create a new feature-linked annotation feature class for steps to complete this.
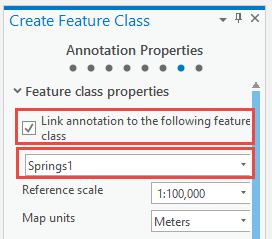
- As in step 10a, check the Link the annotation to the following feature class check box, and click the drop-down menu to select the feature class to link to the annotation, as shown in the image below:
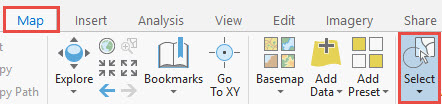
- On the Map tab, click Select to select the desired features. Refer to ArcGIS Pro: Select features for more information.
The image below shows the selected features to be displayed on the map.
- Create annotations for the selected features.
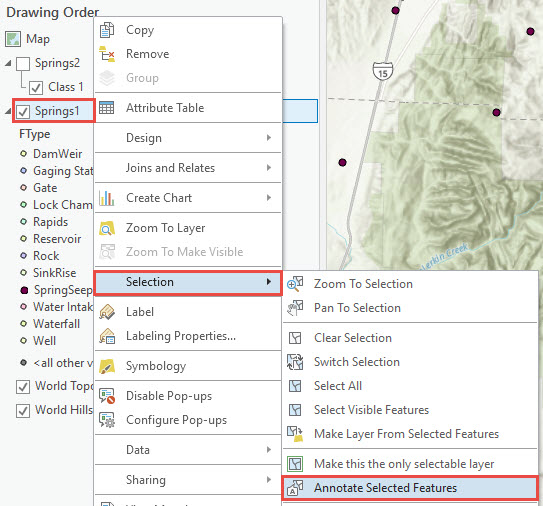
- In the Contents pane, right-click the desired layer again, and click Selection > Annotate Selected Features.
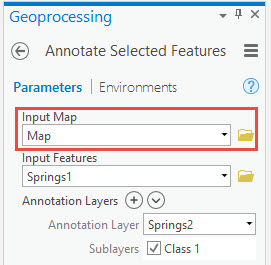
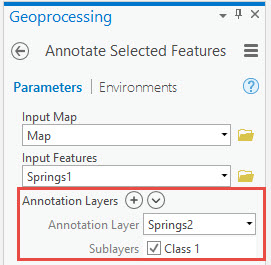
- In the Annotate Selected Features geoprocessing dialog box, for Input Map, select Map.
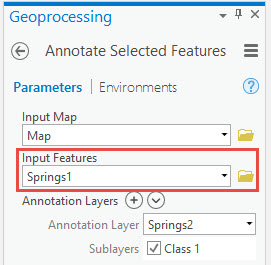
- For Input Features, browse to the desired feature layer.
- For Annotation Layers, select the feature-linked annotation feature layer created in Step 2.
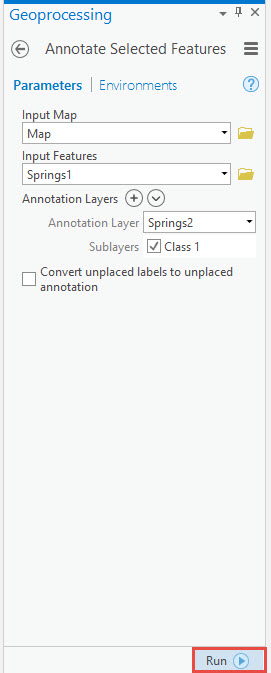
- Click Run to execute the tool.
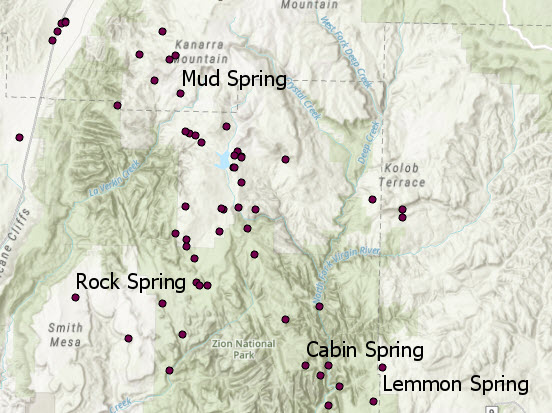
The image below shows labels for only selected features displayed on the map.
Article ID: 000019992
- ArcGIS Pro 2 x
Get support with AI
Resolve your issue quickly with the Esri Support AI Chatbot.


Related Information
Discover more on this topic

Search for related information

Find training related to this topic

Explore ideas and give feedback
Get help from ArcGIS experts
Start chatting now