HOW TO
Export selected fields in an attribute table from ArcGIS Pro to Microsoft Excel
Summary
Exporting attribute tables from ArcGIS Pro to Microsoft Excel allows for editing, reviewing and saving the data externally. In some cases, editing or re-creating the data requires only certain fields from the attribute table. This article describes the method to export selected fields in an attribute table from ArcGIS Pro to Microsoft Excel.
Procedure
- In an ArcGIS Pro project, in the Contents pane, select the layer with the attribute table containing the fields to be exported. In this example, the layer is 'Streams'.
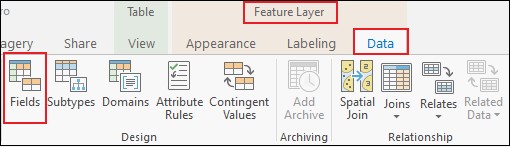
- On the top ribbon, under Feature Layer, click the Data tab > Fields. The Fields view of the attribute table opens.
- In the Fields: <layer_name> tab, under Visible, check the check boxes of the fields to export.

- On the top ribbon, click the Fieldstab > Save.

Note:
In the attribute table, only the selected fields are visible and only these are exported in the next step.
- Export the selected fields to Microsoft Excel. Use one of the methods in How To: Export an attribute table from ArcGIS Pro to Microsoft Excel.
Article ID: 000024325
Software:
- ArcGIS Pro 2 x
Get support with AI
Resolve your issue quickly with the Esri Support AI Chatbot.


Related Information
Discover more on this topic
Search for related information
Find training related to this topic
Explore ideas and give feedback
Get help from ArcGIS experts
Start chatting now