HOW TO
Create a large polygon composed of non-contiguous polygons in ArcGIS Pro
Summary
In some GIS projects, it is necessary to combine multiple non-contiguous polygons into a single polygon without altering their spatial distribution. This is useful in spatial analysis where there is a need for scattered entities to be grouped under a common administrative, management, or analytical unit.
In ArcGIS Pro, the Merge tool does not merge polygons into a single geometric entity; rather, it groups them into a single layer while maintaining each polygon as a separate feature. On the other hand, the Dissolve tool can help in this process, but it generally requires contiguous entities to generate a single geometry.
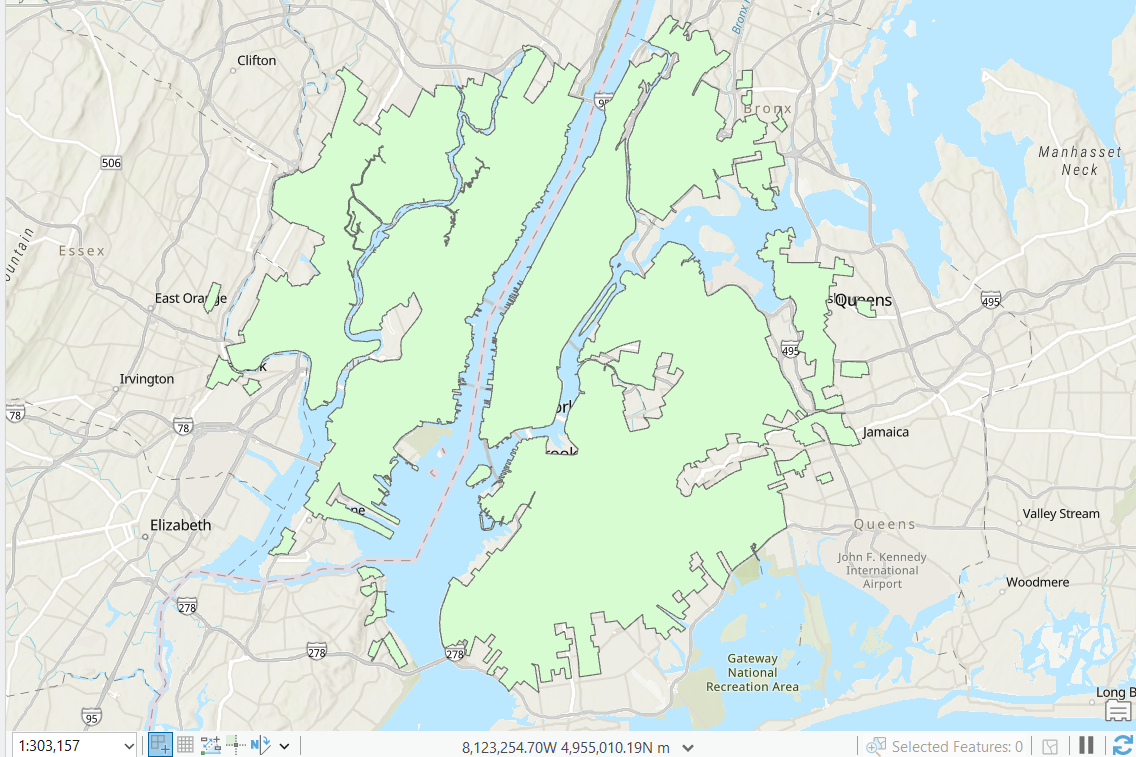
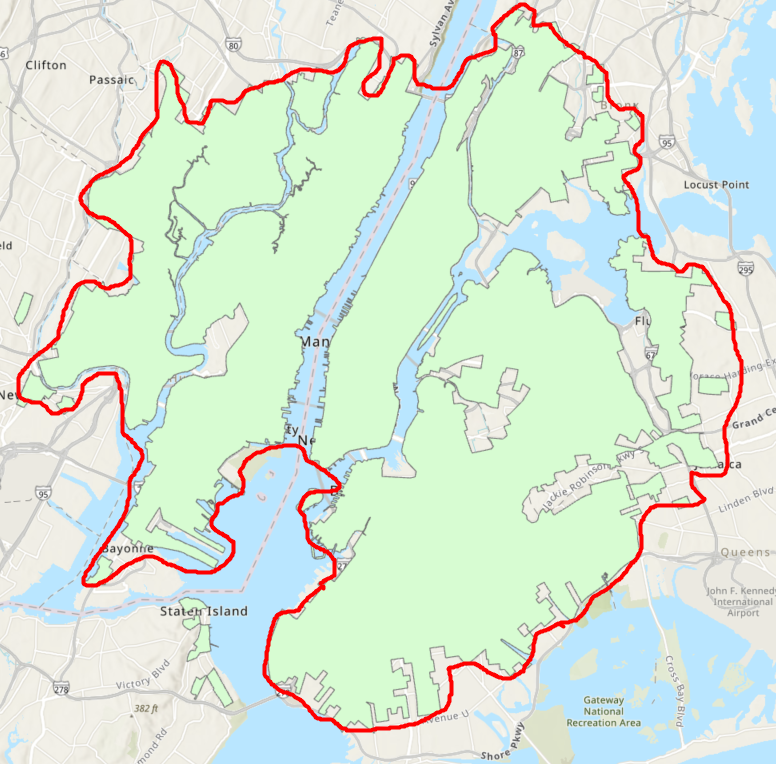
The images below show the original polygons and the expected output (outlined)
Procedure
Below are the step-by-step instructions to create a single polygon from non-contiguous polygons in ArcGIS Pro.
- Run the Aggregate Polygons (Cartography) geoprocessing tool.
- Click Analysis > Tools to open the Geoprocessing pane in ArcGIS Pro.
- Search for the Aggregate Polygons (Cartography) tool and click it.
- Configure the parameters in the Aggregate Polygons pane.
- Select the layer containing the polygons data for Input Features.
- Specify the value and unit for Aggregation Distance. This distance should be the maximum distance value between the polygons.
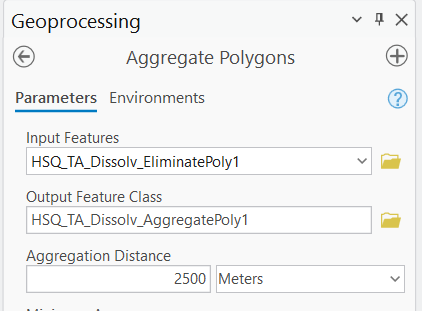
- Click Run.
The image below shows the output of this tool:
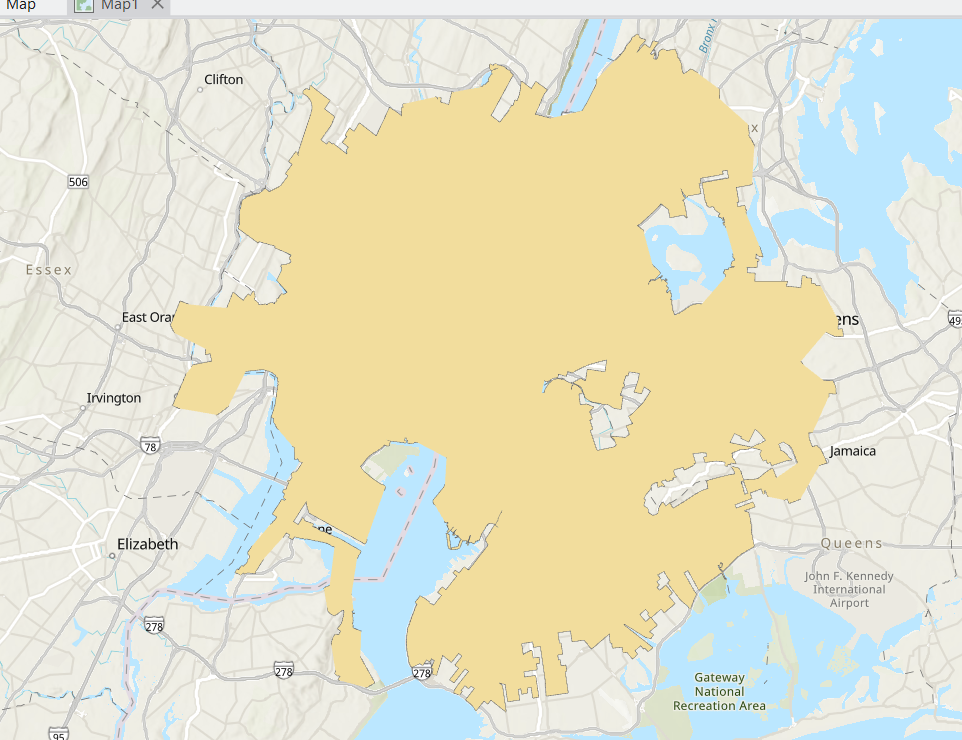
If your polygons don't have gaps inside, you can stop at this step. However, if the polygon still has gaps, proceed to the next step.
- Run the Eliminate Polygon Part (Data Management) geoprocessing tool to eliminate the gaps.
- Click Analysis > Tools to open the Geoprocessing pane in ArcGIS Pro.
- Search for the Eliminate Polygon Part (Data Management) tool and click it.
- Configure the parameters in the Eliminate Polygon Part pane.
- Select the layer containing the polygons data for Input Features. In this case, the result from step 1.
- For Condition, click the drop-down menu and select how the holes are to be eliminated. In this example, Area is selected.
- For Area, specify an area bigger than the area of the holes to be filled and select the unit from the drop-down list. In this example, Square Kilometers is selected. Refer to How To: Calculate the area of holes in a polygon feature in ArcGIS Pro to calculate the area of the holes.
- Uncheck the Eliminate contained parts only check box.
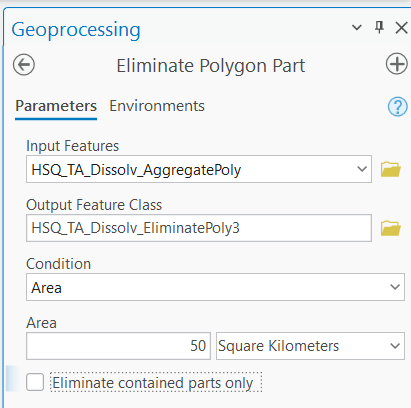
- Click Run
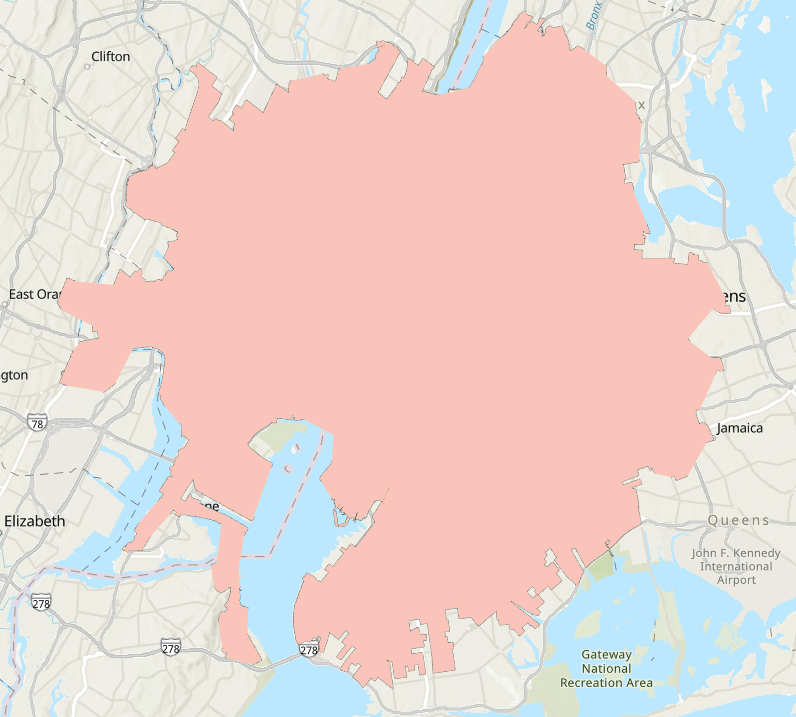
In the image below shows a large polygon without gaps inside.
Article ID: 000035622
- ArcGIS Pro
Get support with AI
Resolve your issue quickly with the Esri Support AI Chatbot.


Related Information
Discover more on this topic
Search for related information
Find training related to this topic
Explore ideas and give feedback
Get help from ArcGIS experts
Start chatting now