HOW TO
Create a drive-time area and find the distance radius from a single point
Summary
Driving distance and driving time are related to the distance covered within a specific time frame and the radius from a specific point. The driving radius can be mapped with the Create Drive-Time Areas tool as a visual representation of how far it is possible to travel within a time frame. This article describes the workflow to create a drive-time area in ArcGIS Online Map Viewer Classic and find the distance radius in ArcGIS Business Analyst Web App.
In this example, the COVID-19 lockdown is in effect, and users are searching for the distance radius with a 5-minute drive time.
Procedure
- Create a Drive-Time Analysis polygon from a single point in ArcGIS Online.
- In ArcGIS Online Map Viewer Classic, open the hosted feature layer.
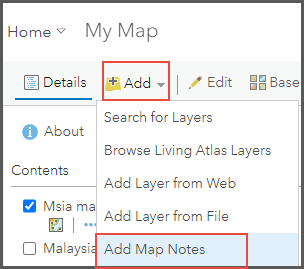
- On the ribbon, click Add and select Add Map Notes.
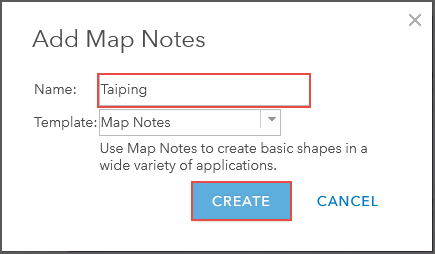
- In the Add Map Notes window, specify a name for the map note. Click Create. This workflow uses the name msia123.
- In the Add Features pane, under Map Notes - Points, choose a pin type.
- Mark the desired area on the map.
Note:
The following steps consume credits.
- Navigate to the Contents pane.
- On the newly created map note, click Perform Analysis.
- Under Perform Analysis, expand Use Proximity and select Create Drive-Time Areas.
- In the Create Drive-Time Areas pane, select the point layer created in Step 1(c) for Choose point layer to calculate drive-time areas around.
- Select the appropriate measures for Measure. In this example, Driving Time is selected and 5 minutes is specified.

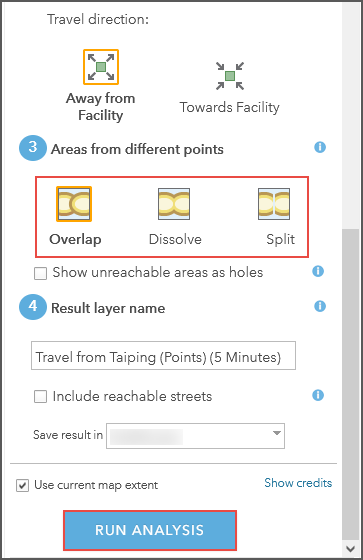
- Choose any of the three options in Areas from different points. This workflow uses Overlap as an example.
- Insert an appropriate name for Result layer name. Click RUN ANALYSIS.
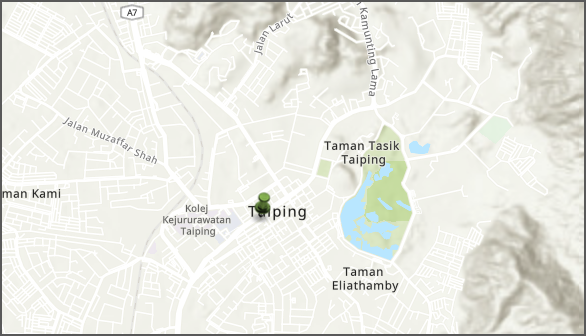
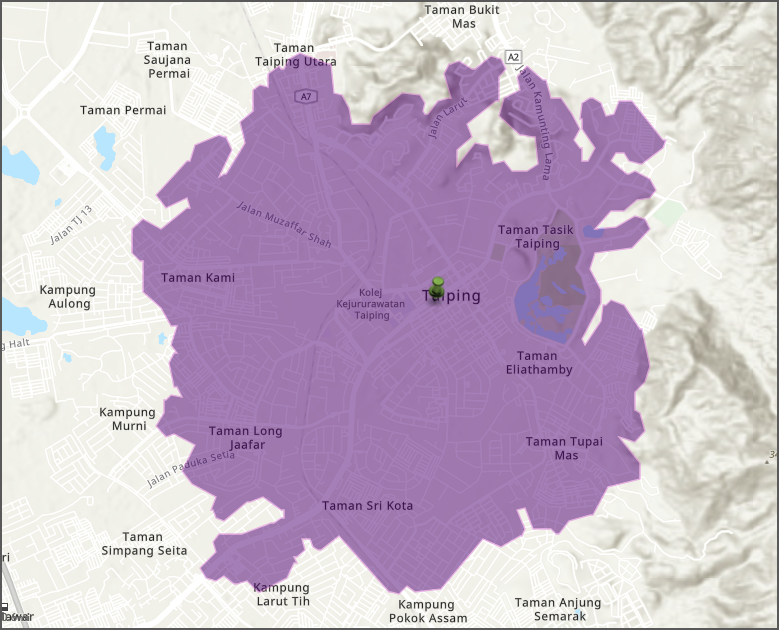
- Save the map as a web map. The following image shows the polygon is created around the point.
- Create the driving radius in ArcGIS Business Analyst.
- Open the map created in Step 1 in ArcGIS Business Analyst. In ArcGIS Business Analyst Online, click Create Project.
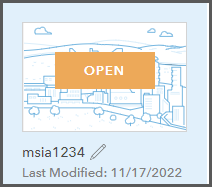
- In the newly created project, click Open.
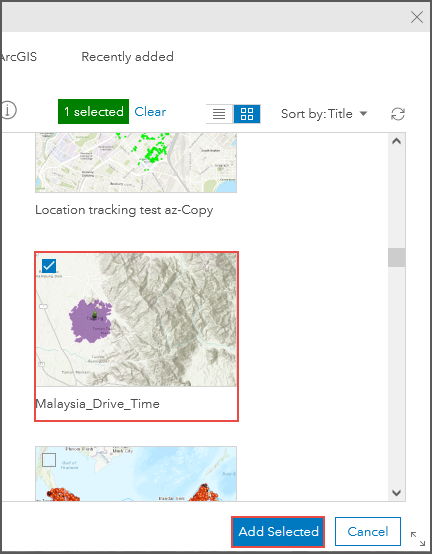
- On the ribbon, click Add Data > Web Maps and Layers.
- Check the map created in Step 1 and click Add Selected.
- On the ribbon, click Define Areas > Find Location.
- In the Find Location pane, for Enter an address, insert an address. In this workflow, 'Taiping' is used. If necessary, click and drag the pin onto the existing pin on the map to get the center point of the drive-time polygon.
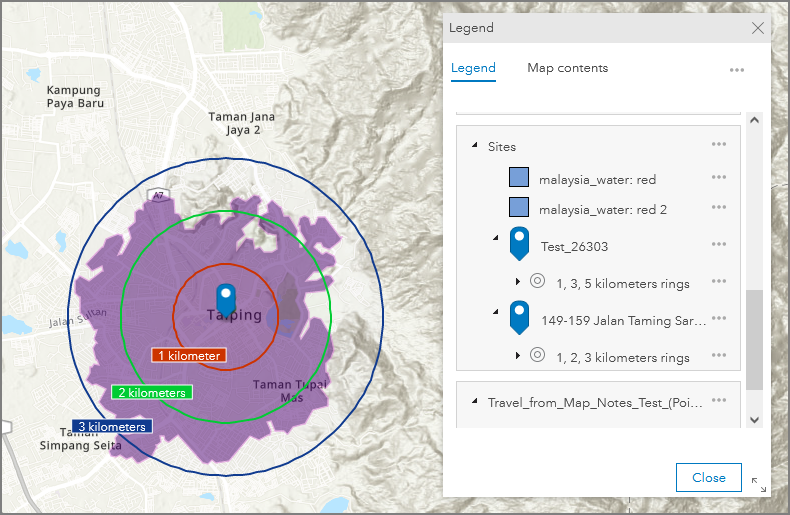
- Specify the appropriate parameters for Add an area around your location if necessary. Click Apply.
The image below shows the drive radius created on top of the drive-time polygon.
Article ID: 000026303
- ArcGIS Online
- ArcGIS Business Analyst Web App
Get support with AI
Resolve your issue quickly with the Esri Support AI Chatbot.


Related Information
Discover more on this topic
Search for related information
Find training related to this topic
Explore ideas and give feedback
Get help from ArcGIS experts
Start chatting now