HOW TO
Automate email notifications with survey reports from ArcGIS Survey123 using Microsoft Power Automate
Summary
In ArcGIS Survey123, Power Automate can be used to send automated email notifications with survey reports, ensuring users receive timely updates about submitted surveys. This automation enhances efficiency by reducing manual follow-ups and improving communication. Complete the workflows provided to configure an automated email notification with survey reports.
Procedure
These workflows use the Survey123, OneDrive for Business and Office 365 Outlook connectors in Microsoft Power Automate to automate sending a report of the survey collected from ArcGIS Survey123. A similar workflow can be performed using ArcGIS, OneDrive for Business and Office 365 Outlook connectors in Microsoft Power Automate.
Note:
The workflows must be performed consecutively. A Microsoft 365 account login is required to ensure the user's accounts are synchronized.
Note:
Microsoft Power Automate can be accessed through My Apps. Refer to Microsoft Learn: Get started with Power Automate for more information.
Create an automated cloud flow using the Survey123 connector
- Open Microsoft Power Automate and click My Flows.
- In the My flows page, click New flow. Under Build your own from blank, select Automated cloud flow.

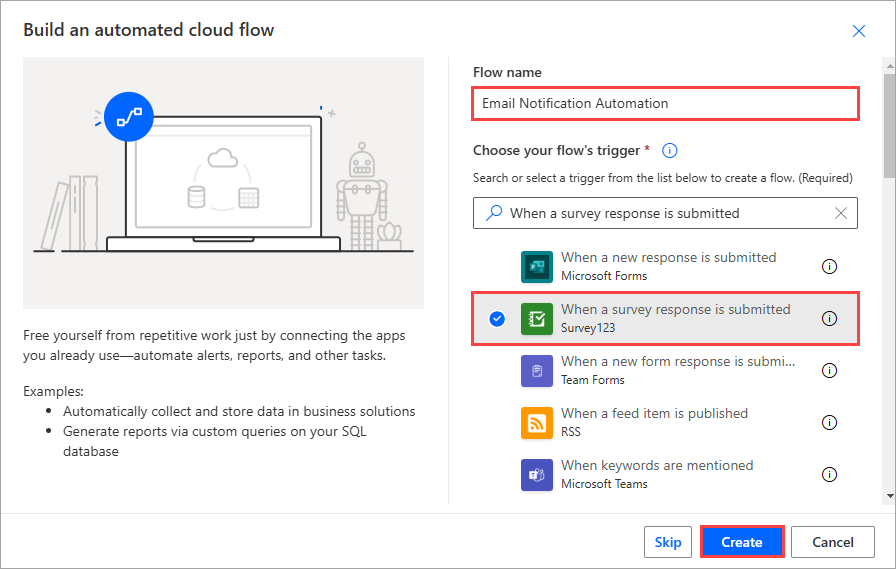
- In the Build an automated cloud flow window, specify the Flow name.
- In Build an automated cloud flow, under Choose your flow's trigger, type Survey123 and select When a survey response is submitted. Click Create.
Add a condition to the connector
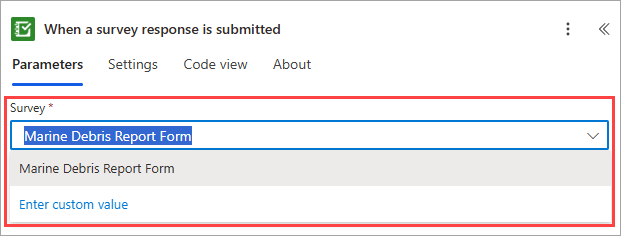
- Click the When a survey response is submitted card to open its pane.
- In the When a survey response is submitted pane, on the Parameters tab, under Survey, click the drop-down menu and select the survey. In this example, Marine Debris Report Form is selected.
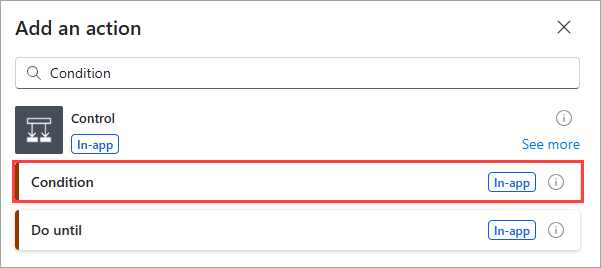
- Click New Step
 to open the Add an action pane.
 - In the Add an action pane, in the search bar, type Condition. Under Control, select Condition.
- In the Condition pane, on the Parameters tab, under Condition expression, configure the parameters.
- Click the field input box and click dynamic content
 . In the search bar, type Survey Info. Under When a survey response is submitted, select Survey Info.
 - Click the operator input box to open the drop-down menu and select is not equal to.
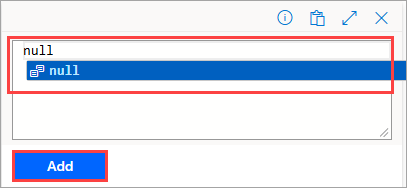
- Click the value input box and select Insert expression
 .
. - In the expression box, type null and click Add.
Create a report of the survey
- In the Condition card, under the True section, click New step
 to open the Add an action pane.
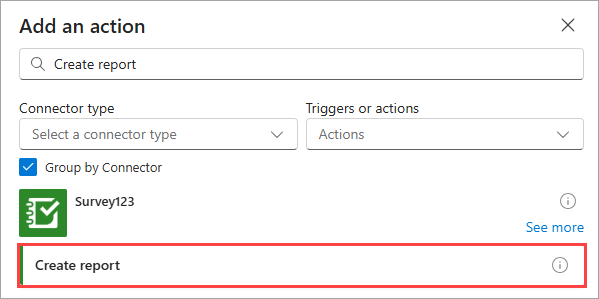
 - In the Add an action pane, in the search bar, type Create report. Under Survey123, click Create report.
- In the Create report pane, under Parameters, configure the parameters as follows:
- For Survey, select the desired survey.
- For Feature layer, select the desired feature layer.
- For Report template, select the desired report template.
Note:
Ensure the survey includes the report template in ArcGIS Survey123. Refer to ArcGIS Survey123: Report templates for more information.
- For Feature object ID, click dynamic content
 . In the search bar, type feature result objectid and select feature result objectId under When a survey response is submitted.
Note:
The report can be generated as a Word document or PDF file. In the Create report pane, select the desired format under Format.
Configure the survey as a file to be sent via email using OneDrive for Business
- Below the Create report card, click New step
 to open the Add an action pane.
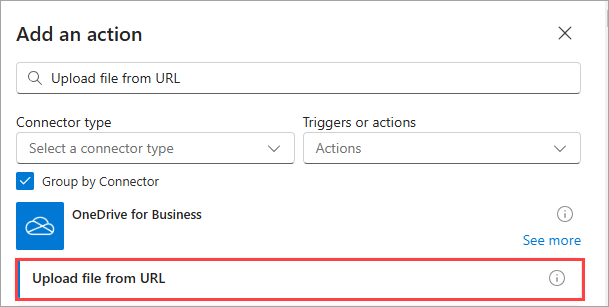
 - In the Add an action pane, in the search bar, type Upload file from URL. Under OneDrive for Business, select Upload file from URL.
- In the Upload file from URL pane, on the Parameters tab, configure the following parameters:
- For Source URL, click dynamic content
 . In the search bar, type body/resultInfo/resultFile/url. Under Create report, select body/resultInfo/resultFile/url.
 - For Destination File Path, specify the name of the folder and add the dynamic content body/resultInfo/resultFile/name. Under Create report select body/resultInfo/resultFile/name. Refer to the file path example below:
<Name_of_folder>/<body/resultInfo/resultFile/name>
- For Overwrite, click the drop-down menu and select Yes.
- Below the Upload file from URL card, click New step
 to open the Add an action pane.
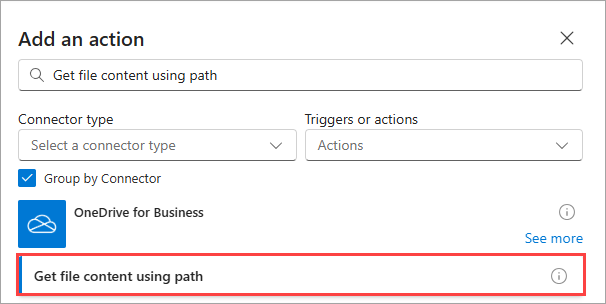
 - In the Add an action pane, in the search bar, type Get file content using path. Under OneDrive for Business, select Get file content using path.
- In the Get file content using path pane, on the Parameters tab, configure the following:
- For File Path, click dynamic content
 . In the search bar, type Path. Under Upload file from URL, select Path.
- Below the Get file content using path card, click New step
 to open the Add an action pane.
 - In the Add an action pane, in the search bar, type Send an email (V2). Under Office 365 Outlook, select Send an email (V2).
- In the Send an email (V2) pane, on the Parameters tab, configure the parameters as follows:
- Click Switch to Advanced Mode.
- For To, specify the desired email address.
- For Subject, specify the desired subject of the email.
- For Body, specify the desired body content of the email.
- Under Advanced parameters, click the drop-down menu and select Attachments. In the Attachments section, configure the following:
- Click Add new item.

- For Name – 1, click dynamic content
 . In the search bar, type body/resultInfo/resultFile/name and select body/resultInfo/resultFile/name under Create report.
 - For Content – 1, click dynamic content
 . In the search bar, type File content and select File content under Get file content using path.
- In the My flows page, click Save
 .
.
Configure the webhook in ArcGIS Survey123
- Open ArcGIS Online and navigate to ArcGIS Survey123. In ArcGIS Survey123, on the My Surveys page, click the ellipsis
 on the survey and select Settings.
 - Click the Webhooks tab from the menu on the left.
- On the Webhooks tab, under Operations, on the desired webhook, click Edit
 .
. - In the Edit webhook page, under Trigger events, enable Existing record edited.
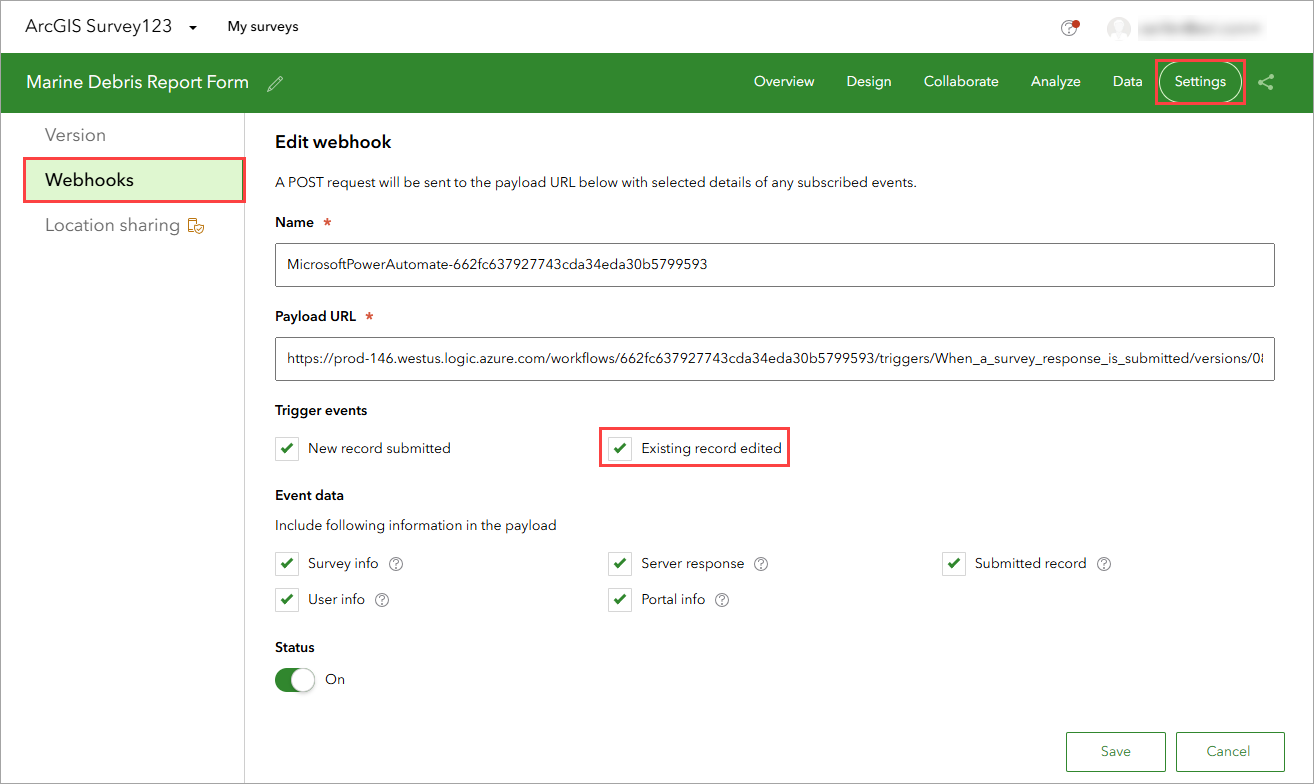
- Click Save.
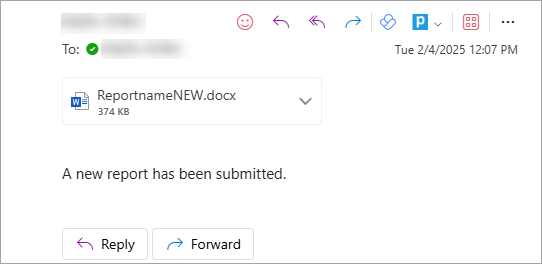
The image below shows the automated email notification with an attached Word document of the survey report in Office 365 Outlook.
Article ID: 000034101
- ArcGIS Online
- Third Party Product
- ArcGIS Survey123 Website
Get support with AI
Resolve your issue quickly with the Esri Support AI Chatbot.


Related Information
Discover more on this topic
Search for related information
Find training related to this topic
Explore ideas and give feedback
Get help from ArcGIS experts
Start chatting now