Frequently asked question
Is it possible to remove an operational layer from the Layers list in ArcGIS Dashboards?
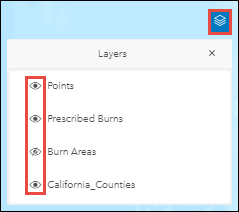
No. In ArcGIS Dashboards, it is not possible to configure the Layers list to remove an operational layer. The Layers list displays all operational layers on web maps added to dashboards. When viewing a dashboard, the layer visibility of an operational layer can only be turned on or off by clicking the eye symbol on the list. This map interaction does not change the layers in the dashboard, and upon refreshing, each operational layer displays according to the default layer visibility set in the web map.
To remove an operational layer from the Layers list in ArcGIS Dashboards, remove the layer from the web map.
- Open the web map in Map Viewer.
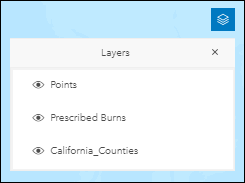
- Remove the layer from the web map using the workflow described in ArcGIS Online: Manage and organize layers. In the example depicted in the images above and below, the Burn Areas layer is removed.
- In ArcGIS Dashboards, refresh the dashboard. The removed operational layer is no longer on the Layers list.
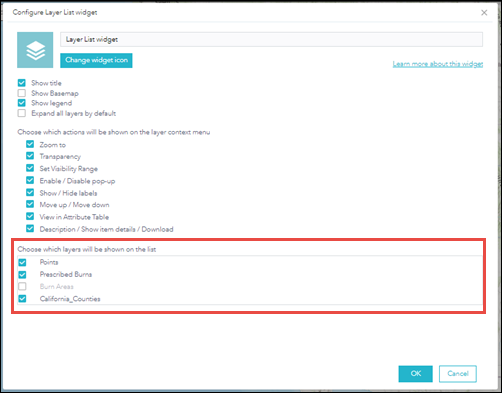
Alternatively, to remove a layer in ArcGIS Dashboards while keeping it in a web map, create a web app using ArcGIS Web AppBuilder and configure the Layer List widget in the web app. For instructions on how to select layers to display on the list in web apps, refer to ArcGIS Web AppBuilder: Configure the Layer List widget.
Use the following steps to add a web app to a dashboard as embedded content using the web app URL.
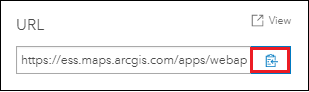
- Copy the URL of the web app.
- On the web app item details page, under URL, click the Copy
 icon.
icon.
- On the web app item details page, under URL, click the Copy
- Embed the web app in the dashboard.
- On the dashboard item details page, click Edit Dashboard.
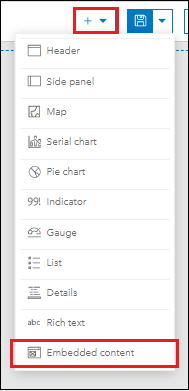
- Click Add
 , and select Embedded content from the drop-down list.
- Under Data options, in the URL field, paste the web map URL.
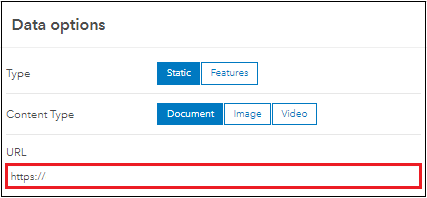
- Click Done at the bottom-right of the configuration page.
- Click Save. The web app is now embedded in the dashboard.
Article ID: 000025982
- ArcGIS Web AppBuilder
- ArcGIS Online
- ArcGIS Dashboards
Get support with AI
Resolve your issue quickly with the Esri Support AI Chatbot.


Related Information
Discover more on this topic
Search for related information
Find training related to this topic
Explore ideas and give feedback
Get help from ArcGIS experts
Start chatting now