Frequently asked question
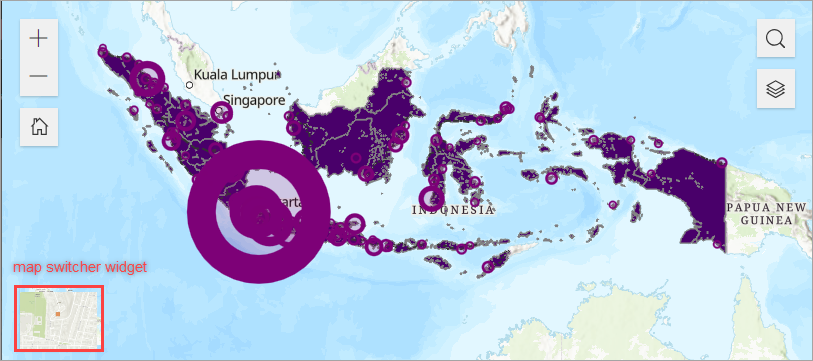
Can the size or position of the map switcher widget in ArcGIS Experience Builder be changed?
The map switcher widget allows users to switch between different maps within a single app. However, it is not possible to change the size or position of the map switcher widget within the Map widget in the standard edition of ArcGIS Experience Builder. The functionality is not available by design, as it is inherent in the overall map tool layout design.
As a workaround, use the Button, Image or Widget Controller widget to customize the web experience to replicate the map switcher widget functionality.
Note:
To use workarounds with the Button or Image widget, images of the first and second web maps are required to create the thumbnails of the image sources.
Use the Button widget
- In ArcGIS Experience Builder, click Create new, select the preferred template, and click Create.
- On the Insert widget panel, drag and drop the Map widget to the canvas.
- On the Map panel, configure the following settings.
- Click Select map. Click Add new data on the Select data panel to add the web map.

- If necessary, configure the tools for the web map under Tools.
- Click the Style tab to configure the size and position of the Map widget. In this example, the Full size option is selected.
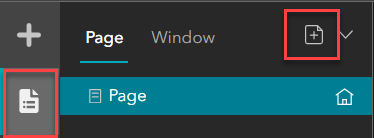
- Click the Page icon > Add page to add a new page.
- Repeat Steps 2 through 3 to add a second web map in a new Map widget.
- Navigate to the first Map widget on the first page, and configure the following settings.
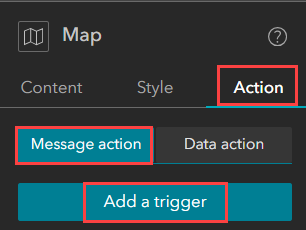
- Click the Action tab > Message action > Add a trigger.
- Click Extent changes > Map 2 > Pan to.
- Click Add action > Map 2 > Zoom to.
- Navigate to the second Map widget on the second page, and repeat Step 6 with Map instead of Map 2.

- On the first page, drag and drop the Button widget
 from the Insert widget panel to a desired position in the Map widget.
- On the Button panel, configure the following settings.
- Click Set link, under Link to, select Page from the drop-down menu. For Select a page, select the second page from Step 4. Click OK.
- Edit the Tooltip and Text sections if necessary. Toggle the Advanced option on.
- Under Default, click Browse next to Image. Upload the image of the second map to be set as a thumbnail of the button. Configure the other Background settings.
- Repeat Steps 8 through 9 to add another Button widget to the Map widget on the second page. Link the first page and upload the first map image as the thumbnail for the second button.
- Click Save > Publish. Preview the web experience.
Use the Image widget
- Repeat Steps 1 through 7 from the workaround above.
- On the first page, drag and drop the Image widget
 from the Insert widget panel to a desired position in the Map widget.
 - On the Image panel, configure the following settings.
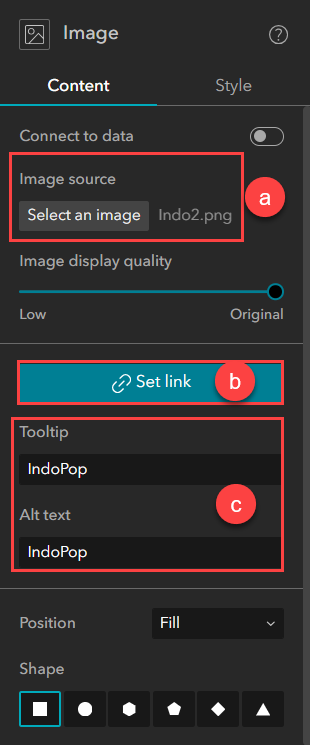
- Under Image source, click Select an image to add the second map image.
- Click Set link, under Link to, select Page from the drop-down menu. For Select a page, select the second page. Click OK.
- Edit the Tooltip and Alt Text sections if necessary.
- Repeat Steps 2 through 3 to add another Image widget to the Map widget on the second page. Add the first map image and link the first page.
- Click Save > Publish. Preview the web experience.
Use the Widget Controller widget
- Repeat Steps 1 through 3 from the first workaround.
- On the Insert widget panel, drag and drop the Widget Controller widget
 to a desired position of the Map widget.
 - Drag and drop a new Map widget to the existing Widget Controller widget. Add the second web map to the new widget.
- Navigate to the first Map widget, configure the following settings.
- Click the Action tab > Message action > Add a trigger.
- Click Extent changes > Map 2 > Pan to.
- Click Add action > Map 2 > Zoom to.
- Navigate to the second Map widget and repeat Step 4 with Map instead of Map 2.
- Click the Widget Controller widget to open the Widget Controller panel.
- On the Widget Controller panel, configure the following settings.
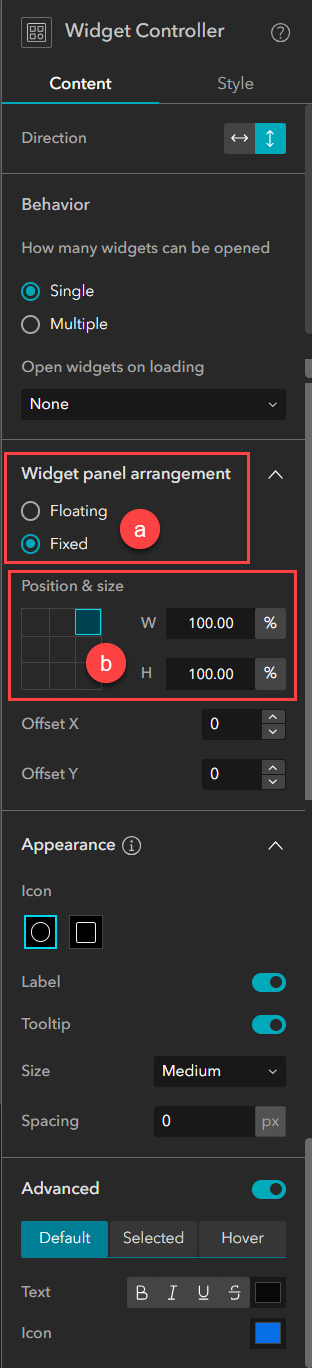
- Under Widget panel arrangement, select the Fixed option.
- Under Position & size, click px to select % for W and H. Edit the desired size for W and H. In this example, both are set to 100% for a full size display of the Map widget.
- Configure other necessary settings and click Save > Publish.
- Preview the web experience.
Note:
Alternatively, use the ArcGIS Experience Builder Developer Edition to customize the Map widget. Refer to ArcGIS Developers: Getting started with widget development and ArcGIS Developers: Widget implementation for more information.
Article ID: 000031819
- ArcGIS Experience Builder Developer
- ArcGIS Experience Builder
Get support with AI
Resolve your issue quickly with the Esri Support AI Chatbot.


Related Information
Discover more on this topic
Search for related information
Find training related to this topic
Explore ideas and give feedback
Get help from ArcGIS experts
Start chatting now