Frequently asked question
Can the map frame be resized without keeping the map extent centered in ArcGIS Pro?
No, by default, resizing a map frame automatically maintains the map extent to be centered in a layout view in ArcGIS Pro. However, it is possible to move the map after resizing the map frame. This can be achieved by activating the map frame, which enables access to edit the map content and allows interaction within the map.
Follow the workaround below to do so.
- Open project in ArcGIS Pro.
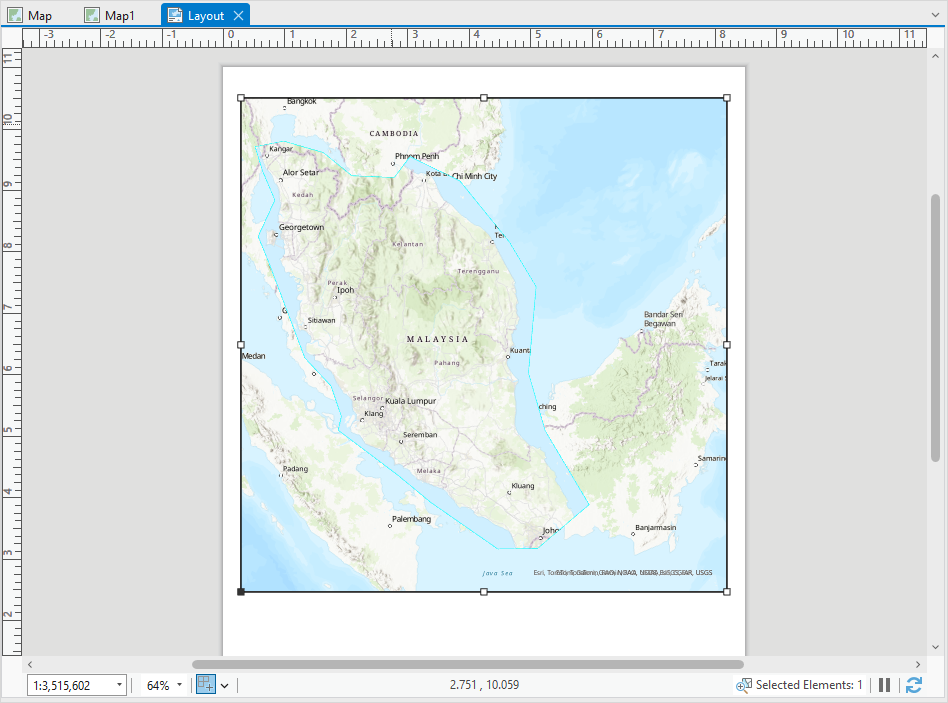
- On the Layout view, click the map frame.
- Click and drag a vertex to resize the map frame.
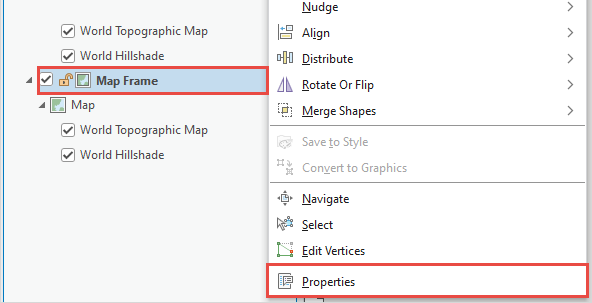
- In the Contents pane, right-click the map frame, and select Activate.
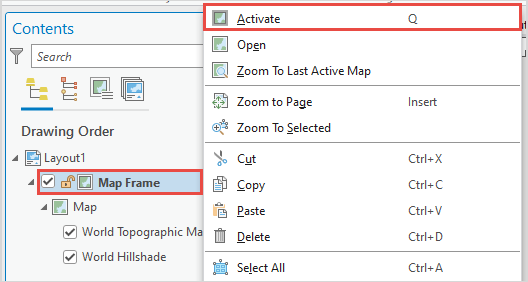
- In the activated map frame, pan and zoom the map to the desired extent.
- On the ribbon, click the Layout tab, and click Close Activation
 .
.
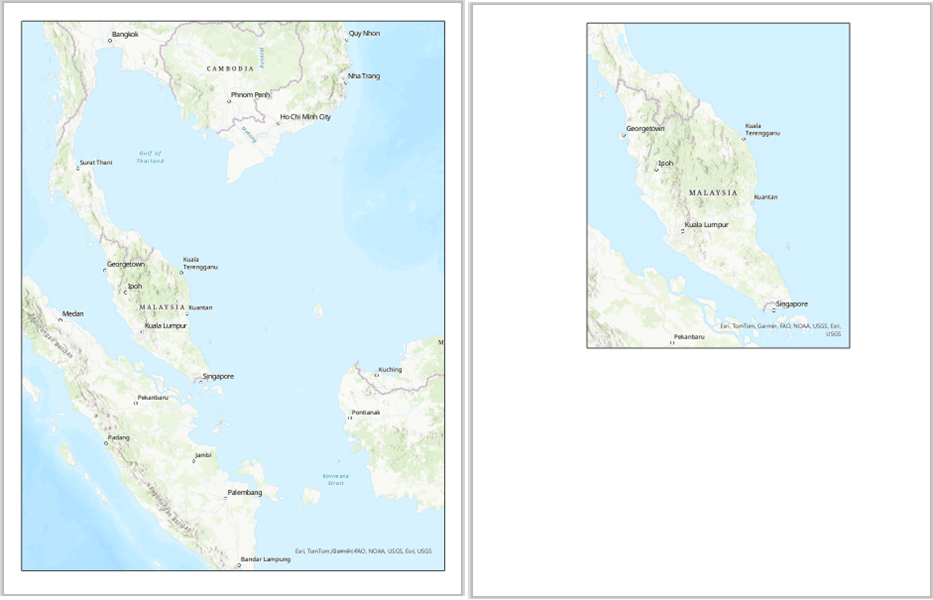
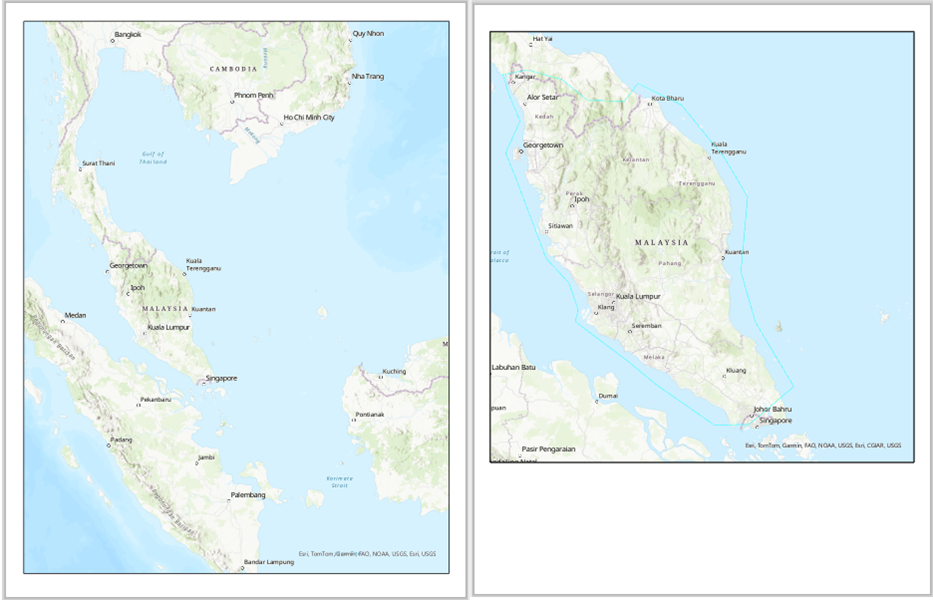
The image below shows a before and after resized map frame without a retained map extent by moving the map in an activated map frame.
Optionally, the map frame can also be resized without maintaining the map extent centered by overlaying the map frame with a clipped map frame and applying constraint in a layout view in ArcGIS Pro.
Follow the workaround below to do so.
- Open project in ArcGIS Pro.
- On the ribbon, click the Insert tab. In the Project group, click New Map
 .
. - On the map, pan and zoom the map to the desired extent.
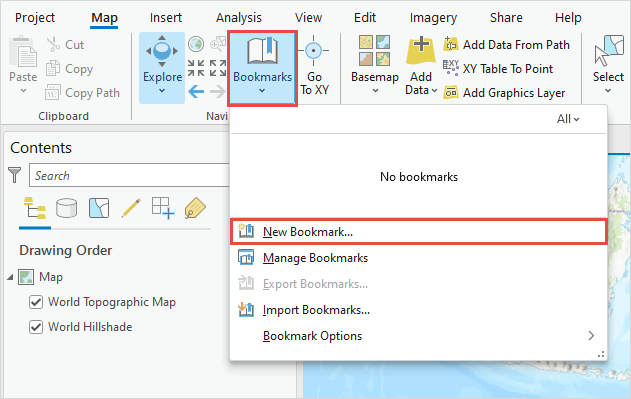
- On the ribbon, click the Map tab. In the Navigate group, click Bookmarks and select New Bookmark….
- In the Create Bookmark window, click OK.
- On the ribbon, click the Insert tab. In the Project group, click New Map. In this example, the map is Map1.
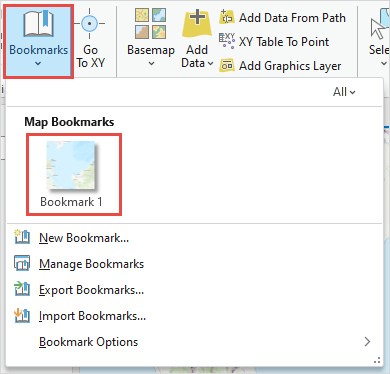
- On the ribbon, click the Map tab. In the Navigate group, click Bookmarks and under Map Bookmarks, select the created bookmark. In this example, the bookmark is Bookmark 1.
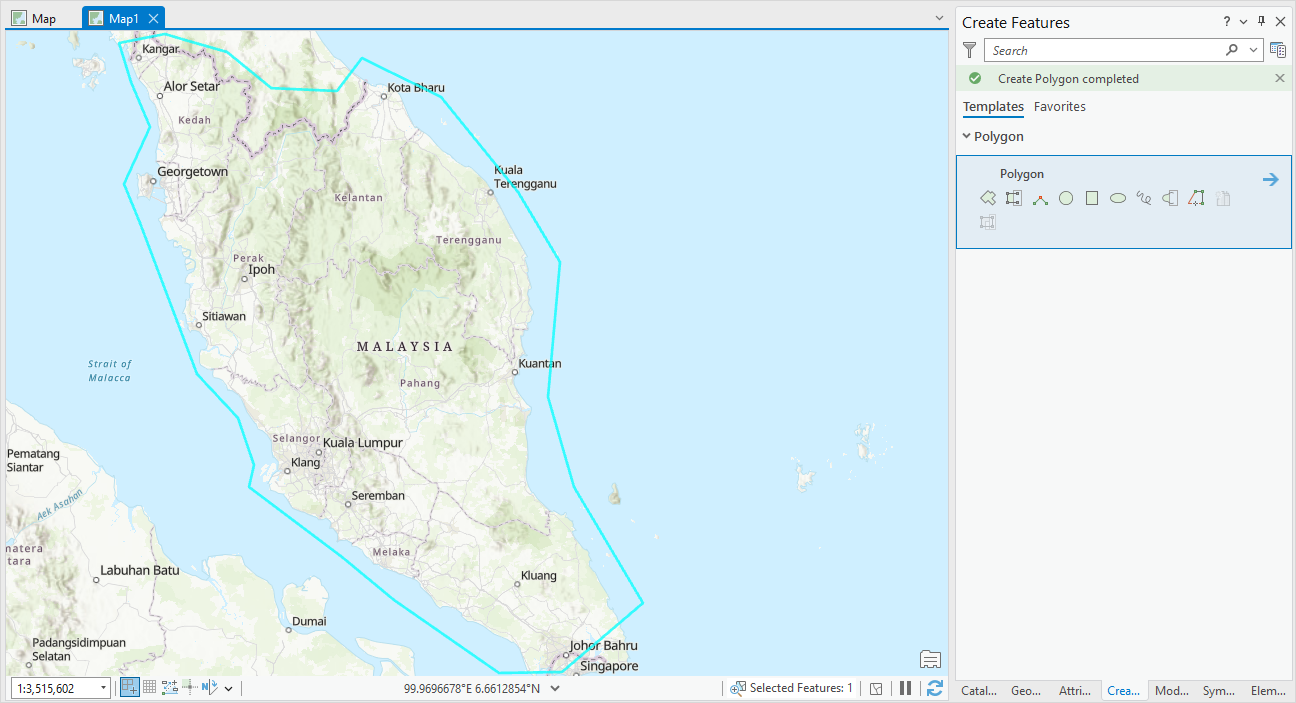
- In the current map, create a polygon feature class. Refer to ArcGIS Pro: Create a stand-alone feature class for instructions. For Step 3c, choose Polygon as the Feature Class Type.
- In the Contents pane, right-click the polygon layer and select Symbology.
- In the Symbology pane, on the Primary symbology tab, click the fill symbol color in Symbol.
- In the Format Polygon Symbol pane, on the Gallery tab, type No Background in the search bar, and under ArcGIS 2D, click No Background.

- On the map, create a polygon feature at the desired location using the created polygon feature class. In this example, the polygon is drawn at the desired location, as shown in the image below.
- On the ribbon, click the Edit tab. In the Manage Edits group, click Save
 .
. - In the Contents pane, right-click the map layer and select Properties.
- In the Map Properties dialog box, click the Clip Layers tab and expand the drop-down menu to select Clip to an outline.
- Under Get shape from the outline of:, click the polygon that was made, and click Apply.
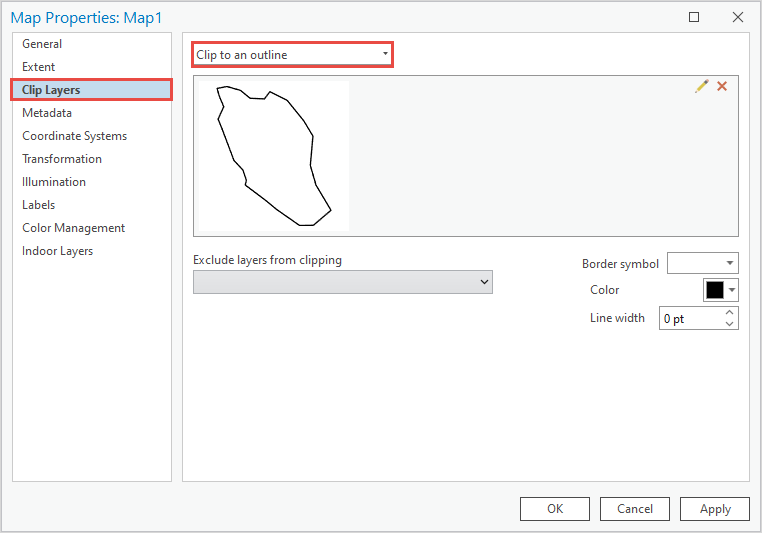
- Click OK.
- On the ribbon, click the Insert tab. In the Project group, click New Layout to select the desired layout.
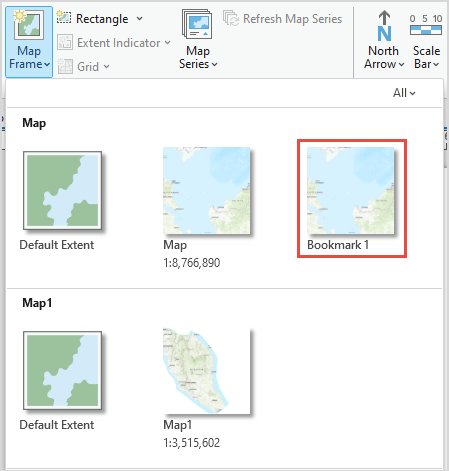
- On the ribbon, click the Insert tab. In the Map Frames group, click Map Frame, and select the created bookmark as the map frame.
- On the layout, draw a rectangle based on the desired size of the selected map frame.
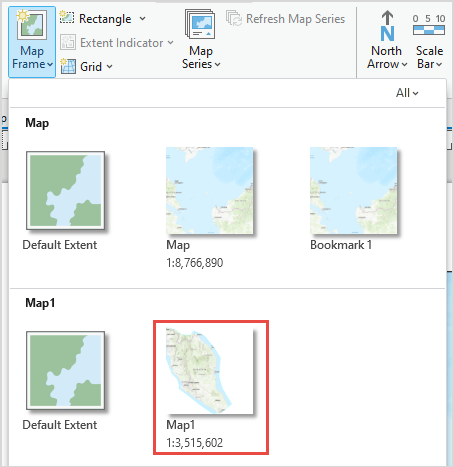
- On the ribbon, click the Insert tab. In the Map Frames group, click Map Frames and select the map frame with the clipped map.
- On the layout, draw the new map with the exact size and placement of the previous map frame.
- In the Contents pane, right-click the first map frame and select Properties.
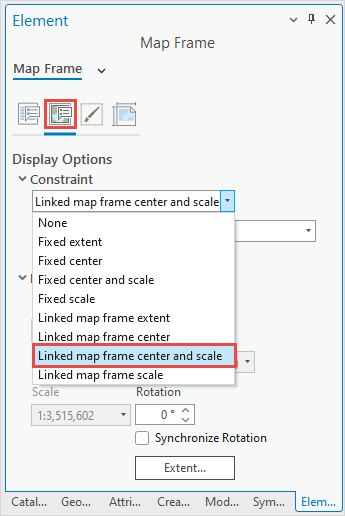
- In the Element pane, click the Display Options tab.
- Under Constraint, expand the drop-down menu and select Linked map frame center and scale.
The image below shows a before and after resized map frame without a retained map extent by overlaying map frames and using constraint in ArcGIS Pro.
Article ID: 000032954
- ArcGIS Pro 3 1
- ArcGIS Pro 3 3
- ArcGIS Pro 3 2
Get support with AI
Resolve your issue quickly with the Esri Support AI Chatbot.


Related Information
Discover more on this topic
Search for related information
Find training related to this topic
Explore ideas and give feedback
Get help from ArcGIS experts
Start chatting now