ERROR
Failed to create <feature class name>. Value doesn't fall within Domain: <domain name>
Error Message
In ArcGIS Pro, attempting to create a new feature fails and returns the following error message:
Error:
Failed to create <feature class name>.
Value doesn't fall within Domain: <domain name>

Cause
The selected feature class has fields with assigned attribute domains. When creating features that are part of attribute domains, if no null value or attribute value is assigned beforehand, this leads to missing symbology attribute values. Attribute domains are rules that describe the available values of a field type and limit that can be placed on a field; therefore, creating features that are part of attribute domains requires an assigned value to ensure data integrity.
Solution or Workaround
Perform one of the workarounds provided below before creating a new feature to resolve the error.
Set a default domain value for the feature class field
- Open the project with the feature layer in ArcGIS Pro.
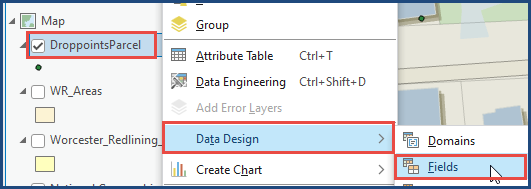
- In the Contents pane, right-click the feature layer and select Data Design > Fields.
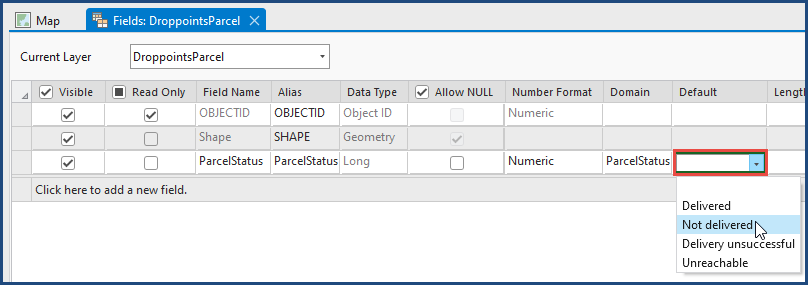
- In the fields view, in the Default column, double-click in the Default value cell, and select a default value for the domain. In this example, the default value is set to 'Not delivered'.
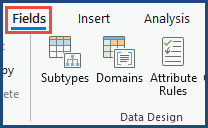
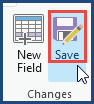
- On the top ribbon, click the Fields tab.

- On the Fields tab, in the Changes group, click Save to save the changes.

Assign a null value to the attributes field
- Open the project with the feature layer in ArcGIS Pro.
- In the Contents pane, right-click the feature layer and select Data Design > Fields to open the fields view.

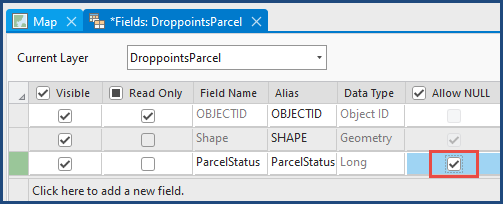
- In the fields view, check the Allow NULL check box.
- On the top ribbon, click the Fields tab.
- On the Fields tab, in the Changes group, click Save to save the changes.
Assign an attribute value in the Active Template pane
- Open the project with the feature layer in ArcGIS Pro.
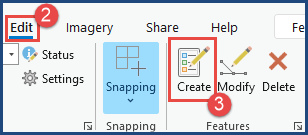
- On the top ribbon, click the Edit tab.
- On the Edit tab, in the Features group, click Create to open the Create Features pane.
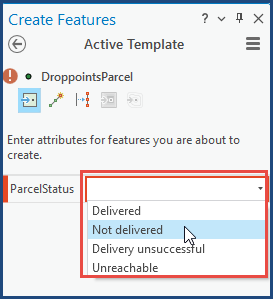
- In the Create Features pane, select the feature class and click Active Template to open the Active Template pane. In this example, the feature class is 'DroppointsParcel'.
- In the Active Template pane, select the attribute value from the domain drop-down list to apply to the feature.
Turn attribute validation off
Turn attribute validation off to override the validation criteria imposed on the field. Refer to ArcGIS Pro: Turn attribute validation on or off for instructions.
Note:
Turning attribute validation off and creating a new feature results in a blank (text data type) or '0' (numeric data type) field value.
Article ID: 000031397
- ArcGIS Pro 3 1
- ArcGIS Pro 3 0
Get support with AI
Resolve your issue quickly with the Esri Support AI Chatbot.


Related Information
Discover more on this topic
Search for related information
Find training related to this topic
Explore ideas and give feedback
Get help from ArcGIS experts
Start chatting now