HOW TO
Confirm connectivity to a SQL Server database using ODBC Data Source Administrator
Summary
This article can be used to confirm ArcGIS Pro and ArcGIS Server machine connectivity to a SQL Server Database using ODBC Data Source Administrator.
Procedure
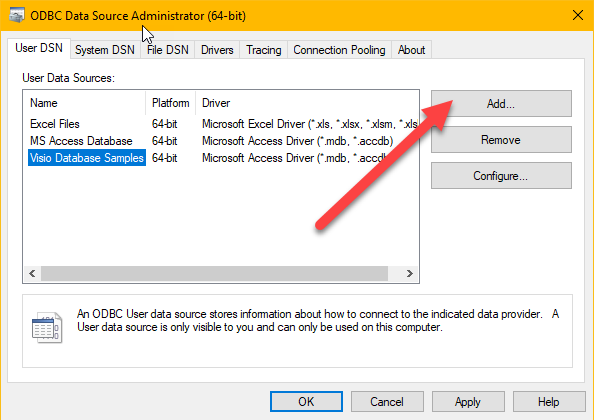
- Start 'C:\Windows\System32\odbcad32.exe' to open the ODBC Data Source Administrator.
- On the User DSN tab click Add.
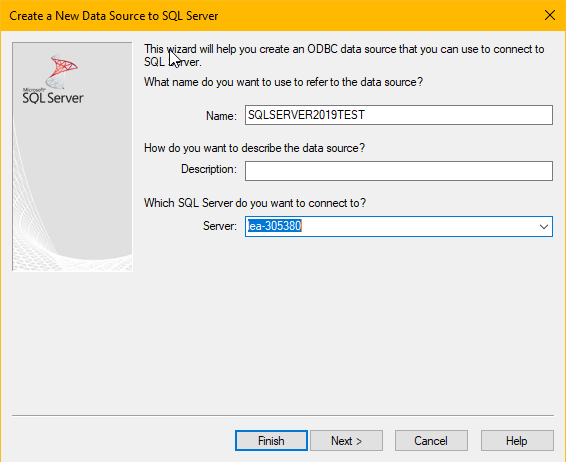
- Select ODBC Driver 18 for SQL Server (or another relevant version of ODBC Driver for SQL Server) and click Finish.
- Enter a name for the Data Source, the name of the SQL Server instance, and click Next.
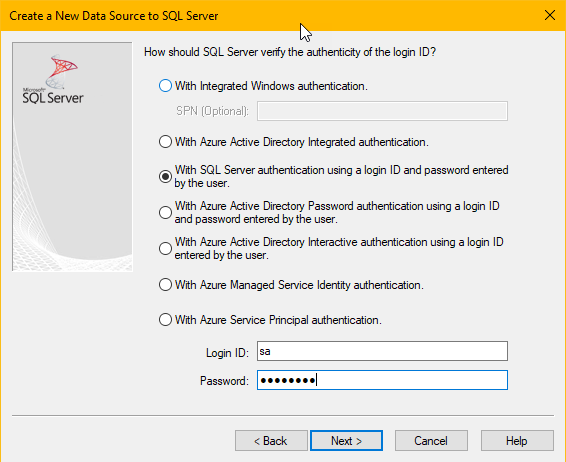
- Configure How should SQL Server verify the authenticity of the login ID, and enter the Login ID and Password as required.
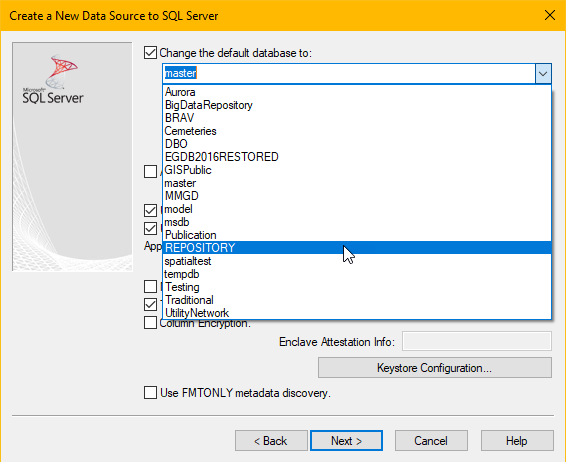
- Enable the Change the default database to option, select the relevant database from the drop-down list, and press Next.
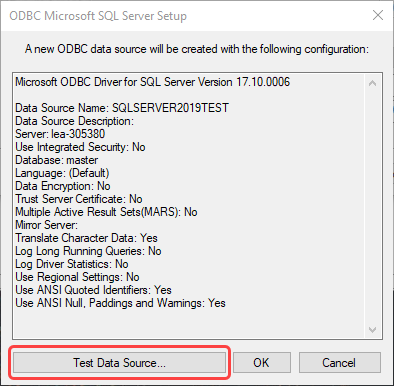
- Leave the options on the next screen as default and press Finish.
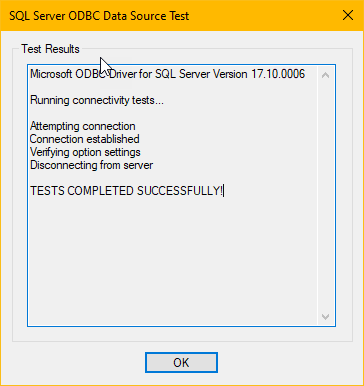
- Press Test Data Source on the next screen and check the outcome, as shown in the images below.
Article ID: 000033268
Software:
- ArcGIS Pro
- ArcGIS Enterprise
Get support with AI
Resolve your issue quickly with the Esri Support AI Chatbot.


Discover more on this topic
Search for related information
Find training related to this topic
Explore ideas and give feedback
Get help from ArcGIS experts
Start chatting now