PROBLEM
Unable to create a new feature in ArcGIS Online Map Viewer
Description
When collecting data through a web app to create a new feature in a hosted feature layer in ArcGIS Online, the newly digitized feature disappears from the map once it is deselected. Attempts to create a new feature fail and the web app returns the following error message:
Error:
Values could not be submitted.
For example, the Citizen Science Reporter web app allows users to report sightings of plants and animals observed in wildlife areas from a mobile phone, tablet, and desktop computer. However, when a record is submitted, the error message is returned instead.
Cause
This issue occurs if the hosted feature layer contains a non-nullable field with no value specified, prompting an invalid applyEdits request to be sent to the service.
A Fiddler trace reveals the following response to the invalid applyEdits request:
Error:
'Cannot insert the value NULL into column 'column_name', table 'table_name'; column does not allow nulls. INSERT fails'.
Note:
It is possible for a field to be non-nullable, with no default value specified, and hidden from display in an attribute table.
Solution or Workaround
To resolve this issue, use one of the following solutions:
Populate the non-nullable fields with default values
As stated, if the non-nullable field is hidden in the attribute table, identify and ensure the affected fields are displayed. Once the hidden fields are displayed, identify which of the fields are non-nullable and populate these fields with default values.
- In ArcGIS Online, select and open the hosted feature layer in Map Viewer.
- Click Content > More Info > Configure Pop-up.
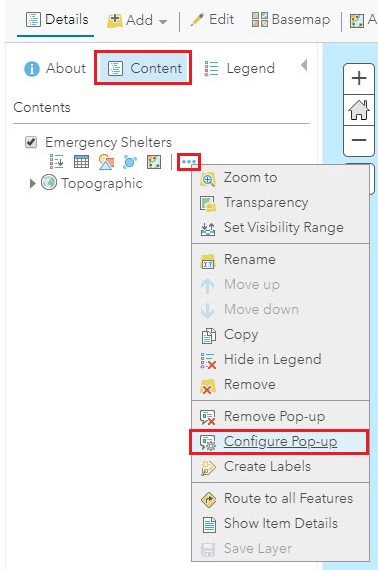
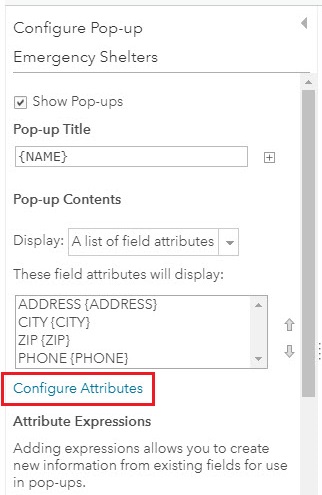
- In the Configure Pop-up pane, click Configure Attributes.
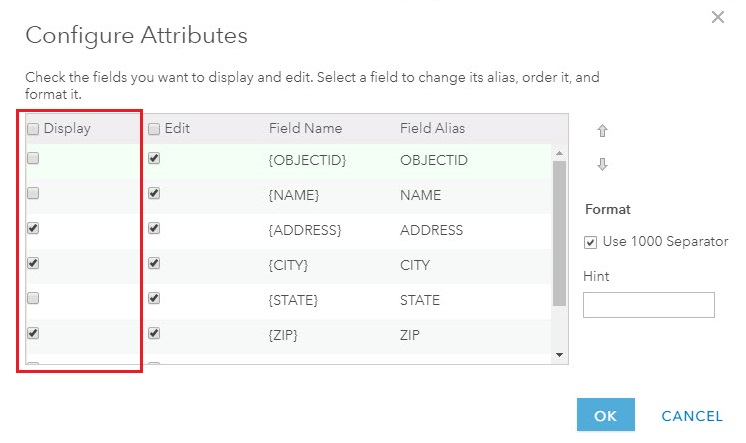
- Check the Display checkbox to display the hidden fields and click OK.
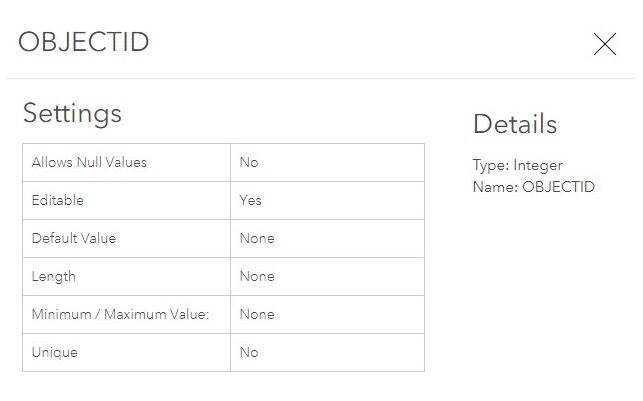
- On the Item Details page of the hosted feature layer, click Data > Fields, and select the desired fields to view their properties.
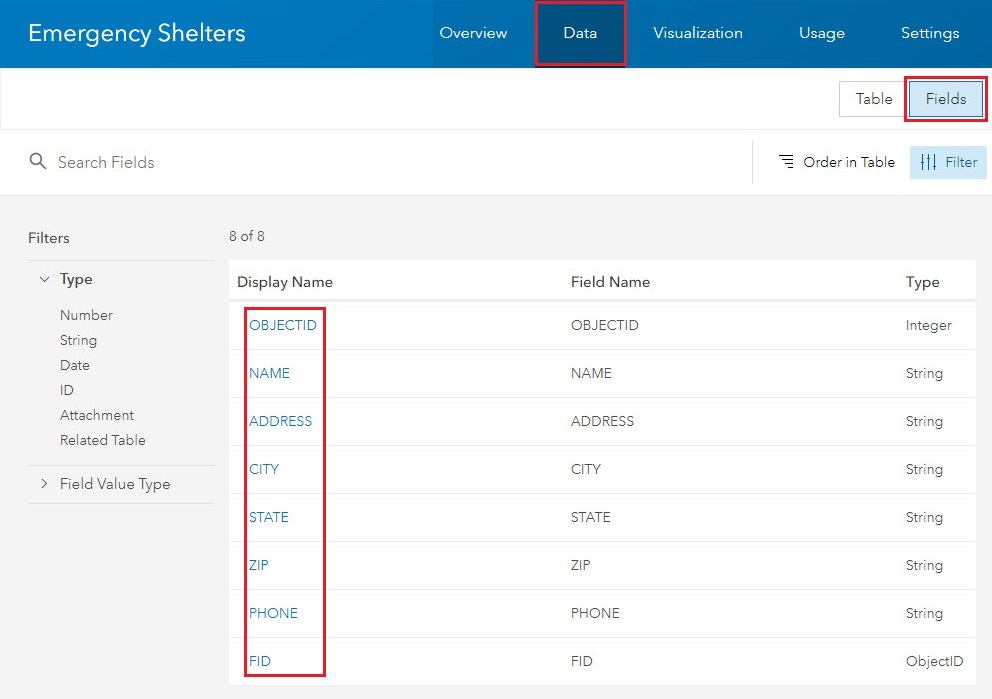
- For the selected fields, under Settings, note the fields where Allow Null Values show No.
- To populate the fields identified previously, return to the Item Details page of the hosted feature layer.
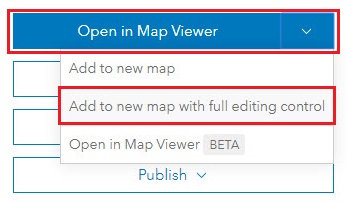
- Click the drop-down for Open in Map Viewer, and select Add to new map with full editing control.
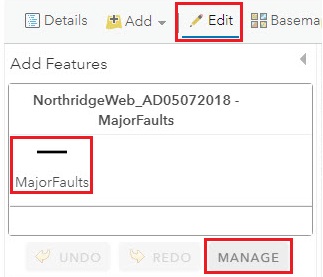
- Click Edit > select the feature > and click Manage.
- Under Manage New Features, click the drop-down arrow to open the Properties of the selected feature.
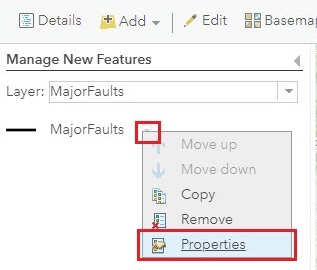
- Populate the non-nullable fields identified in Step 6 with default values.
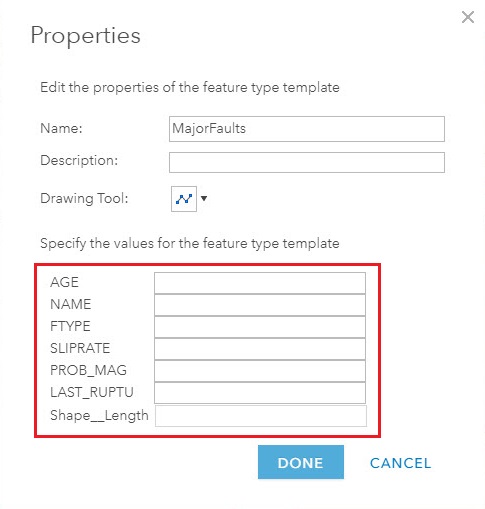
- Click Done > Save Changes.
Create a new nullable field
As the nullable property of an existing field cannot be edited by default, download a local copy instead. Create a new nullable field, delete the original dataset, and republish the layer.
Article ID: 000022308
- ArcGIS Online
Get support with AI
Resolve your issue quickly with the Esri Support AI Chatbot.


Related Information
Discover more on this topic
Search for related information
Find training related to this topic
Explore ideas and give feedback
Get help from ArcGIS experts
Start chatting now