CÓMO
Conservar todos los adjuntos al combinar clases de entidad con adjuntos mediante la herramienta Incorporar
Resumen
In some instances, when feature classes containing attachments are merged, the attachments are dropped and do not get carried over to the new merged feature class. The instructions provided below describe how feature classes with attachments can be merged using the Append tool while successfully retaining all the attachments in the newly merged feature class.
Causa
Procedimiento
Note:
The instructions below are applicable to ArcGIS for Desktop 10.1 to 10.4. Starting from ArcGIS Desktop 10.5, the Maintain Attachments environment setting is introduced in the Append tool, which allows attachments to be copied when using the tool. For more information, refer to ArcMap: Append for version 10.5.
- In ArcCatalog, copy both feature classes into the same geodatabase. Ensure the attachment tables and relationship classes for both feature classes are also copied.
- Open ArcMap, and load both feature classes and the attachment tables.
- In the attribute table of both feature classes, add a field named GID_SAVE. Set the type as Text with a length of 100.
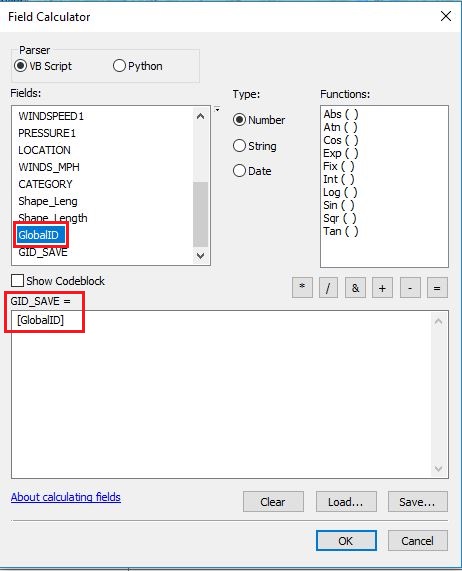
- Use the Field Calculator to populate the GID_SAVE field from the GlobalID field for both feature classes.
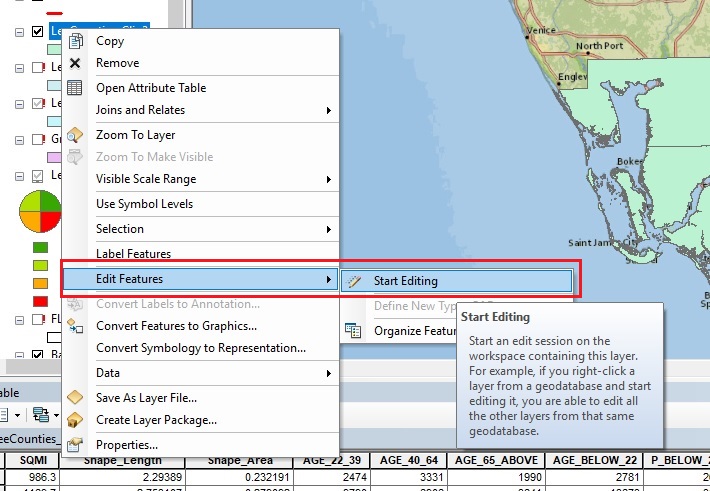
- Right-click the desired feature class, and click Edit Features > Start Editing.
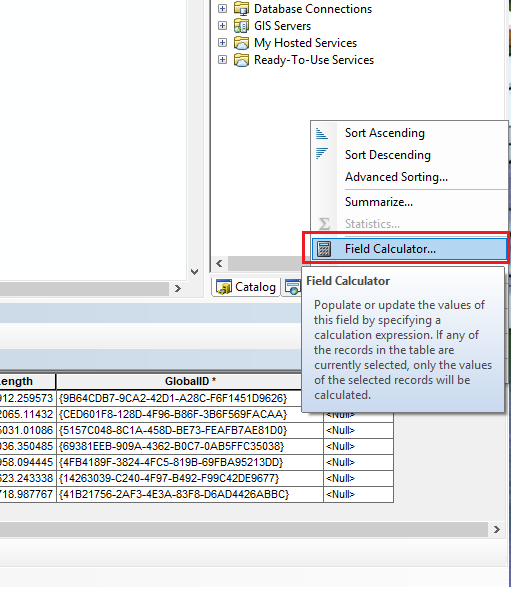
- Right click the GID_SAVE column, and click Field Calculator.
- Select and double-click GlobalID in the Fields section. The expression is specified as 'GID_SAVE = [GlobalID]'.
- Select one feature class and the corresponding attachment table of the selected feature class as the target to copy all the features from the other feature class. To do so, use the steps provided below.
- From the Tools toolbar, click the Select Features
 icon, select all the features to be copied from the feature class to the target feature class, and click Copy.
 - Remove the selection by clicking the Clear Selected Features
 icon.
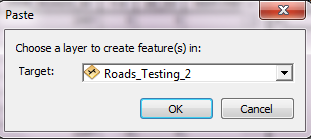
icon. - Right-click on the map, and click Paste.
- Select the target feature class in the Paste dialog box, and click OK.
- From the Tools toolbar, click the Select Features
- Click Save Edits, and end the edit session.
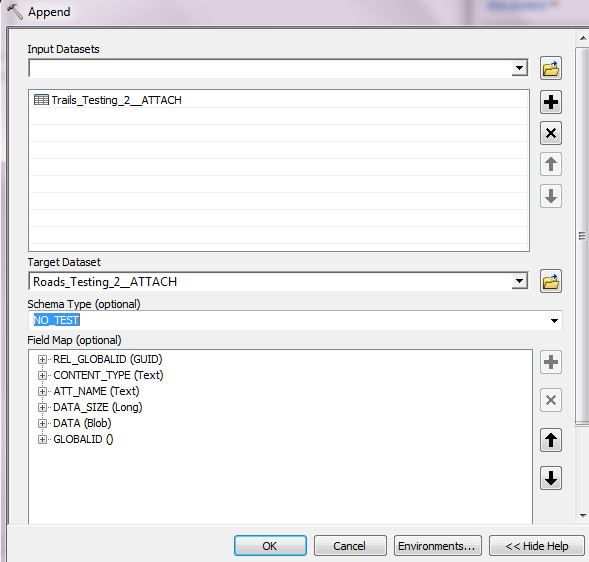
- Use the Append tool to append the attachment tables. Use the selected attachment table from Step 5 for the Target Dataset and the other attachment table for the Input Datasets. Set the Schema Type to NO_TEST. Click OK, and let the tool run.

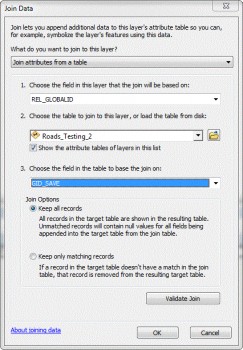
- When the tables are appended to the selected target attachment table, right-click the table in the Table Of Contents , and click Joins and Relates > Join. Use the steps provided below to populate the fields in the Join Data dialog box.
- From the first drop-down list for the Choose the field in this layer that the join will be based on option, select REL_GLOBALID.
- From the second drop-down list for the Choose the table to join this layer, or load the table from disk option, select the feature class that the features were copied to in Step 5.
- From the third drop-down list for the Choose the field in the table to base the join on option, select GID_SAVE.
- Under Join Options, select Keep all records, and click OK.
Note:
The copied records are now tied back to their original attachments via the original GlobalID field.
- Start another edit session, and in the joined attachment table, use the Field Calculator to make the REL_GLOBALID field equal to the GLOBALID field from the joined feature class table for all records, using the following expression:
REL_GLOBALID = [GLOBALID]
- Save the edits, and end the edit session. All the attachments are now successfully carried over to the joined feature class.
Note:
After Step 10, the GID_SAVE field can be removed from the feature classes, if desired, as the field is no longer required
Id. de artículo:000001056
Obtener ayuda de expertos en ArcGIS
Descargar la aplicación de soporte de Esri
Información relacionada
Descubrir más sobre este tema
Search for related information
Find training related to this topic
Explore ideas and give feedback